- Create a payment account in Create with Stripe
- Add key Stripe functions + components to your app for building payment and checkout flows
- Lets users subscribe to your app
- Track which users have subscribed in your user accounts database
- Unlock app features based on the user’s subscription status
Prerequisites
User Flow
Here’s what your user flow will look like once set up:- User visits your landing page
- User signs in with User Accounts
- User sees:
- Free tier app with your paid upgrade upsell OR
- Payment required from start for access
- User goes through upsell to buy a subscription:
- Redirected to Stripe checkout
- Fills in payment details in Stripe’s UI
- User submits payment:
- Redirected to your app after subscribing
- User marked as active subscriber in the users database that comes with User Accounts
- Gains access to paid features
- User later cancels subscription:
- User marked as inactive subscriber in your user accounts database
- Access to paid features removed
Make a Stripe Account
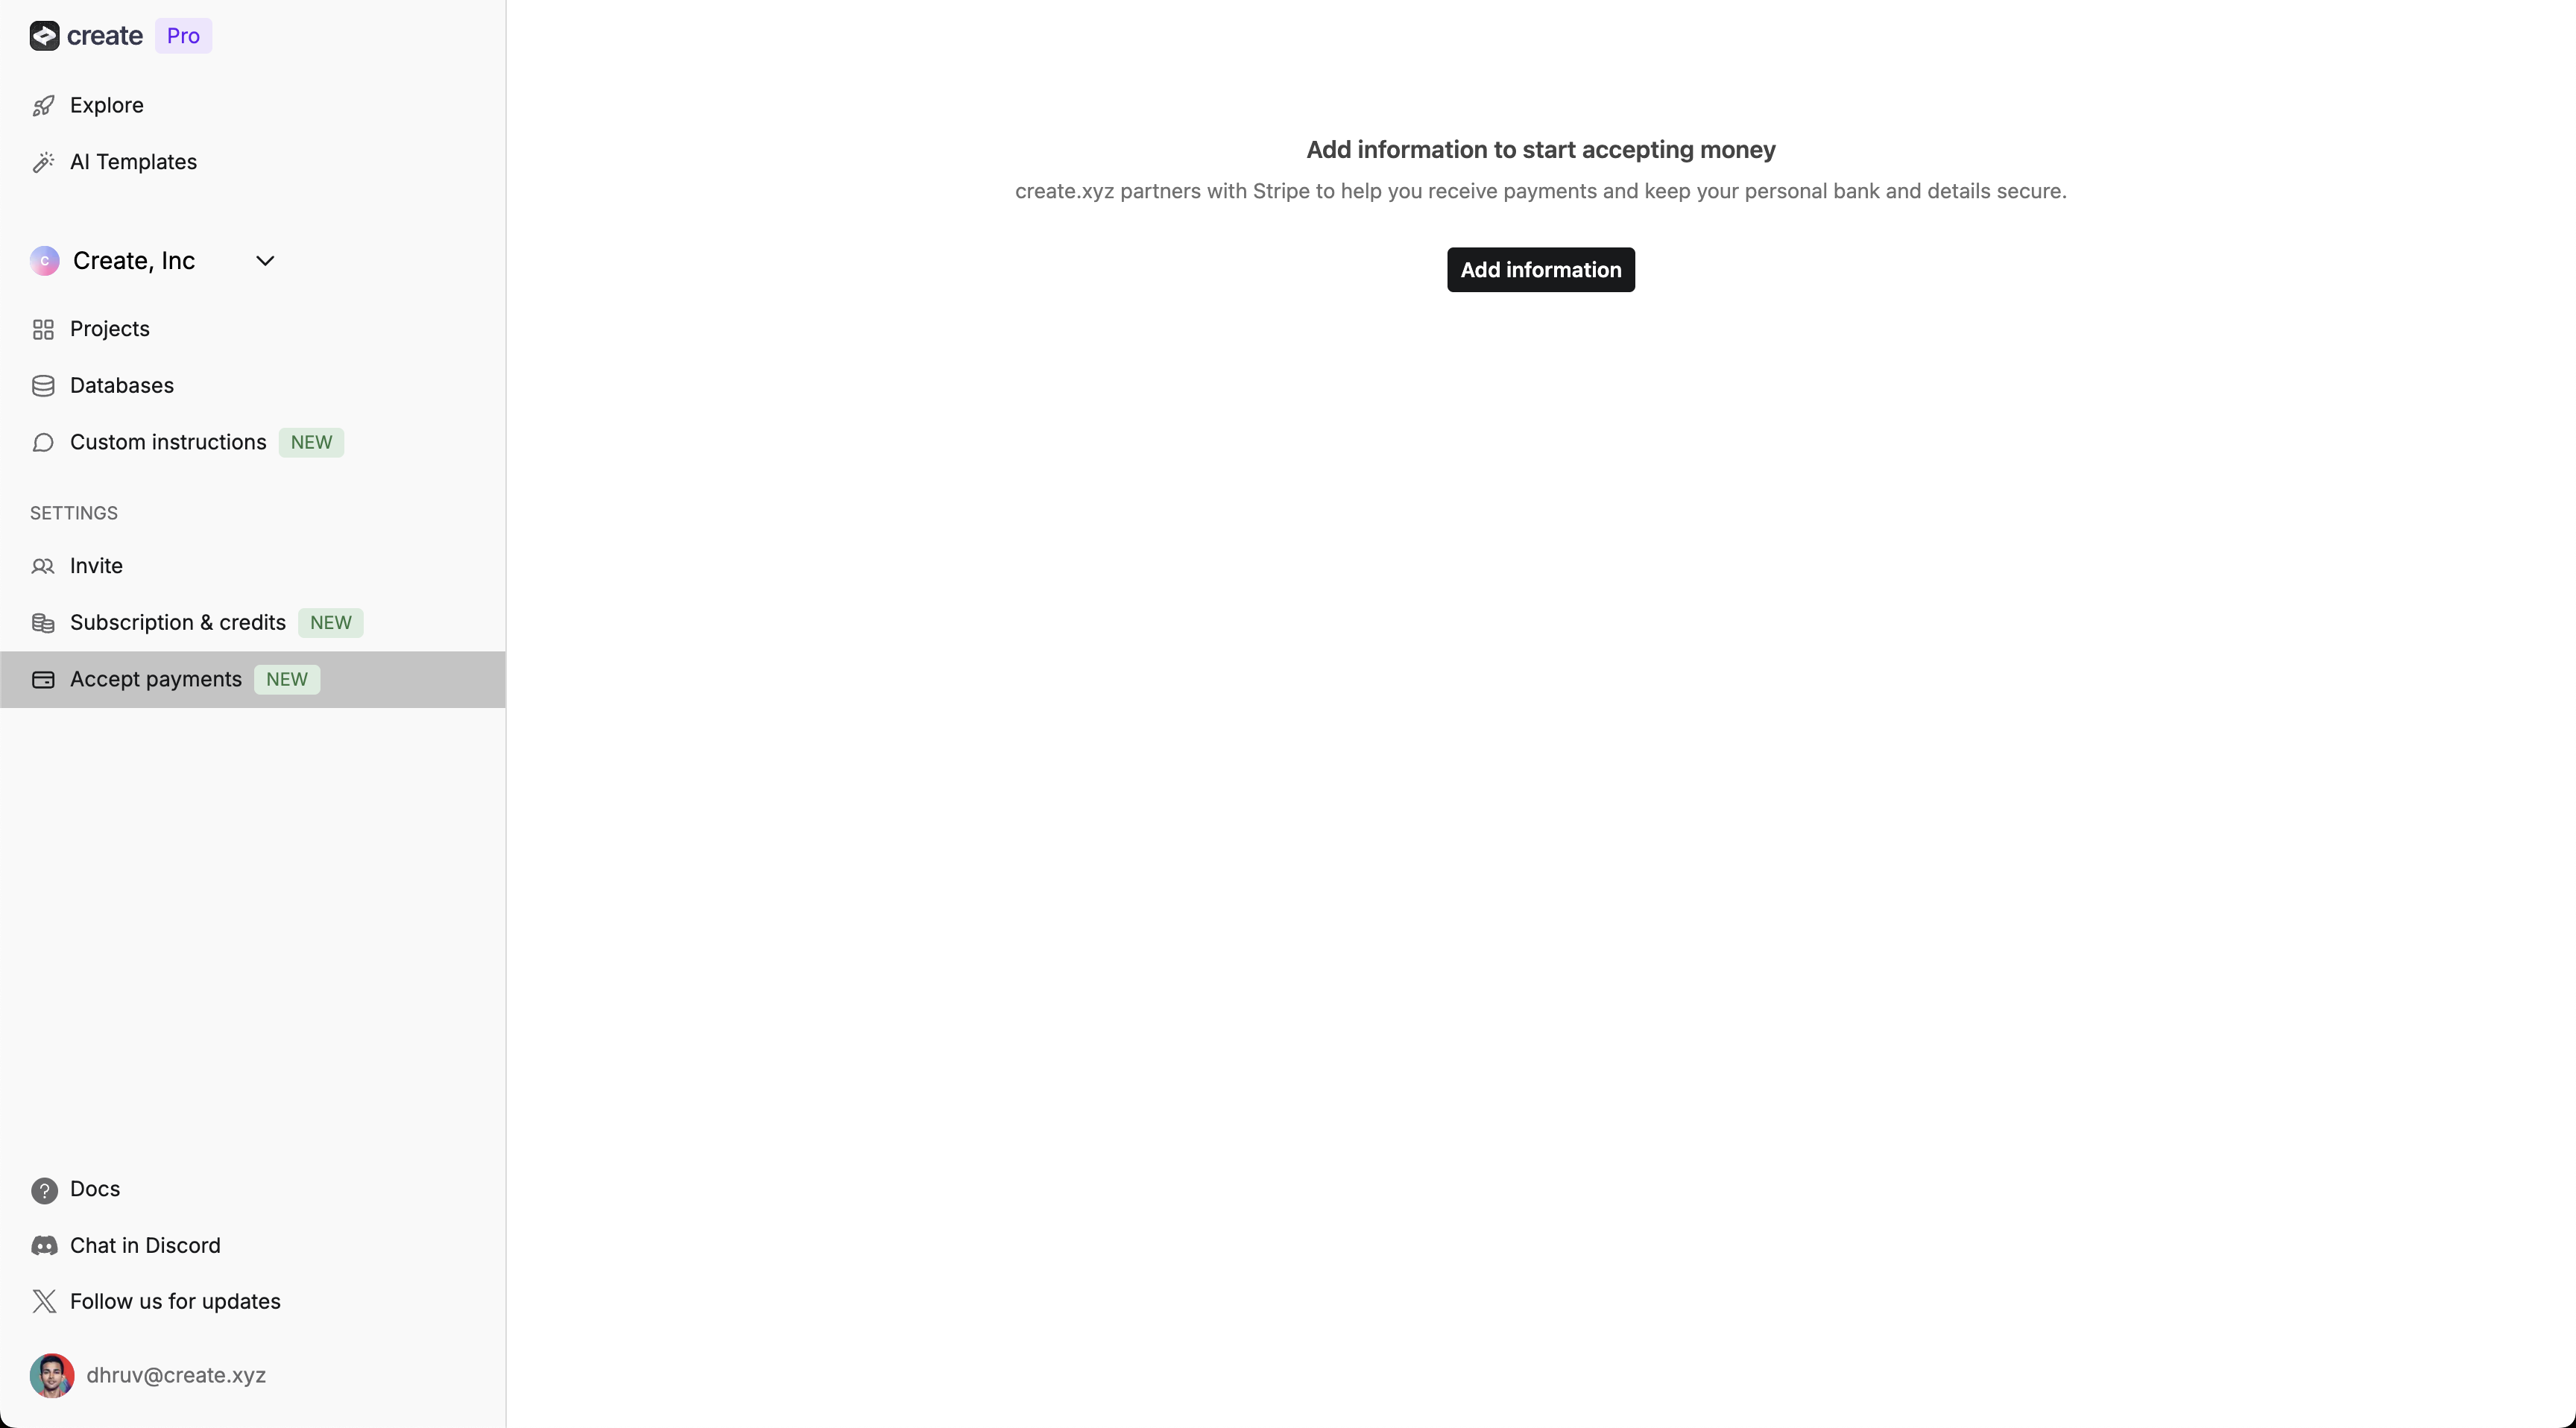
Visit Create Dashboard -> Accept Payments
Complete Stripe Onboarding
-
Account
- Enter your email
- Create a Stripe password
-
Personal information
- Full legal name
- Date of birth
- Phone number
- Home address
-
Business details
- Business name and type
- Business address
- Industry and website
-
Tax Information
- SSN or EIN
- Tax ID verification
-
Bank Account (for payouts)
- Account number
- Routing number
- Bank verification
Verify Email
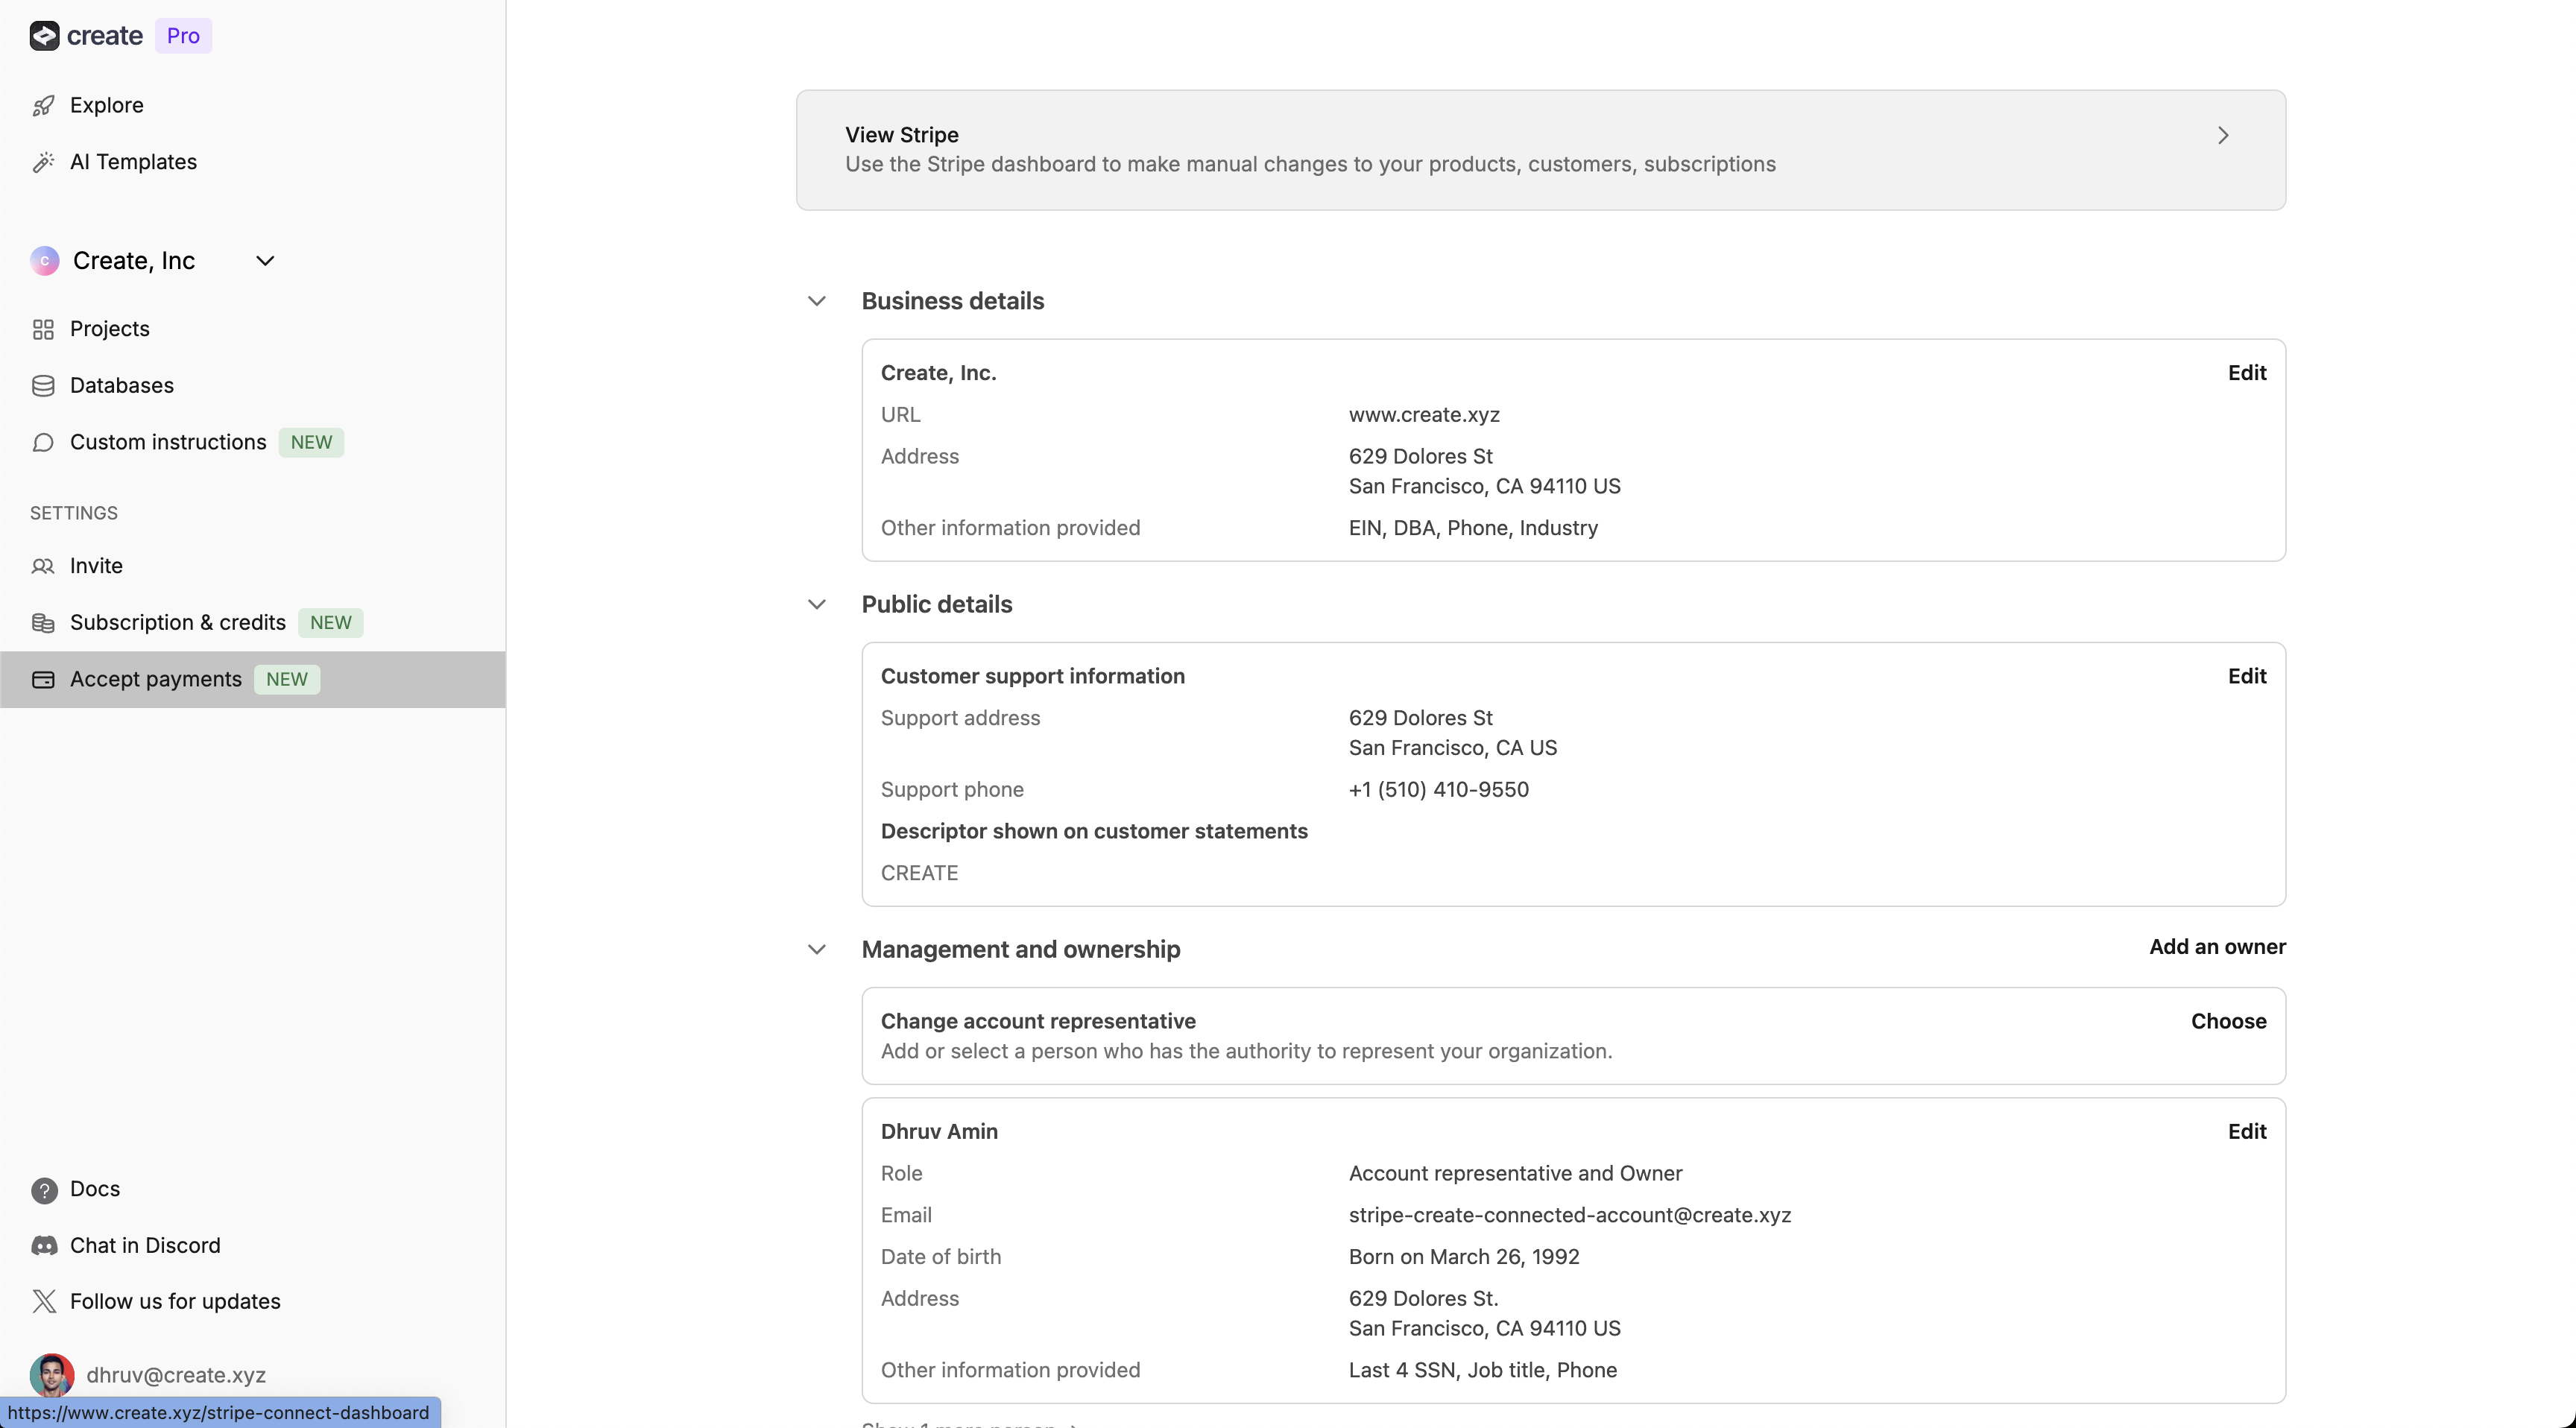
Confirm Stripe Dashboard Access
Add Stripe to Your Project
- A Create project where you want to add subscriptions
- User Accounts enabled in the project
- Use our integration to add the checkout elements (functions + components) you need
- Set up the product, price, and webhook in your Stripe account in Test Mode
- Add keys from your Stripe account to the added functions in Create
- Customize look & feel of the added components in Create
- Prompt Create to add the components to the right places in your app
- Publish your app
- Test your app flow in the published app
- Repeat the Stripe set up steps in Live Mode
- Copy new keys to Create
- Publish again + launch your app
Add Stripe Integration to Create Project
Go to Project
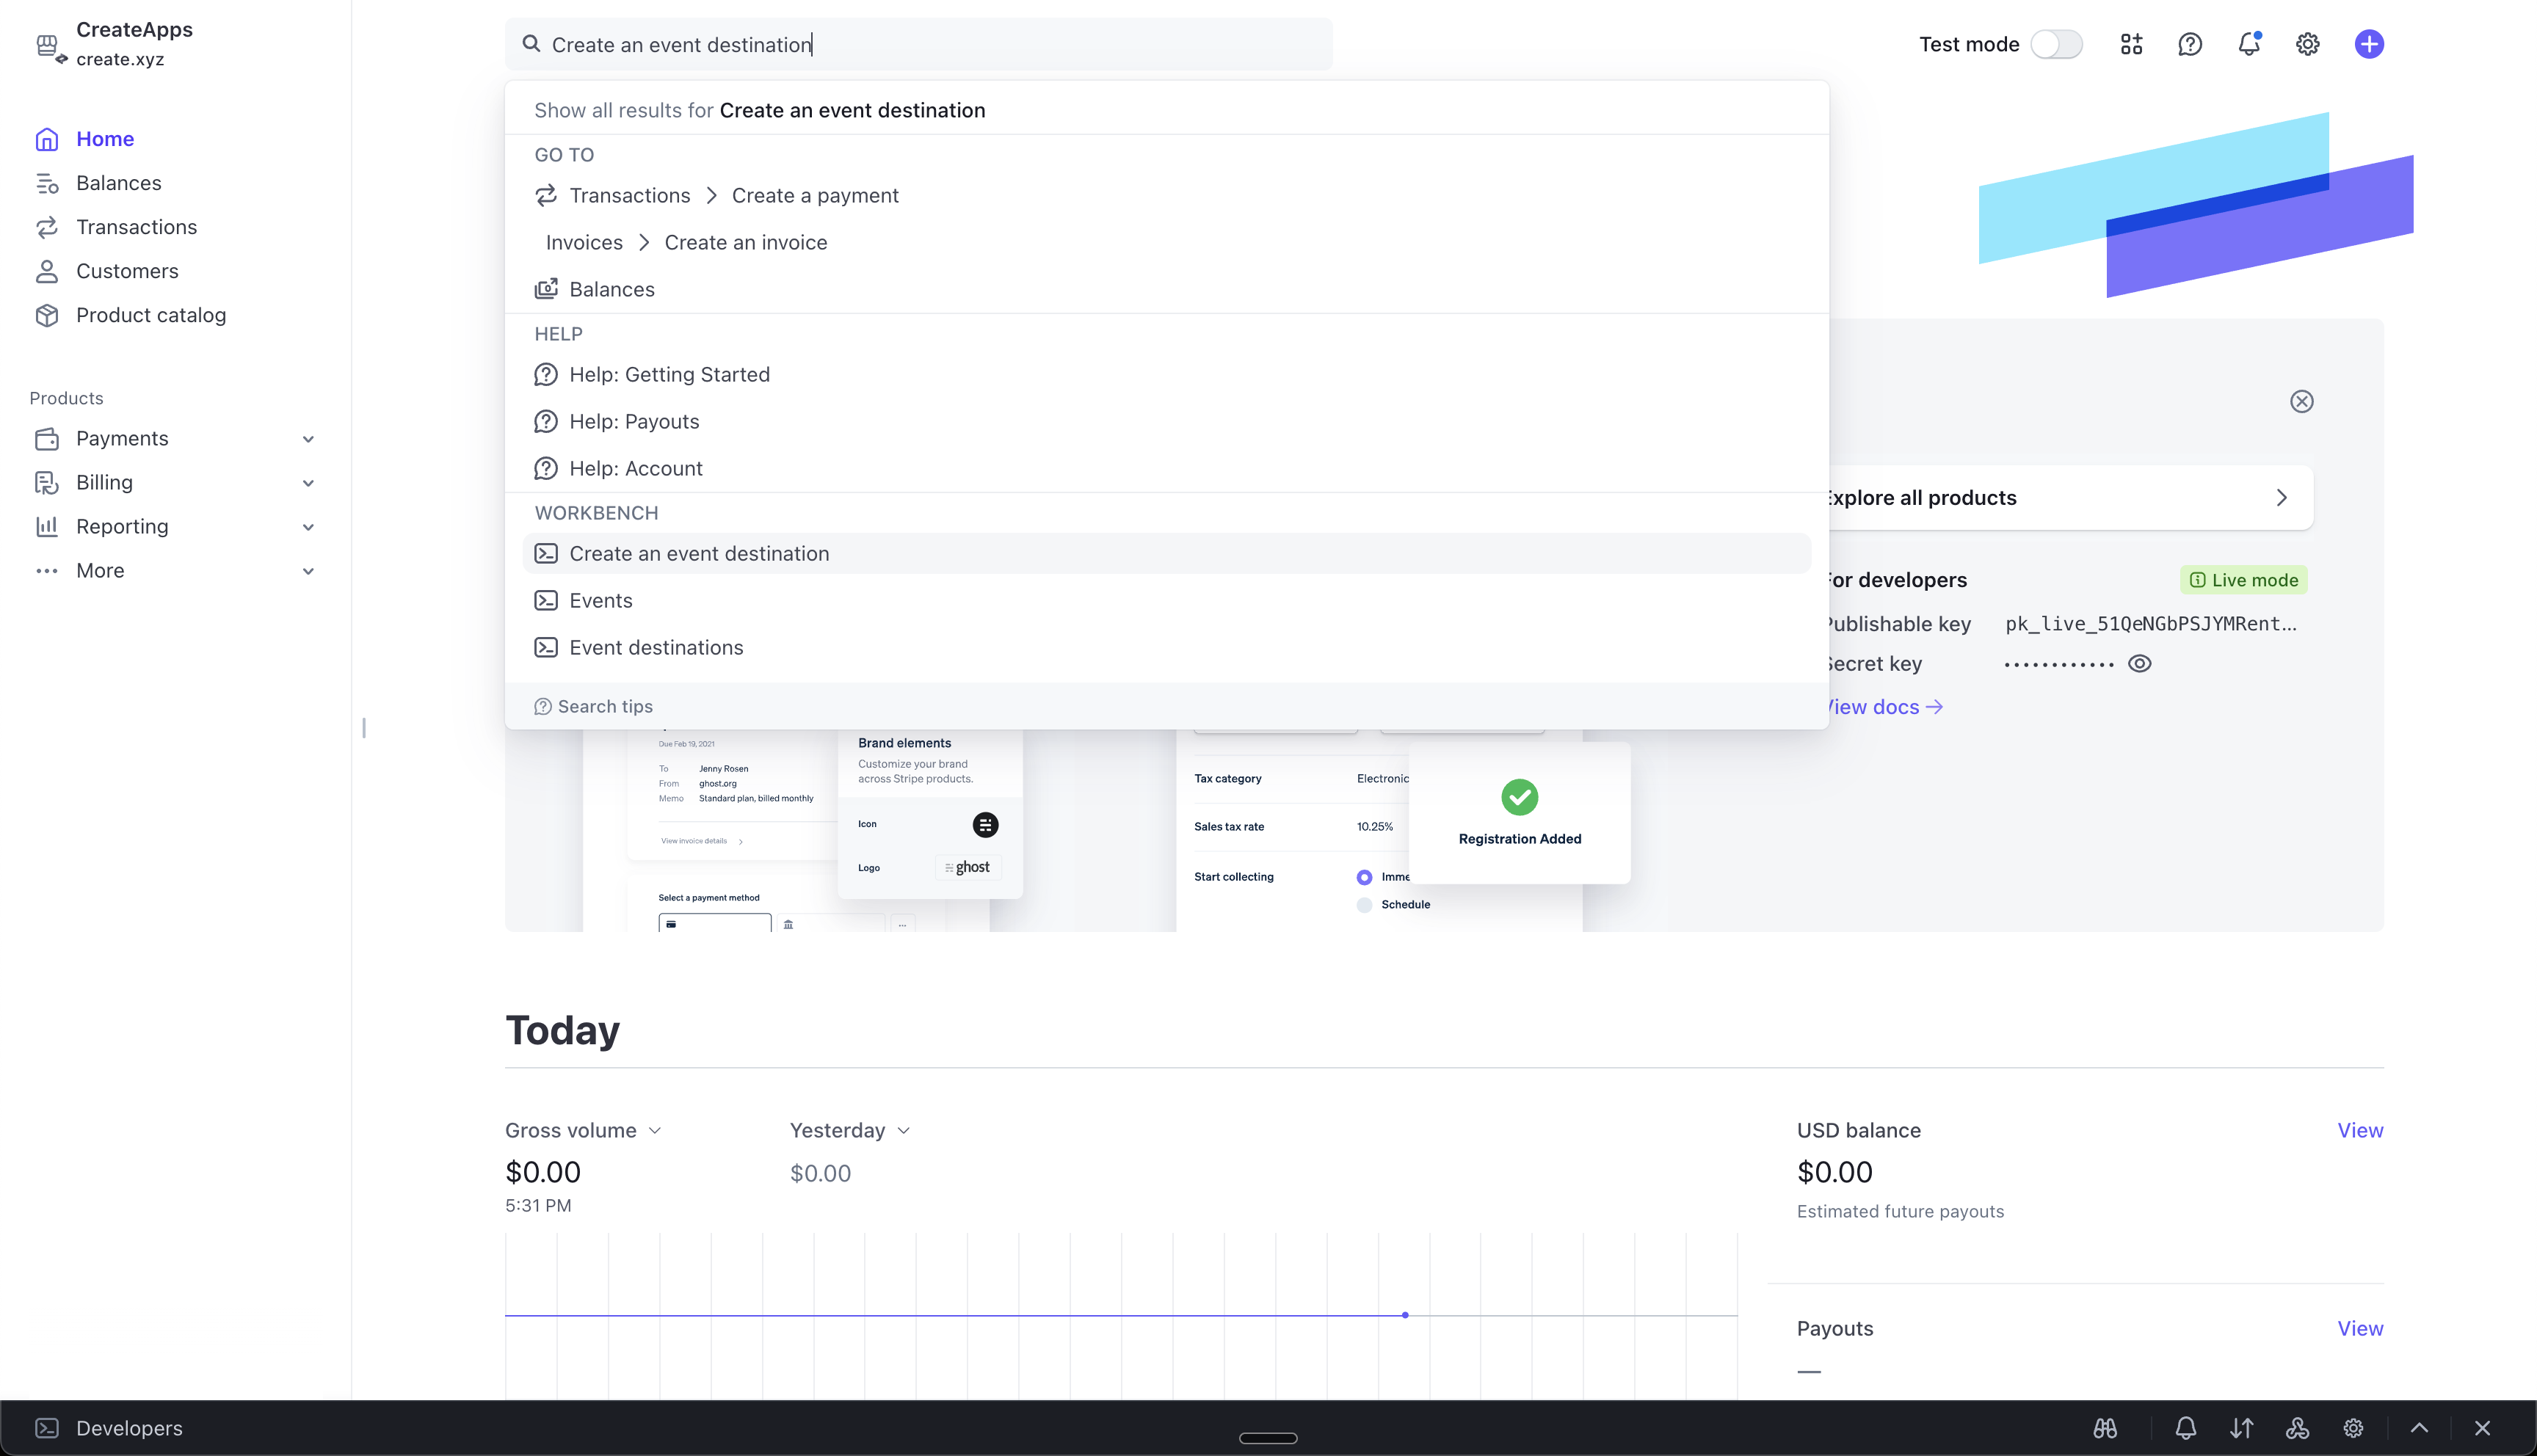
Press / in the chat
Select 'Stripe - Subscriptions'
Send message
View Project Selector
Added Stripe Elements
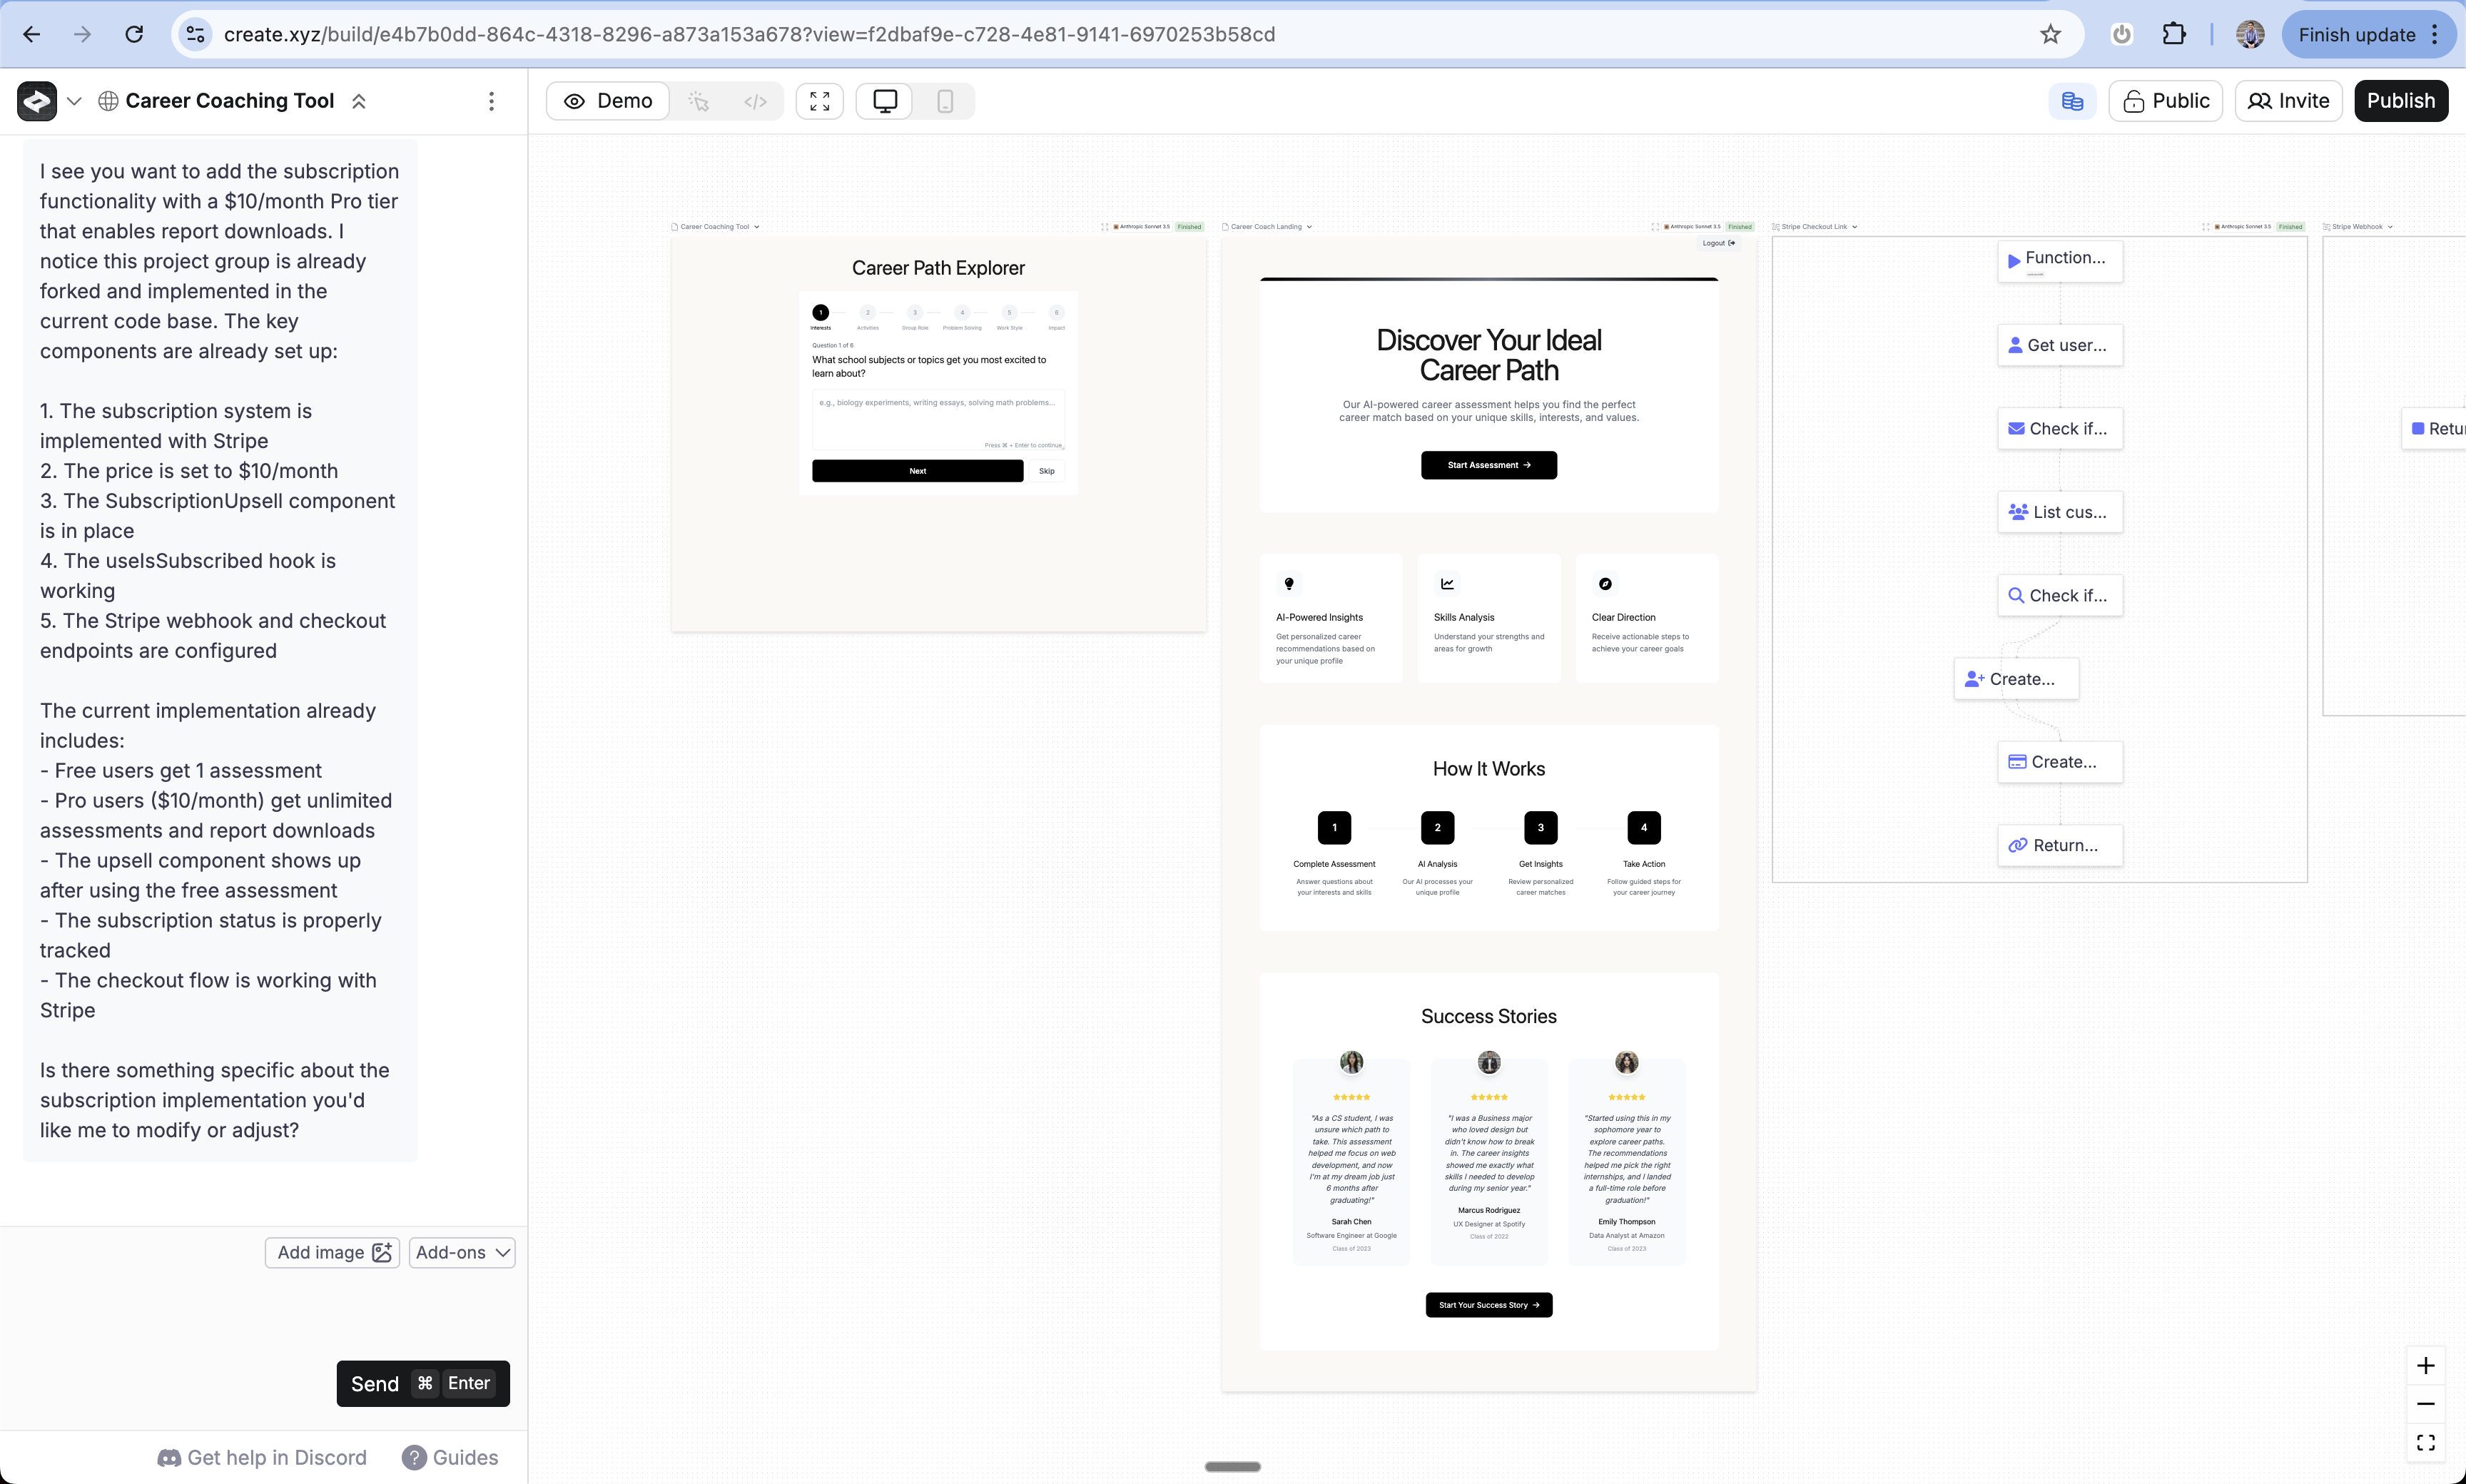
When you use the integration, Create adds 4 elements to your project to help build checkout flows & track user status.Stripe Checkout Link
This function generates stripe checkout URL for your product/subscription- Redirects users to Stripe’s hosted checkout page
- Needs the STRIPE_PRICE_ID as a secret key from your Stripe account
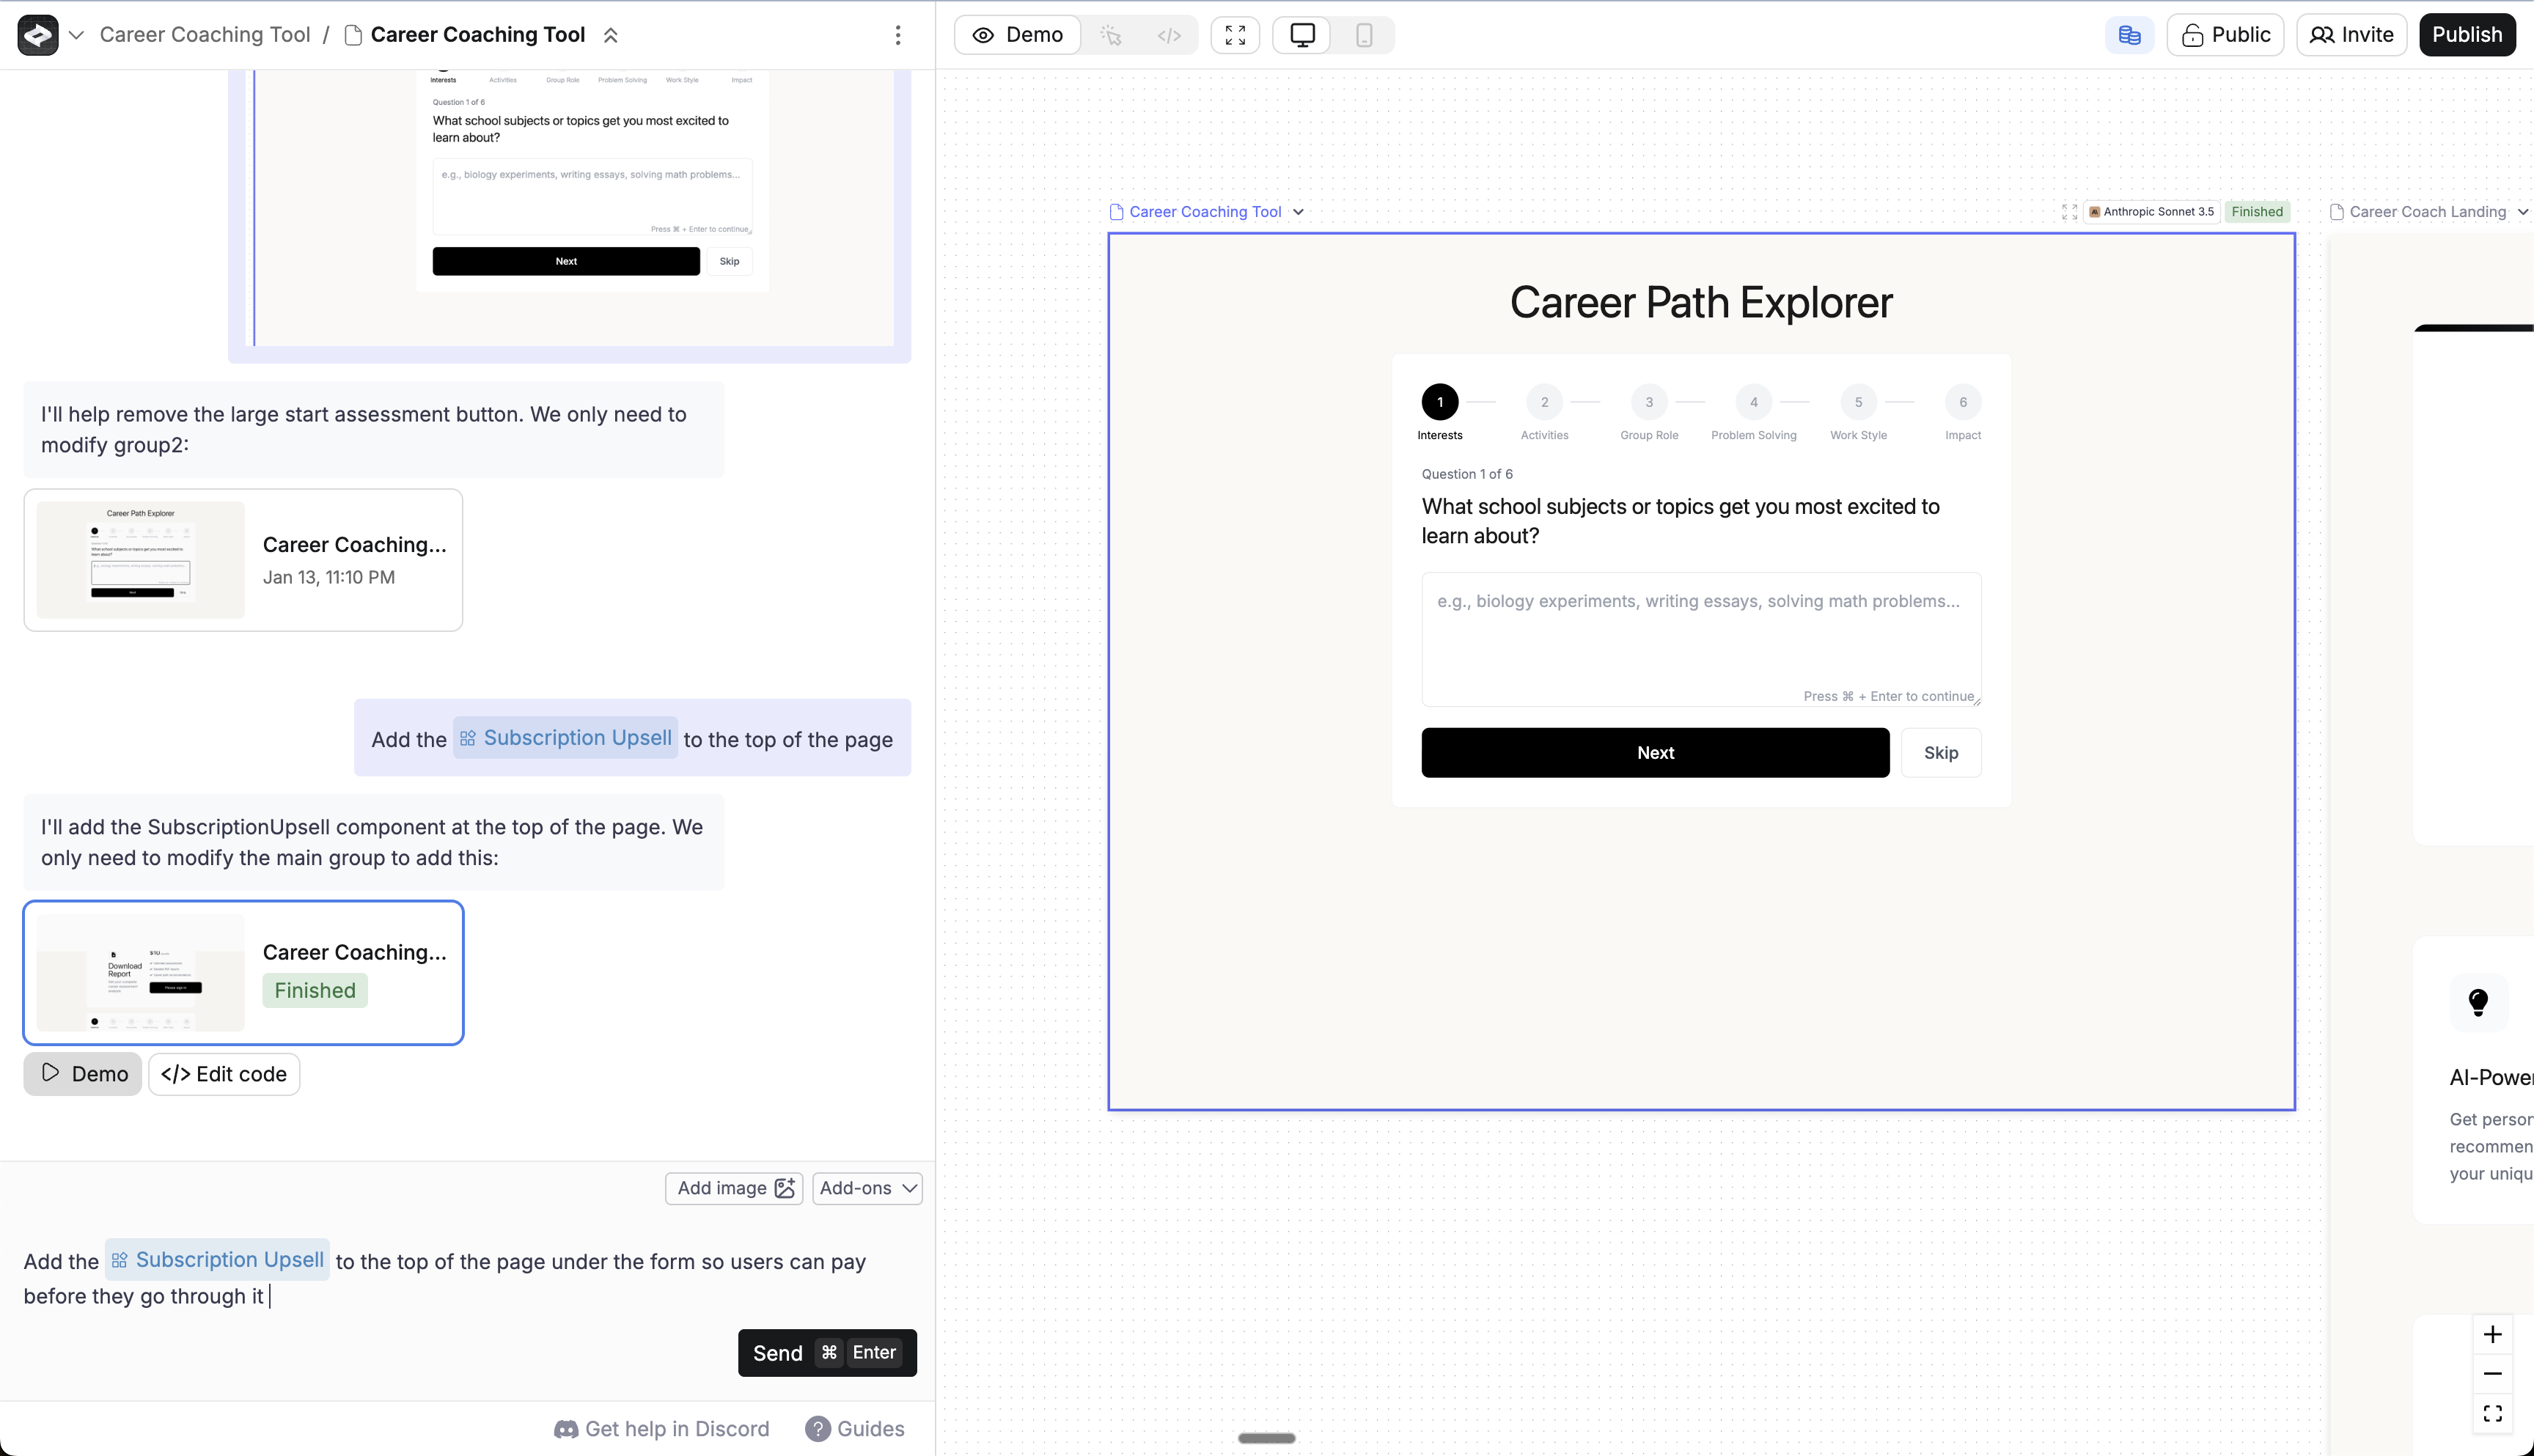
Subscription Upsell
This component gives you an upsell UI that will redirect users to Stripe to checkout. Customizable as button or link. It uses the Stripe Checkout Link function to redirect to Stripe on click.- Customize its look and feel
- Add to the right pages in your app
- Redirects the user to Stripe with Stripe Checkout Link function when the user taps “subscribe”
Stripe Webhook
This function listens for successful payments and subscription updates. It logs the user’s subscription status in your user accounts database.- Automatically updates user payment status
- Manages subscription lifecycle in your database
- Needs the STRIPE_WEBHOOK_SECRET as a secret key from your Stripe account
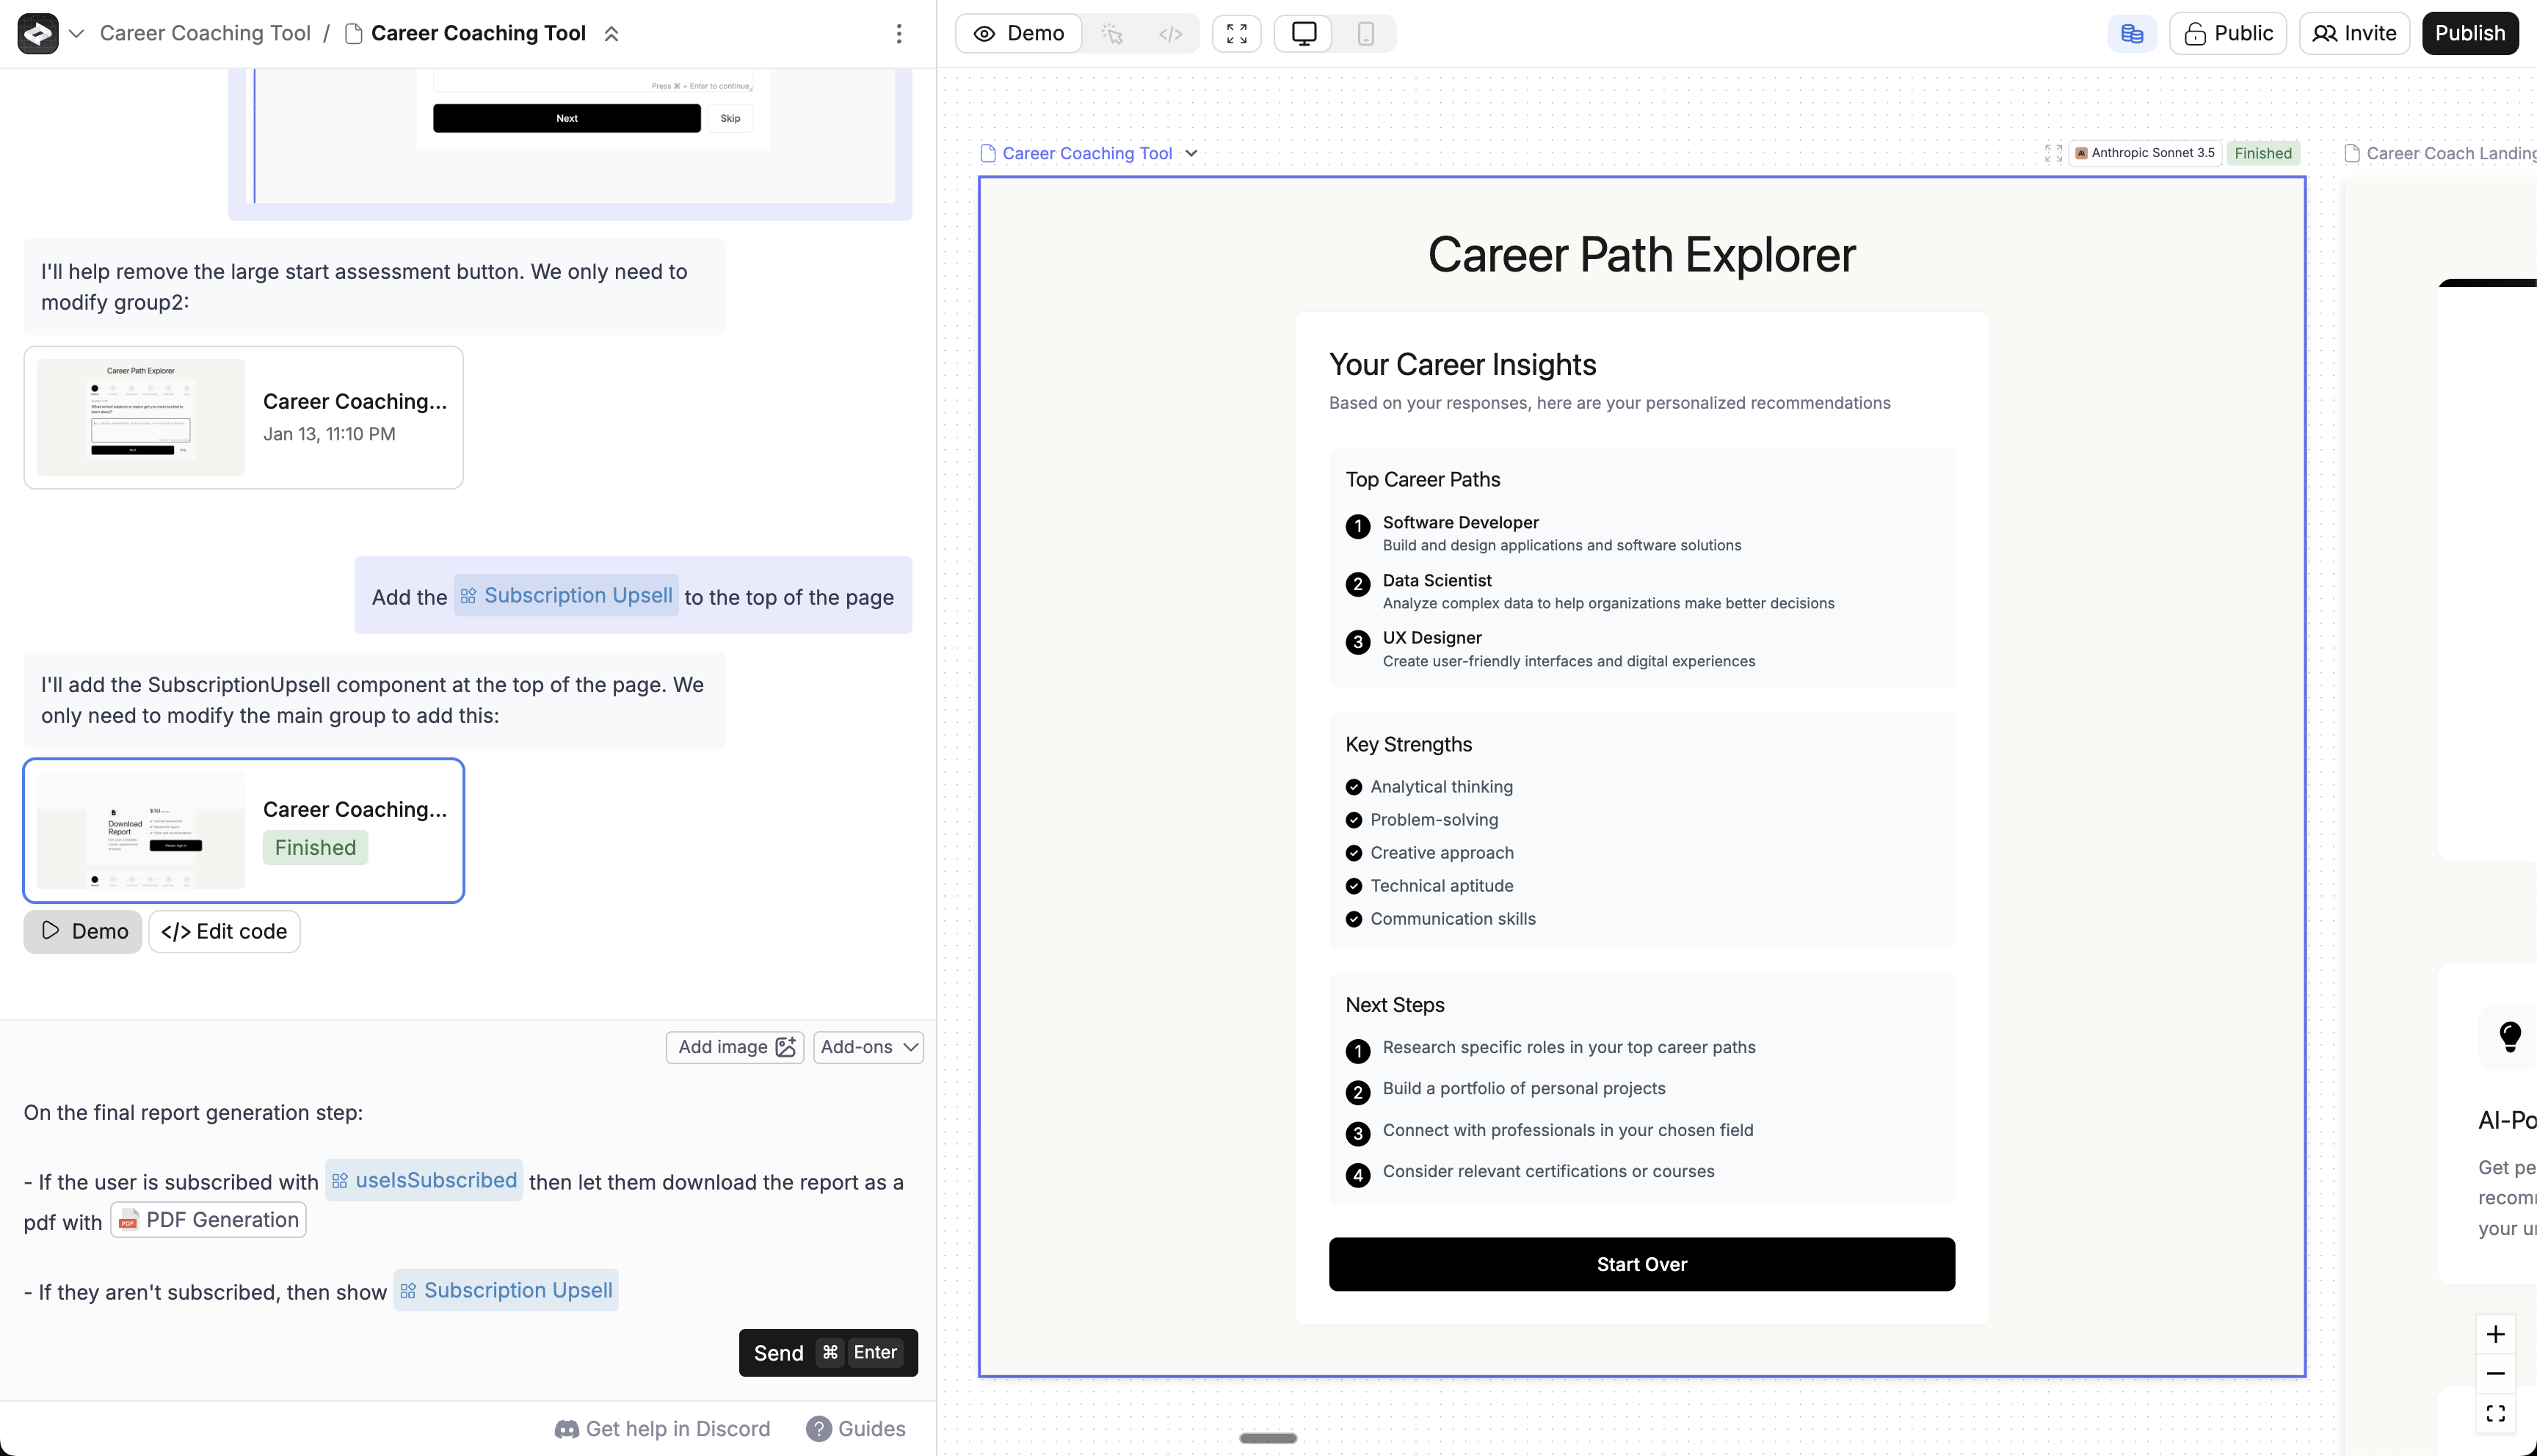
useIsSubscribed
Component that handles checking the signed in user’s subscription status. You can use it gate features / access for paid members.- Shows/hides content based on subscription status
- Checks subscription status for current user in your users database
- If the user isn’t subscribed, it shows the Subscription Upsell
Set up your Stripe product
You’ll make a product and price in Stripe for your subscription. You’ll copy the STRIPE_PRICE_ID from Stripe to use in your Create app.Make product, price, and get STRIPE_PRICE_ID
Access your Stripe Dashboard
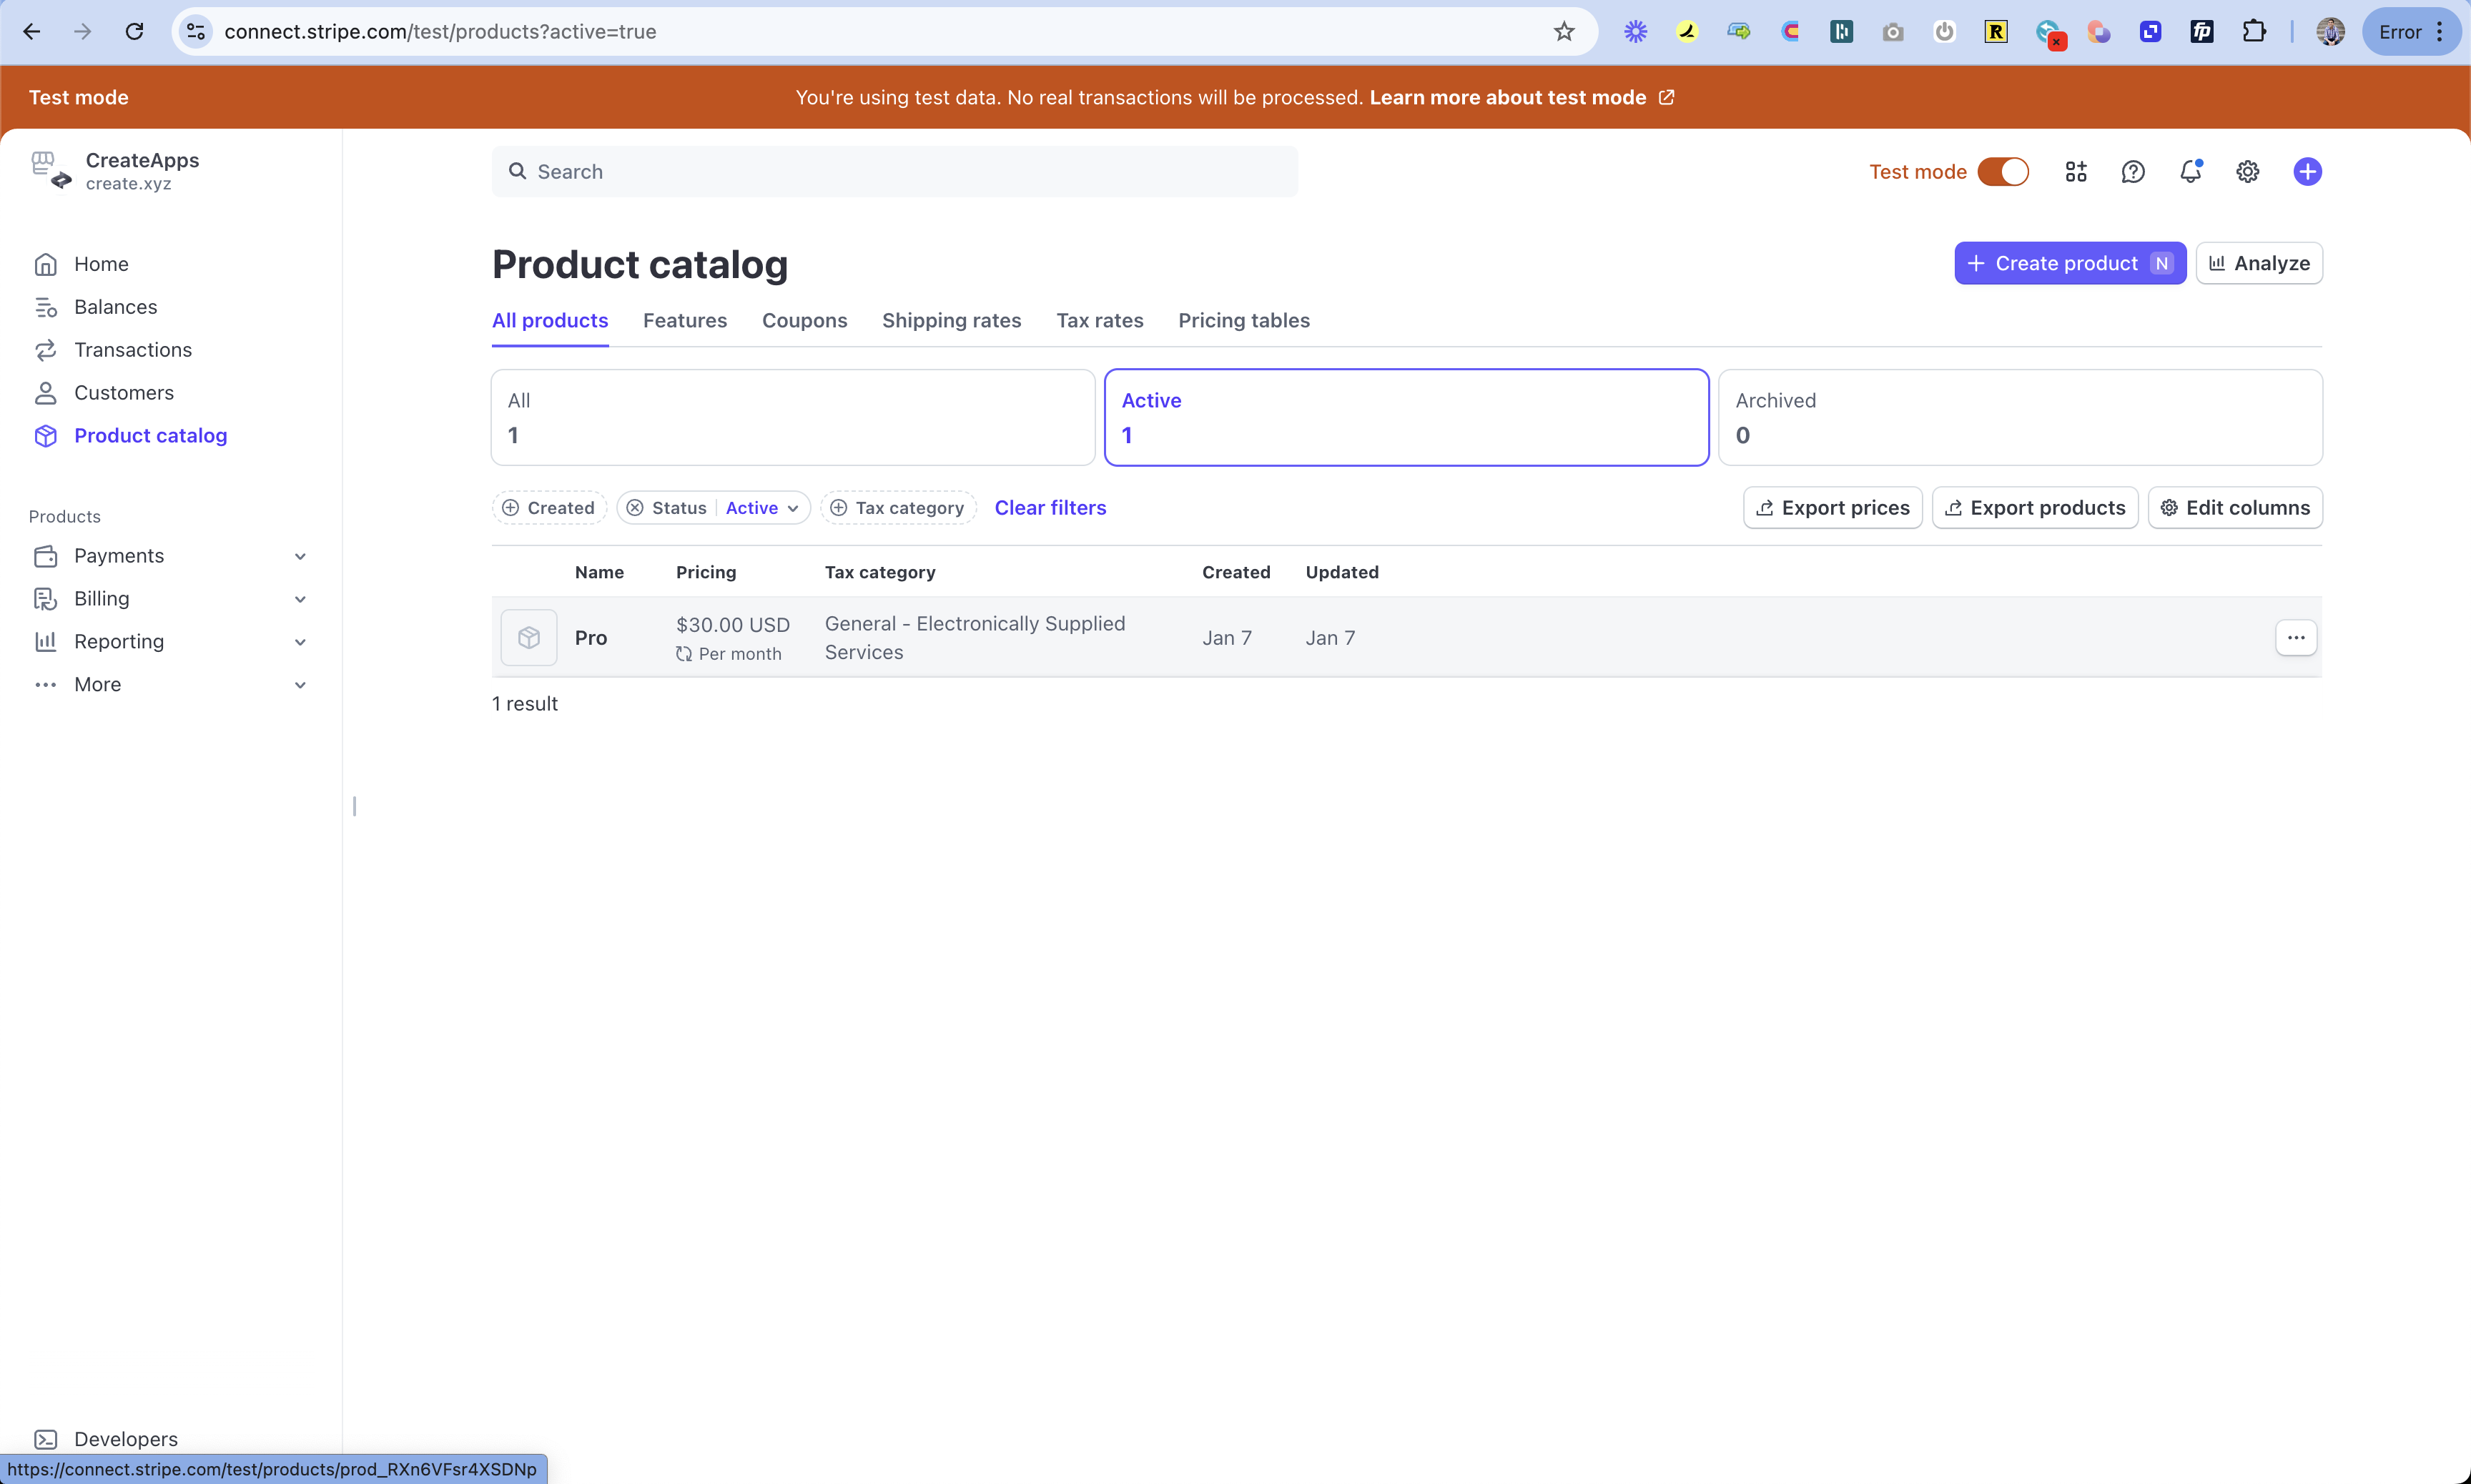
Go to Product catalog
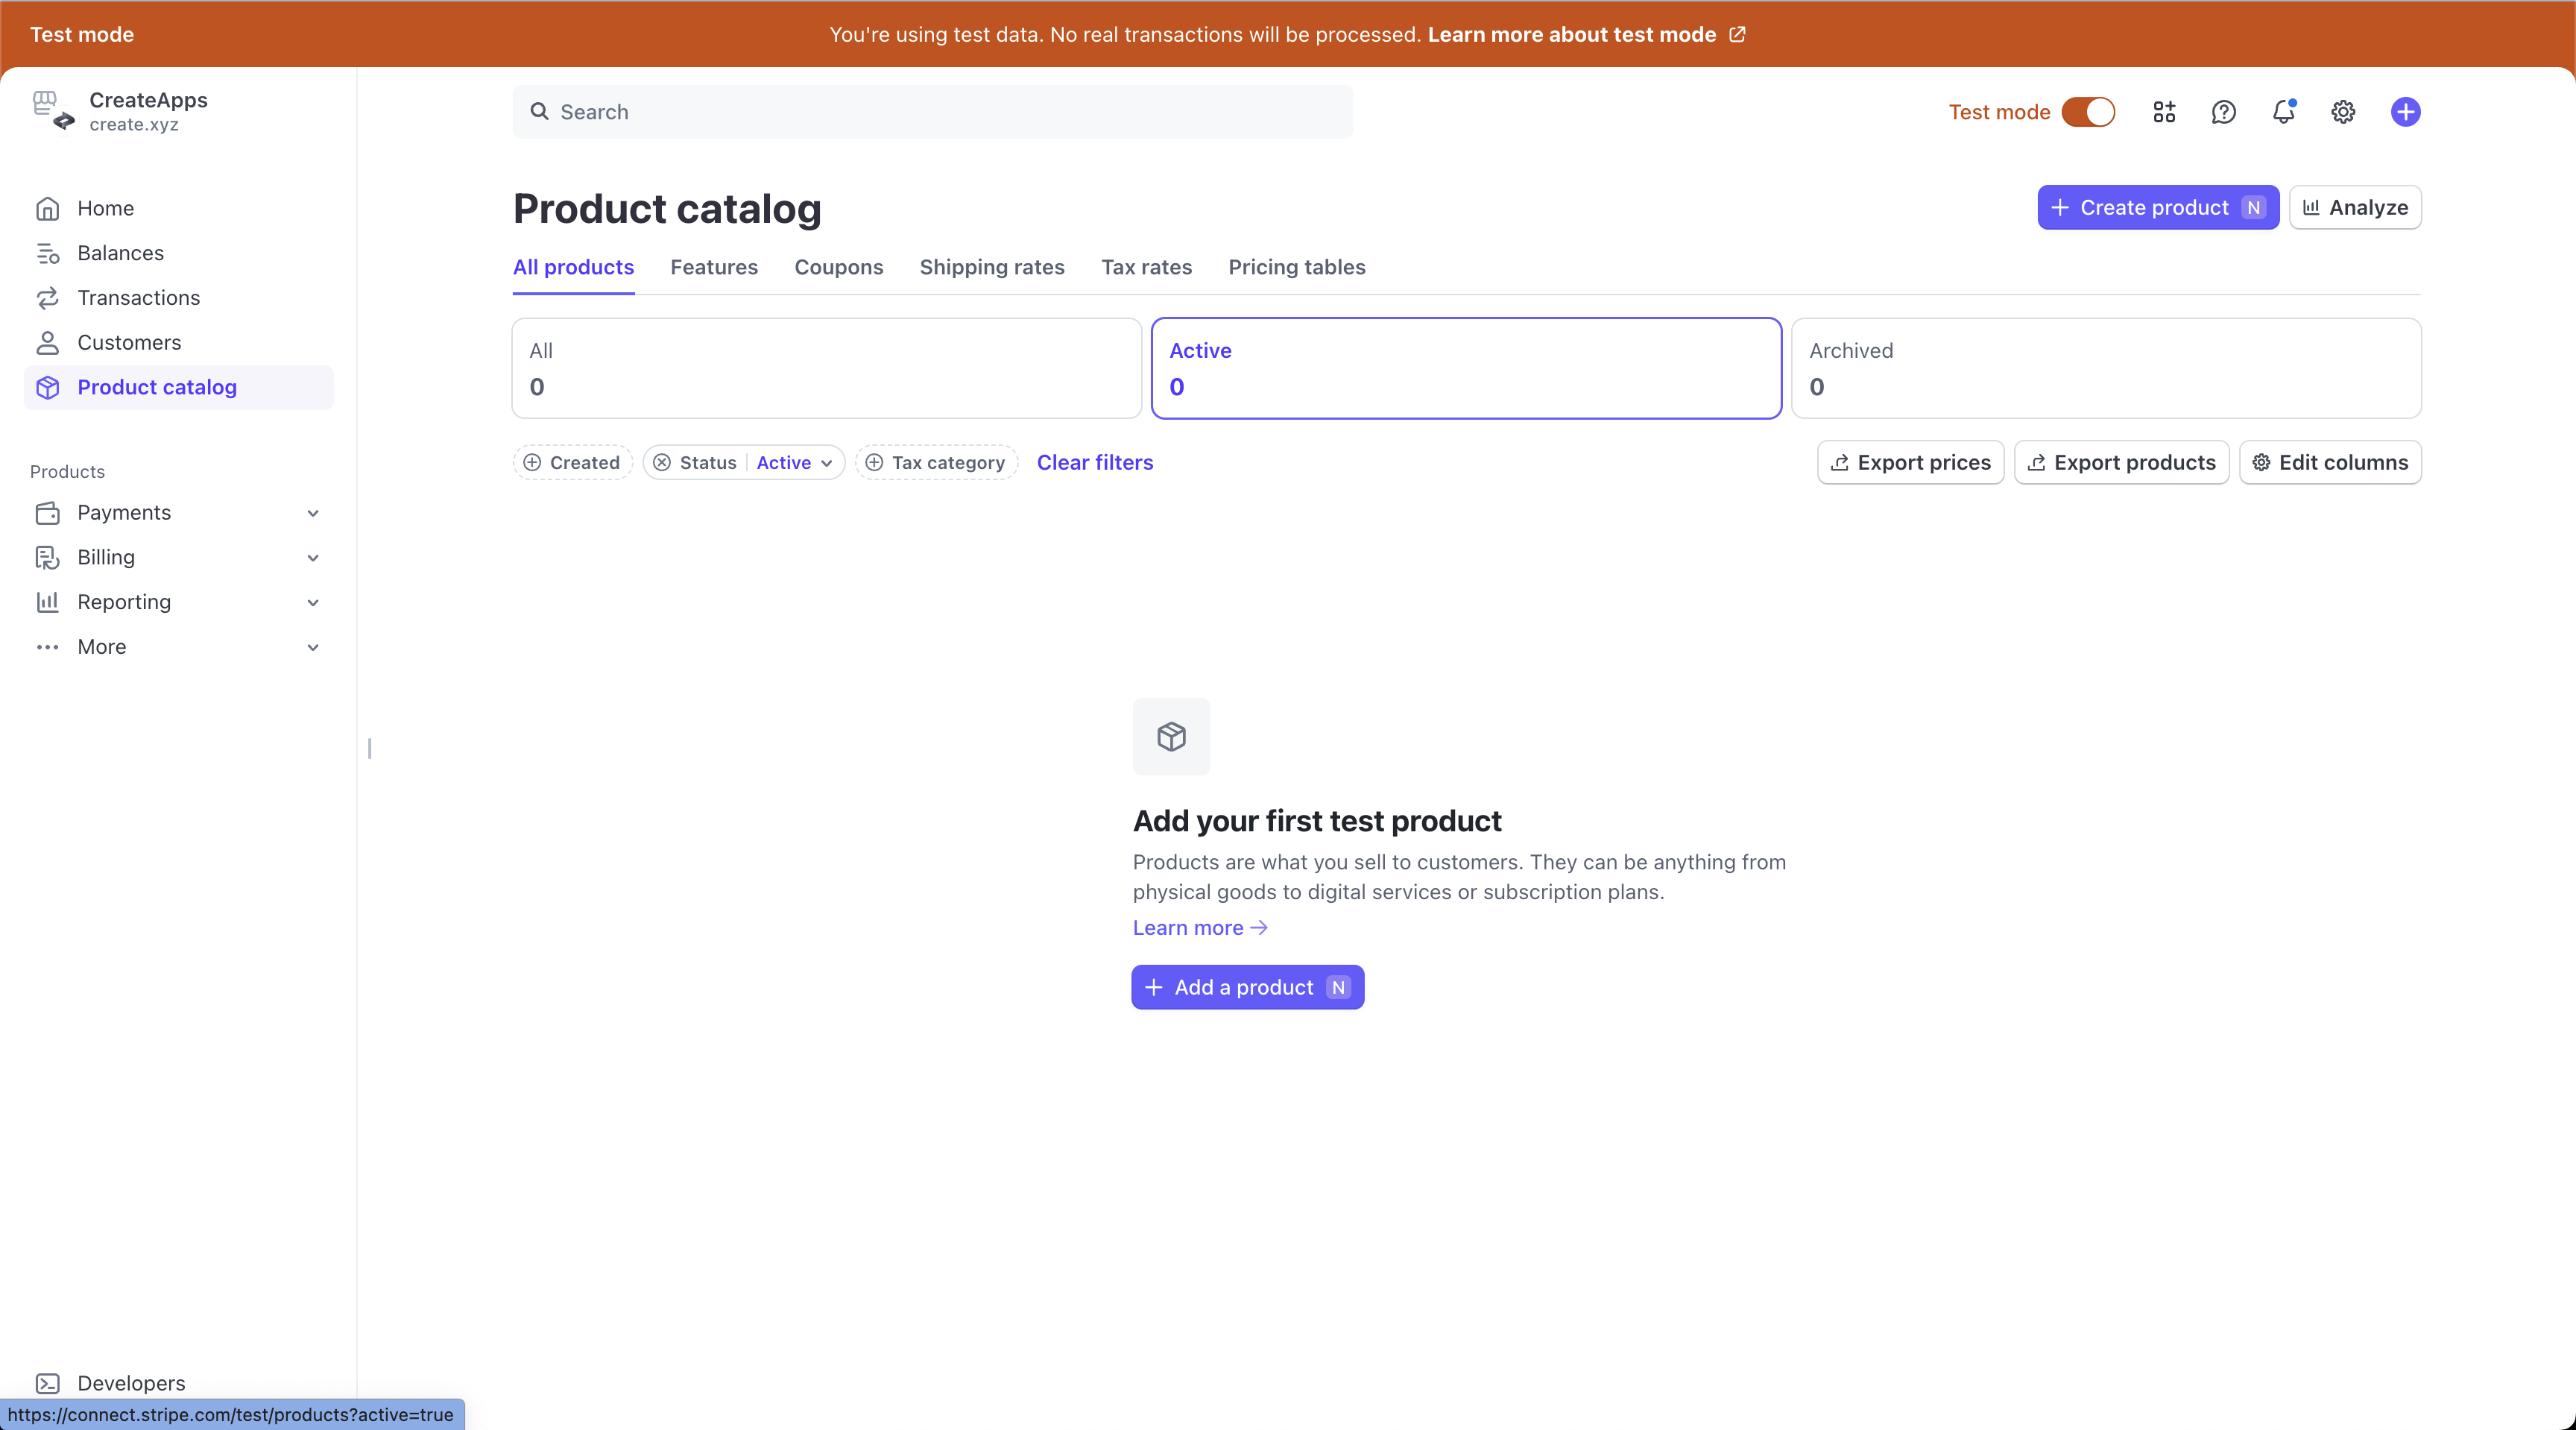
+ Create product

Add Product details
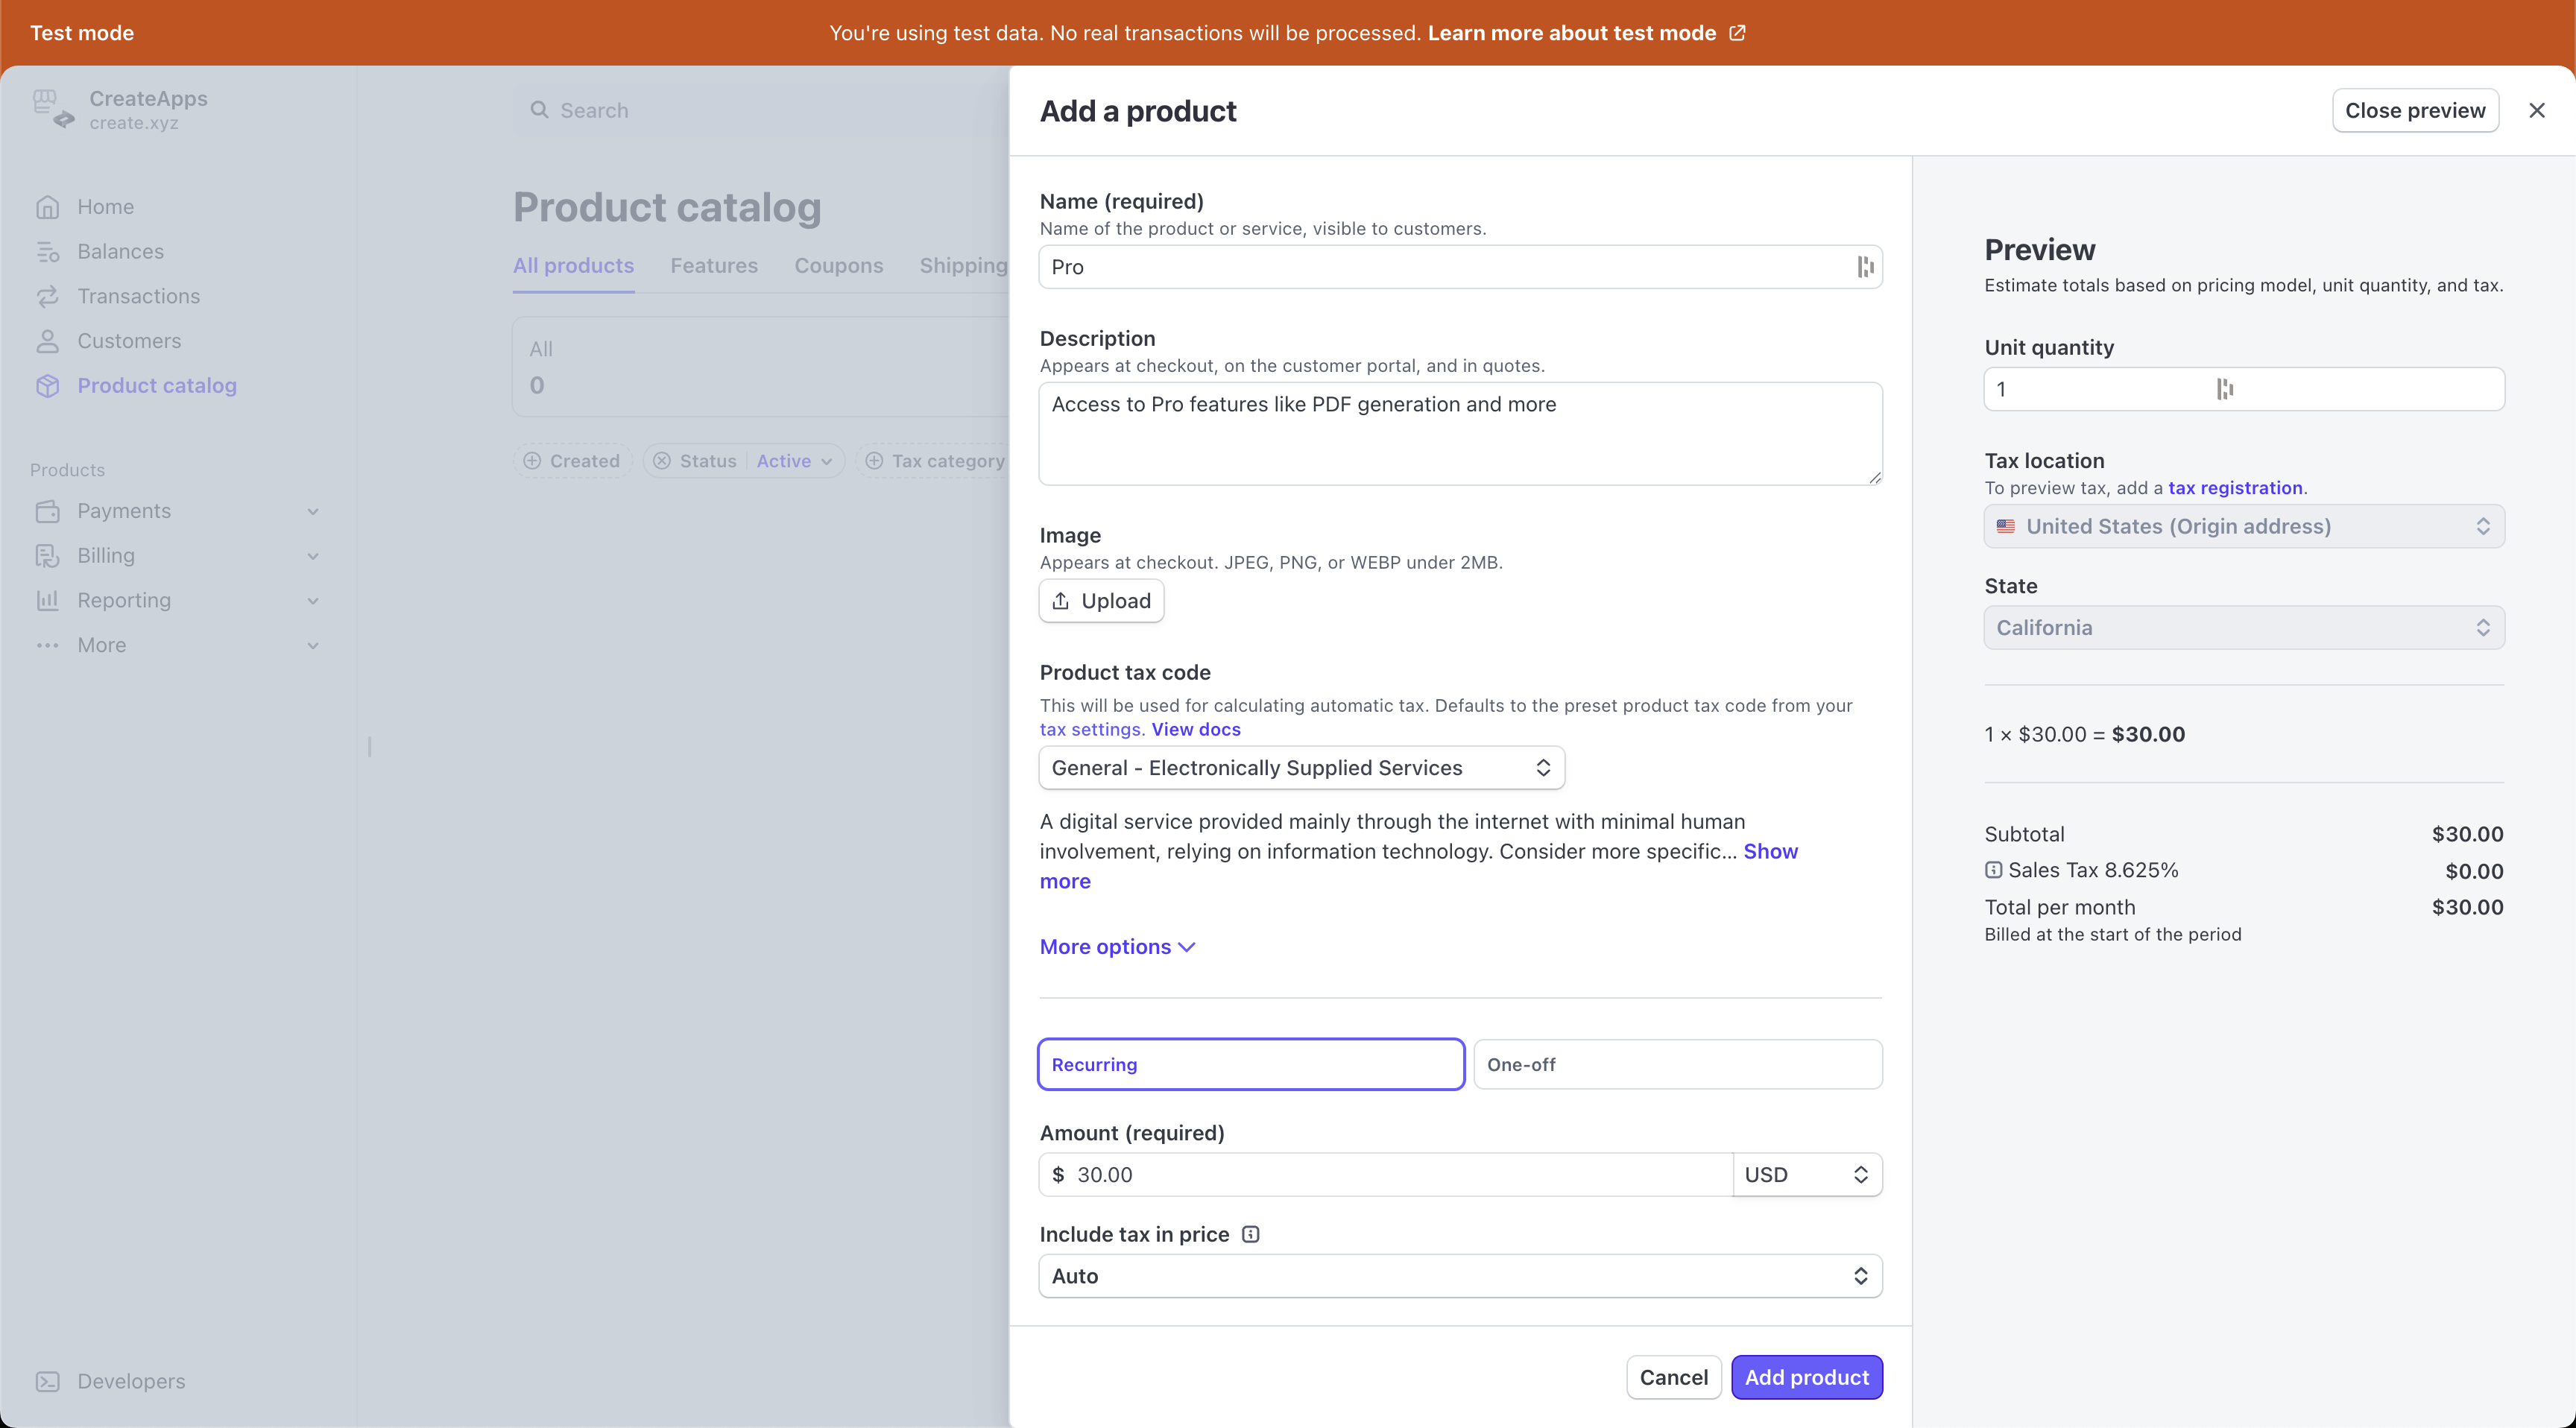 Name and description.Under Pricing, select “Recurring” and add a price per month.
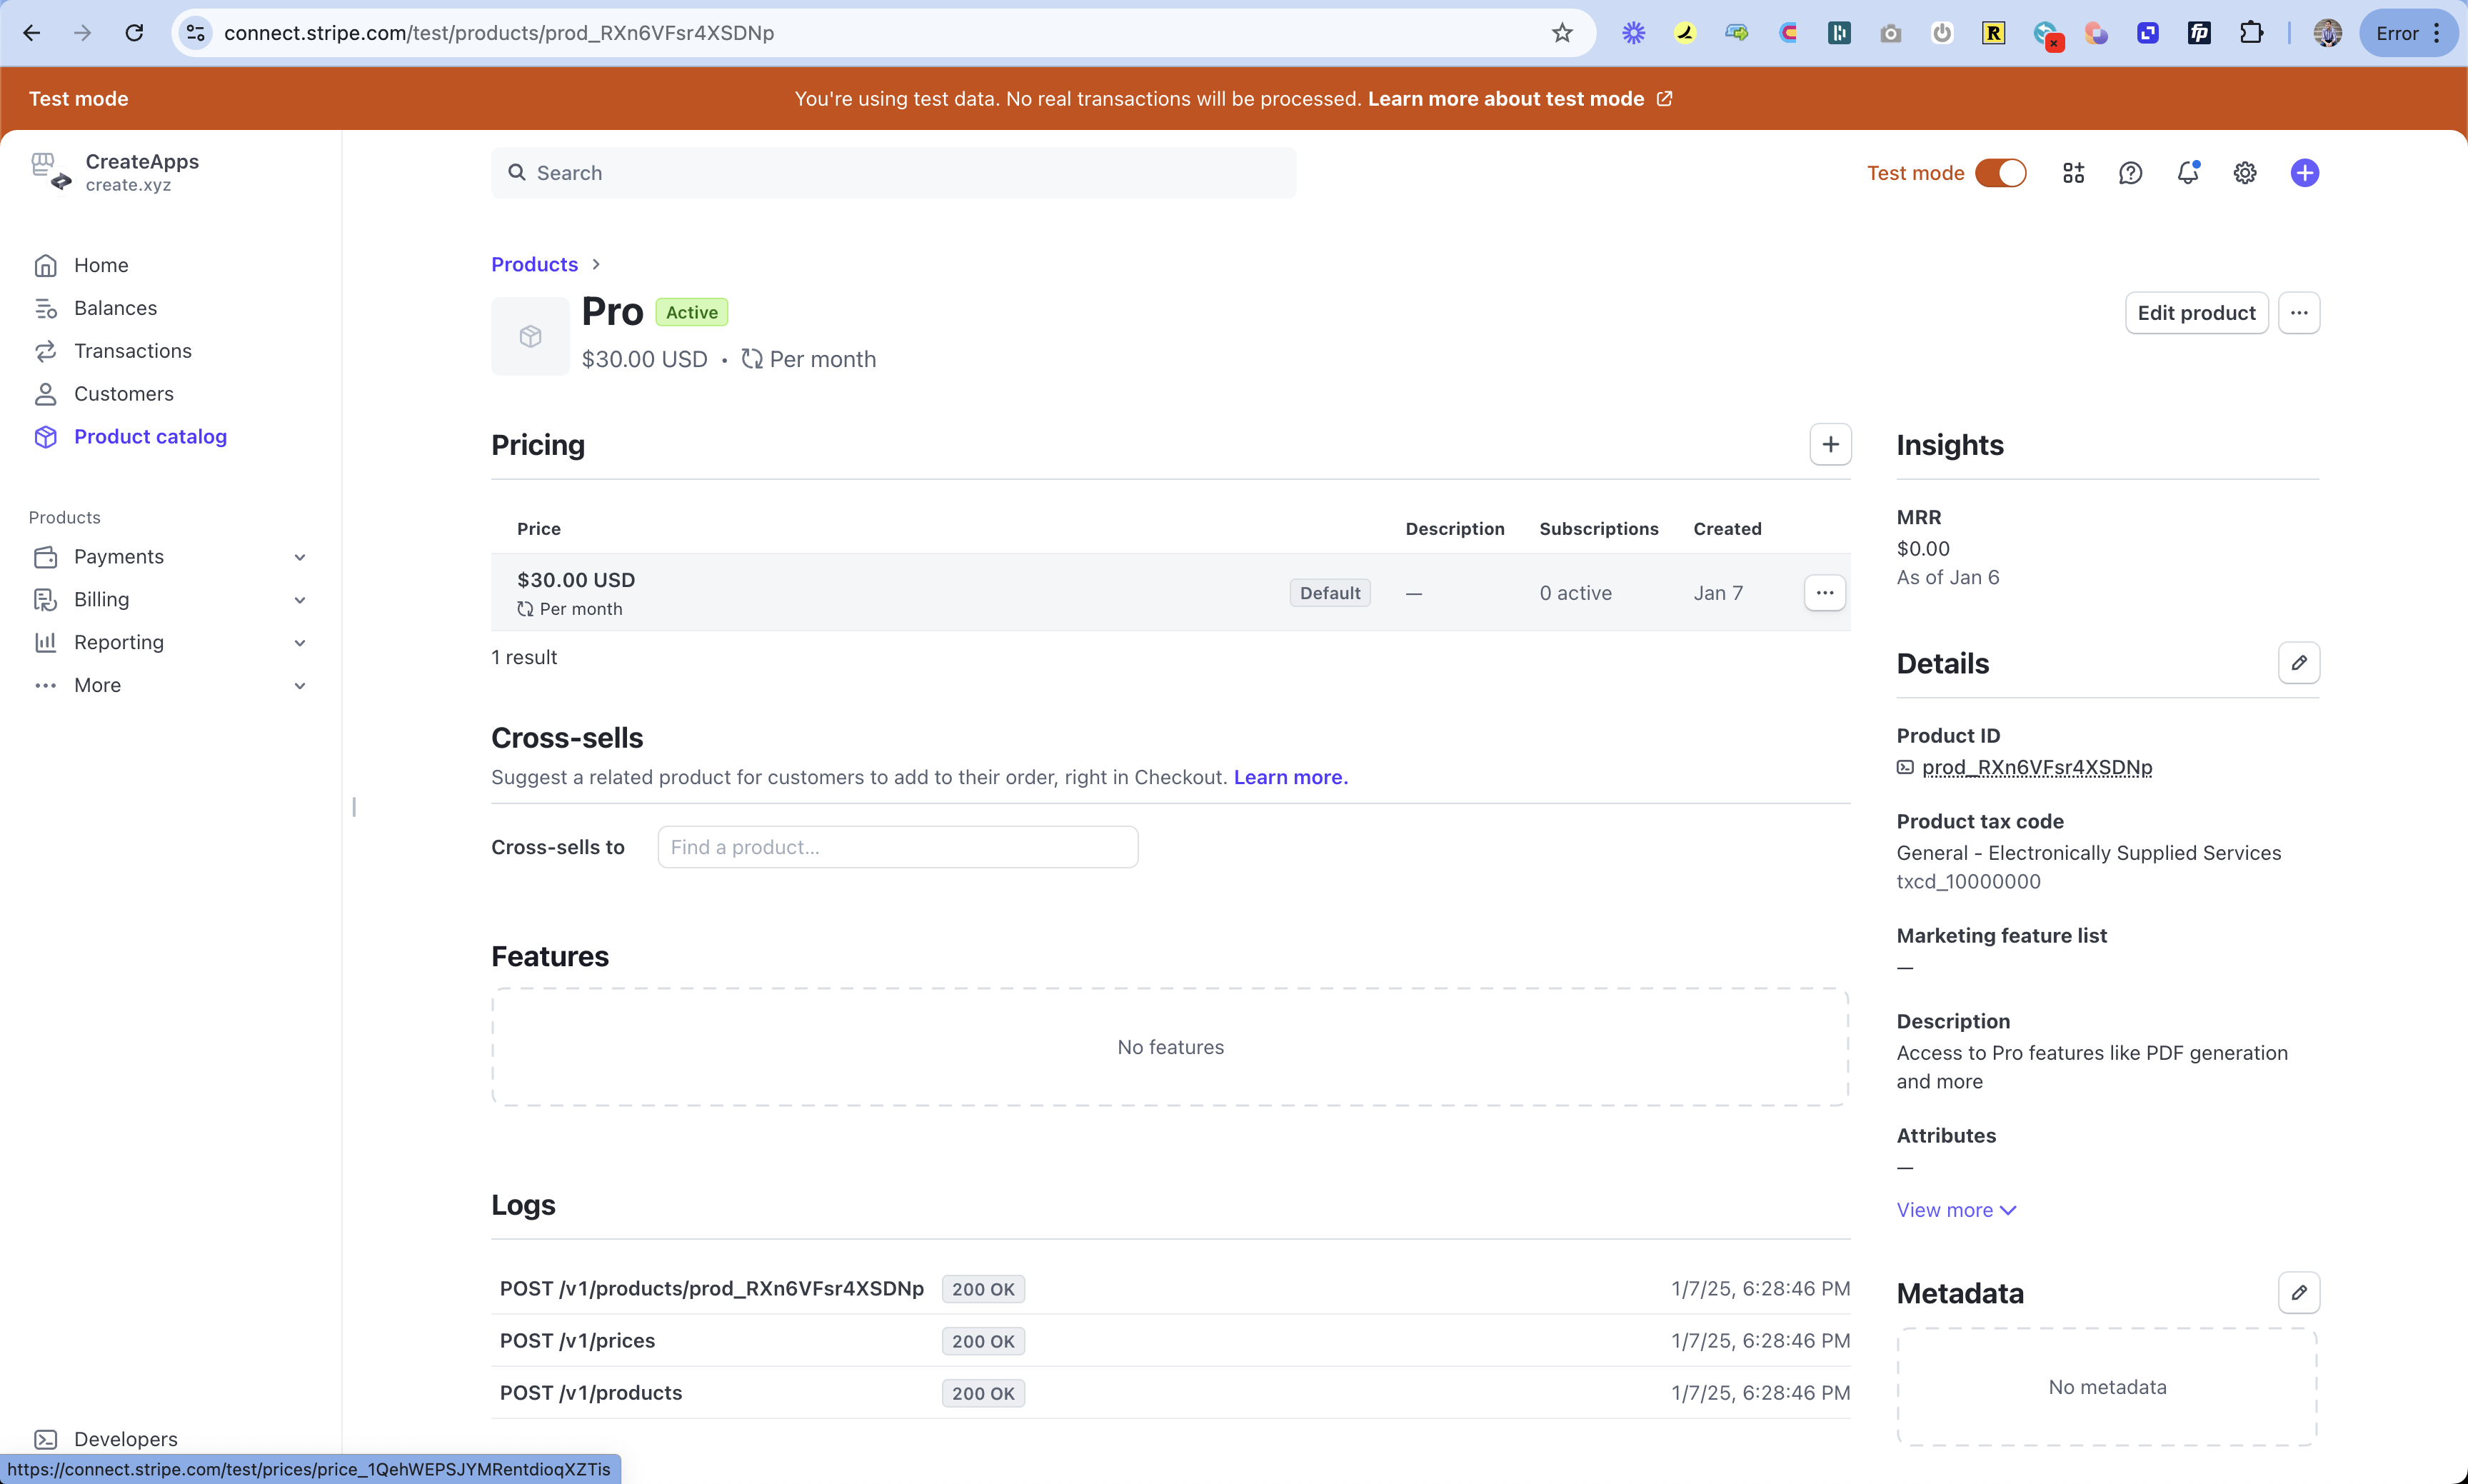
Go to the product
Go to the price
Copy the price ID from top right corner
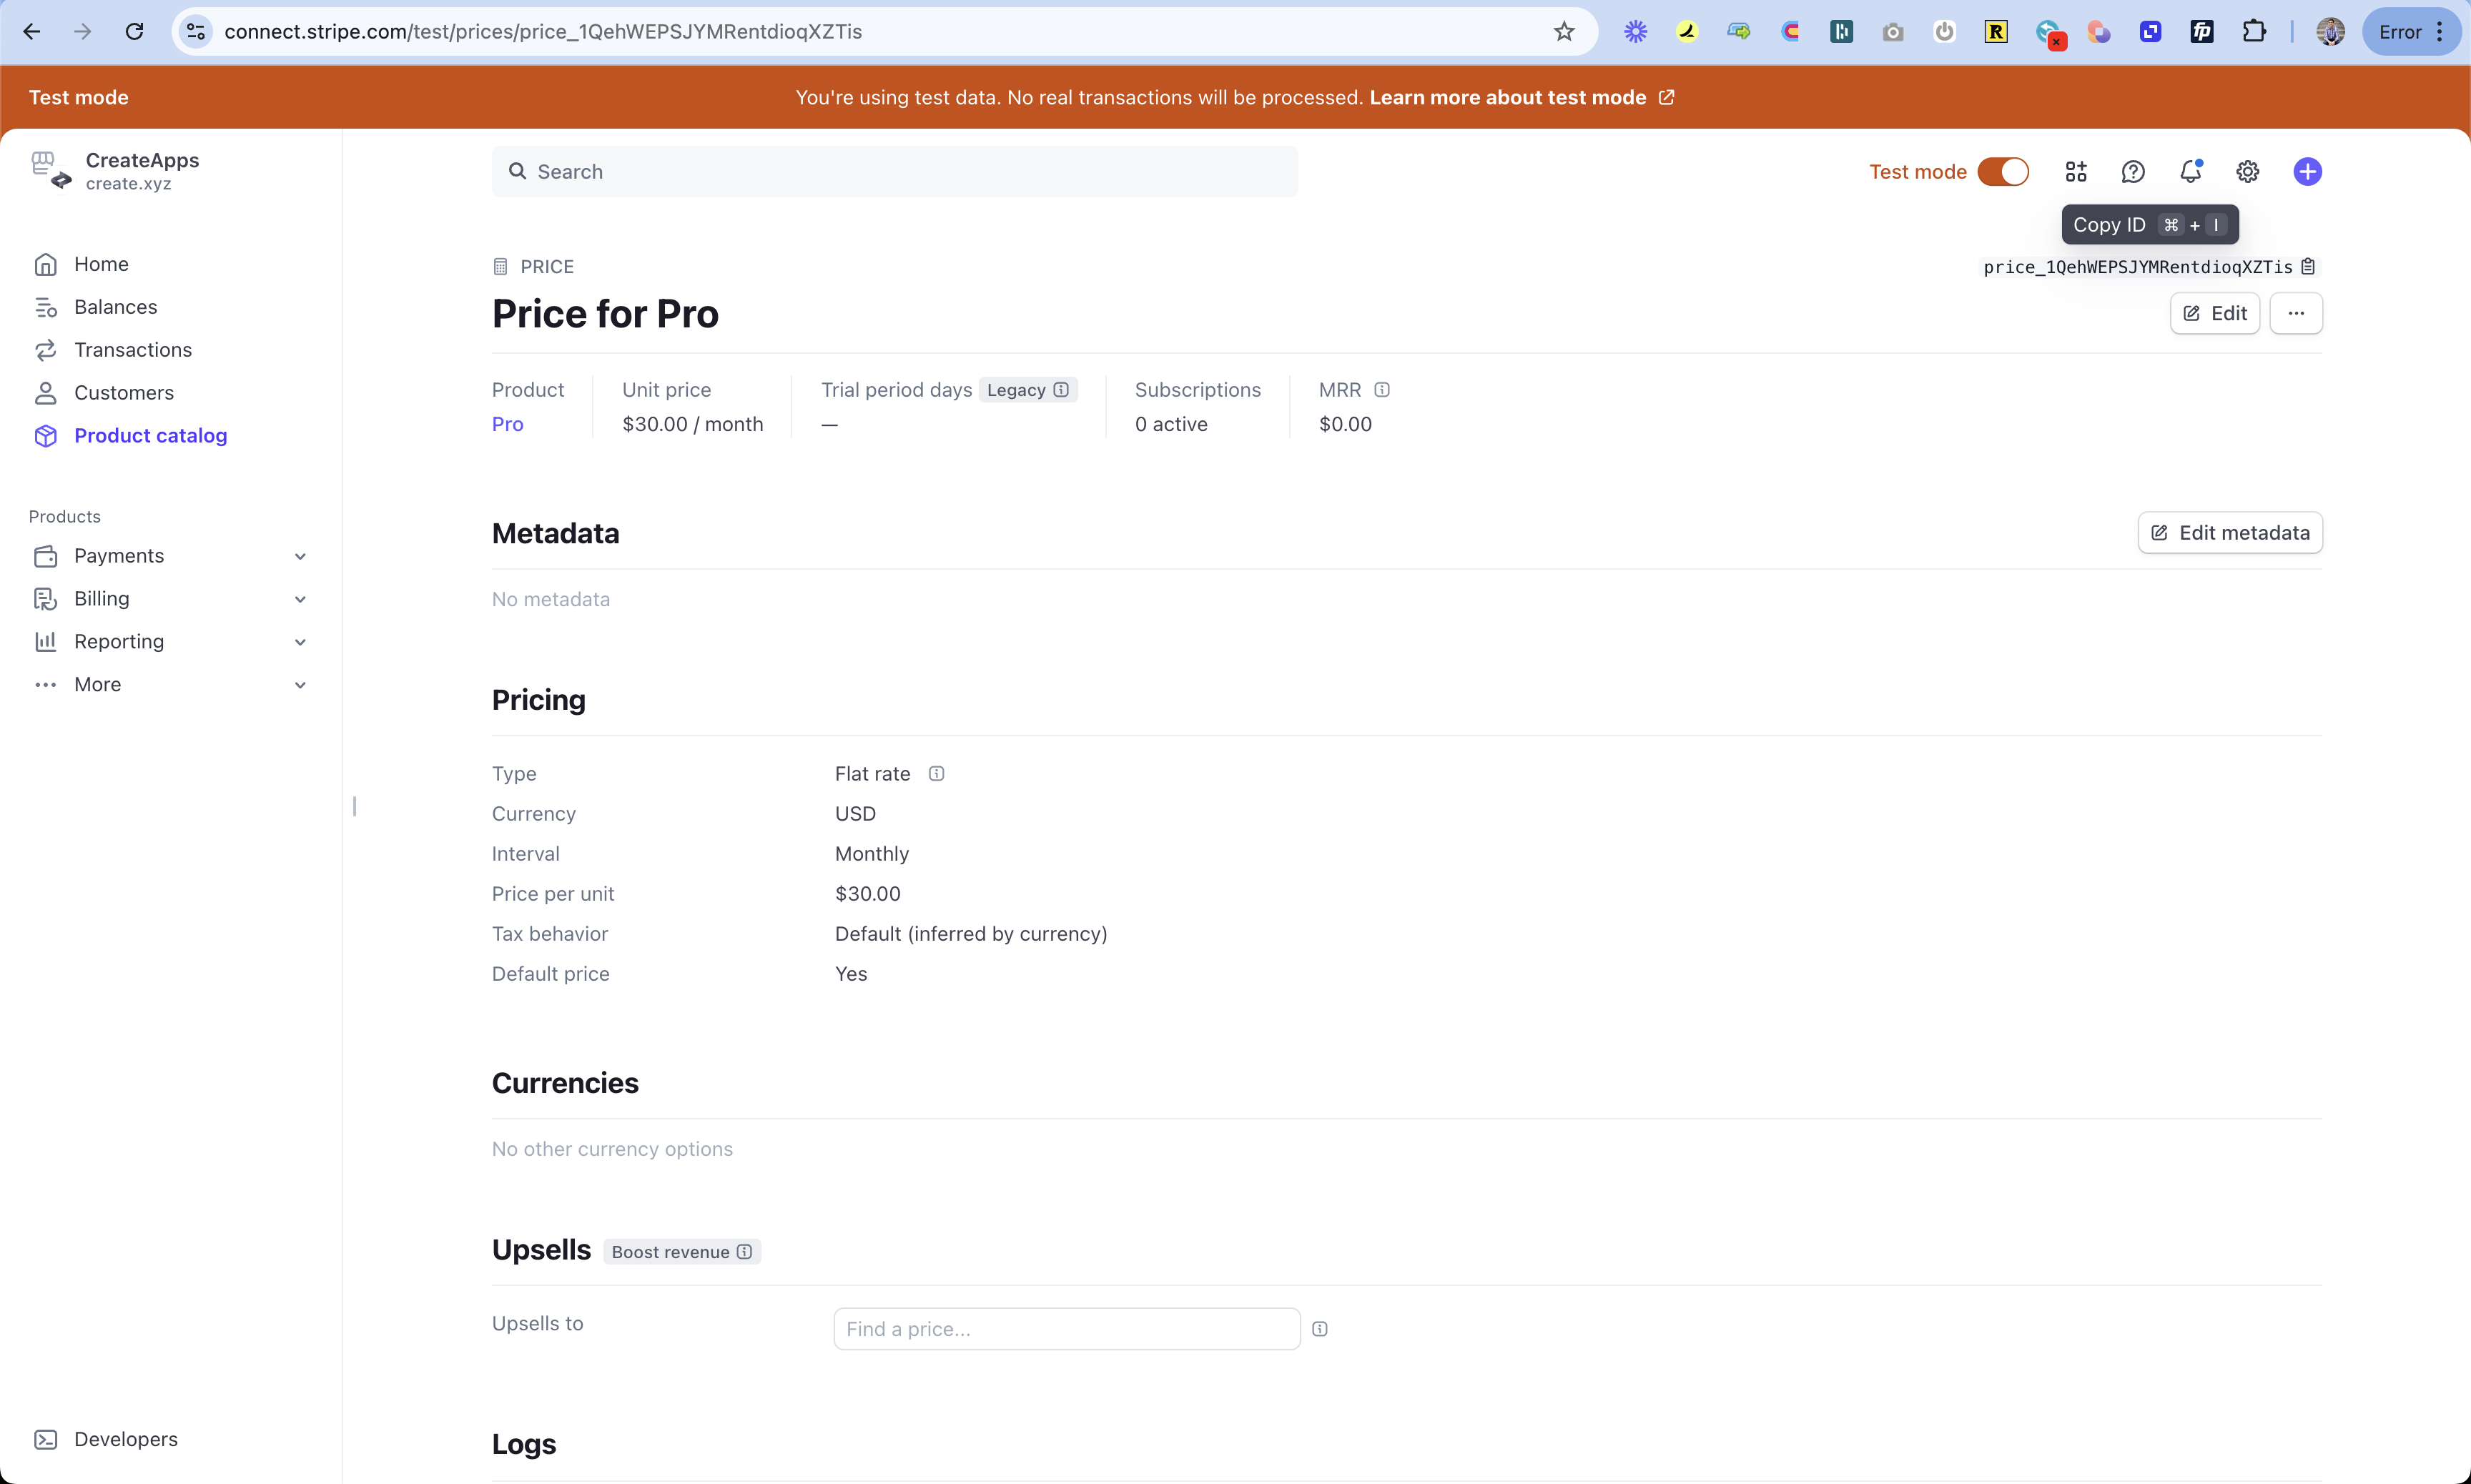 Copy this ID. You’ll set it in your Create app as STRIPE_PRICE_ID.
Go to Create project
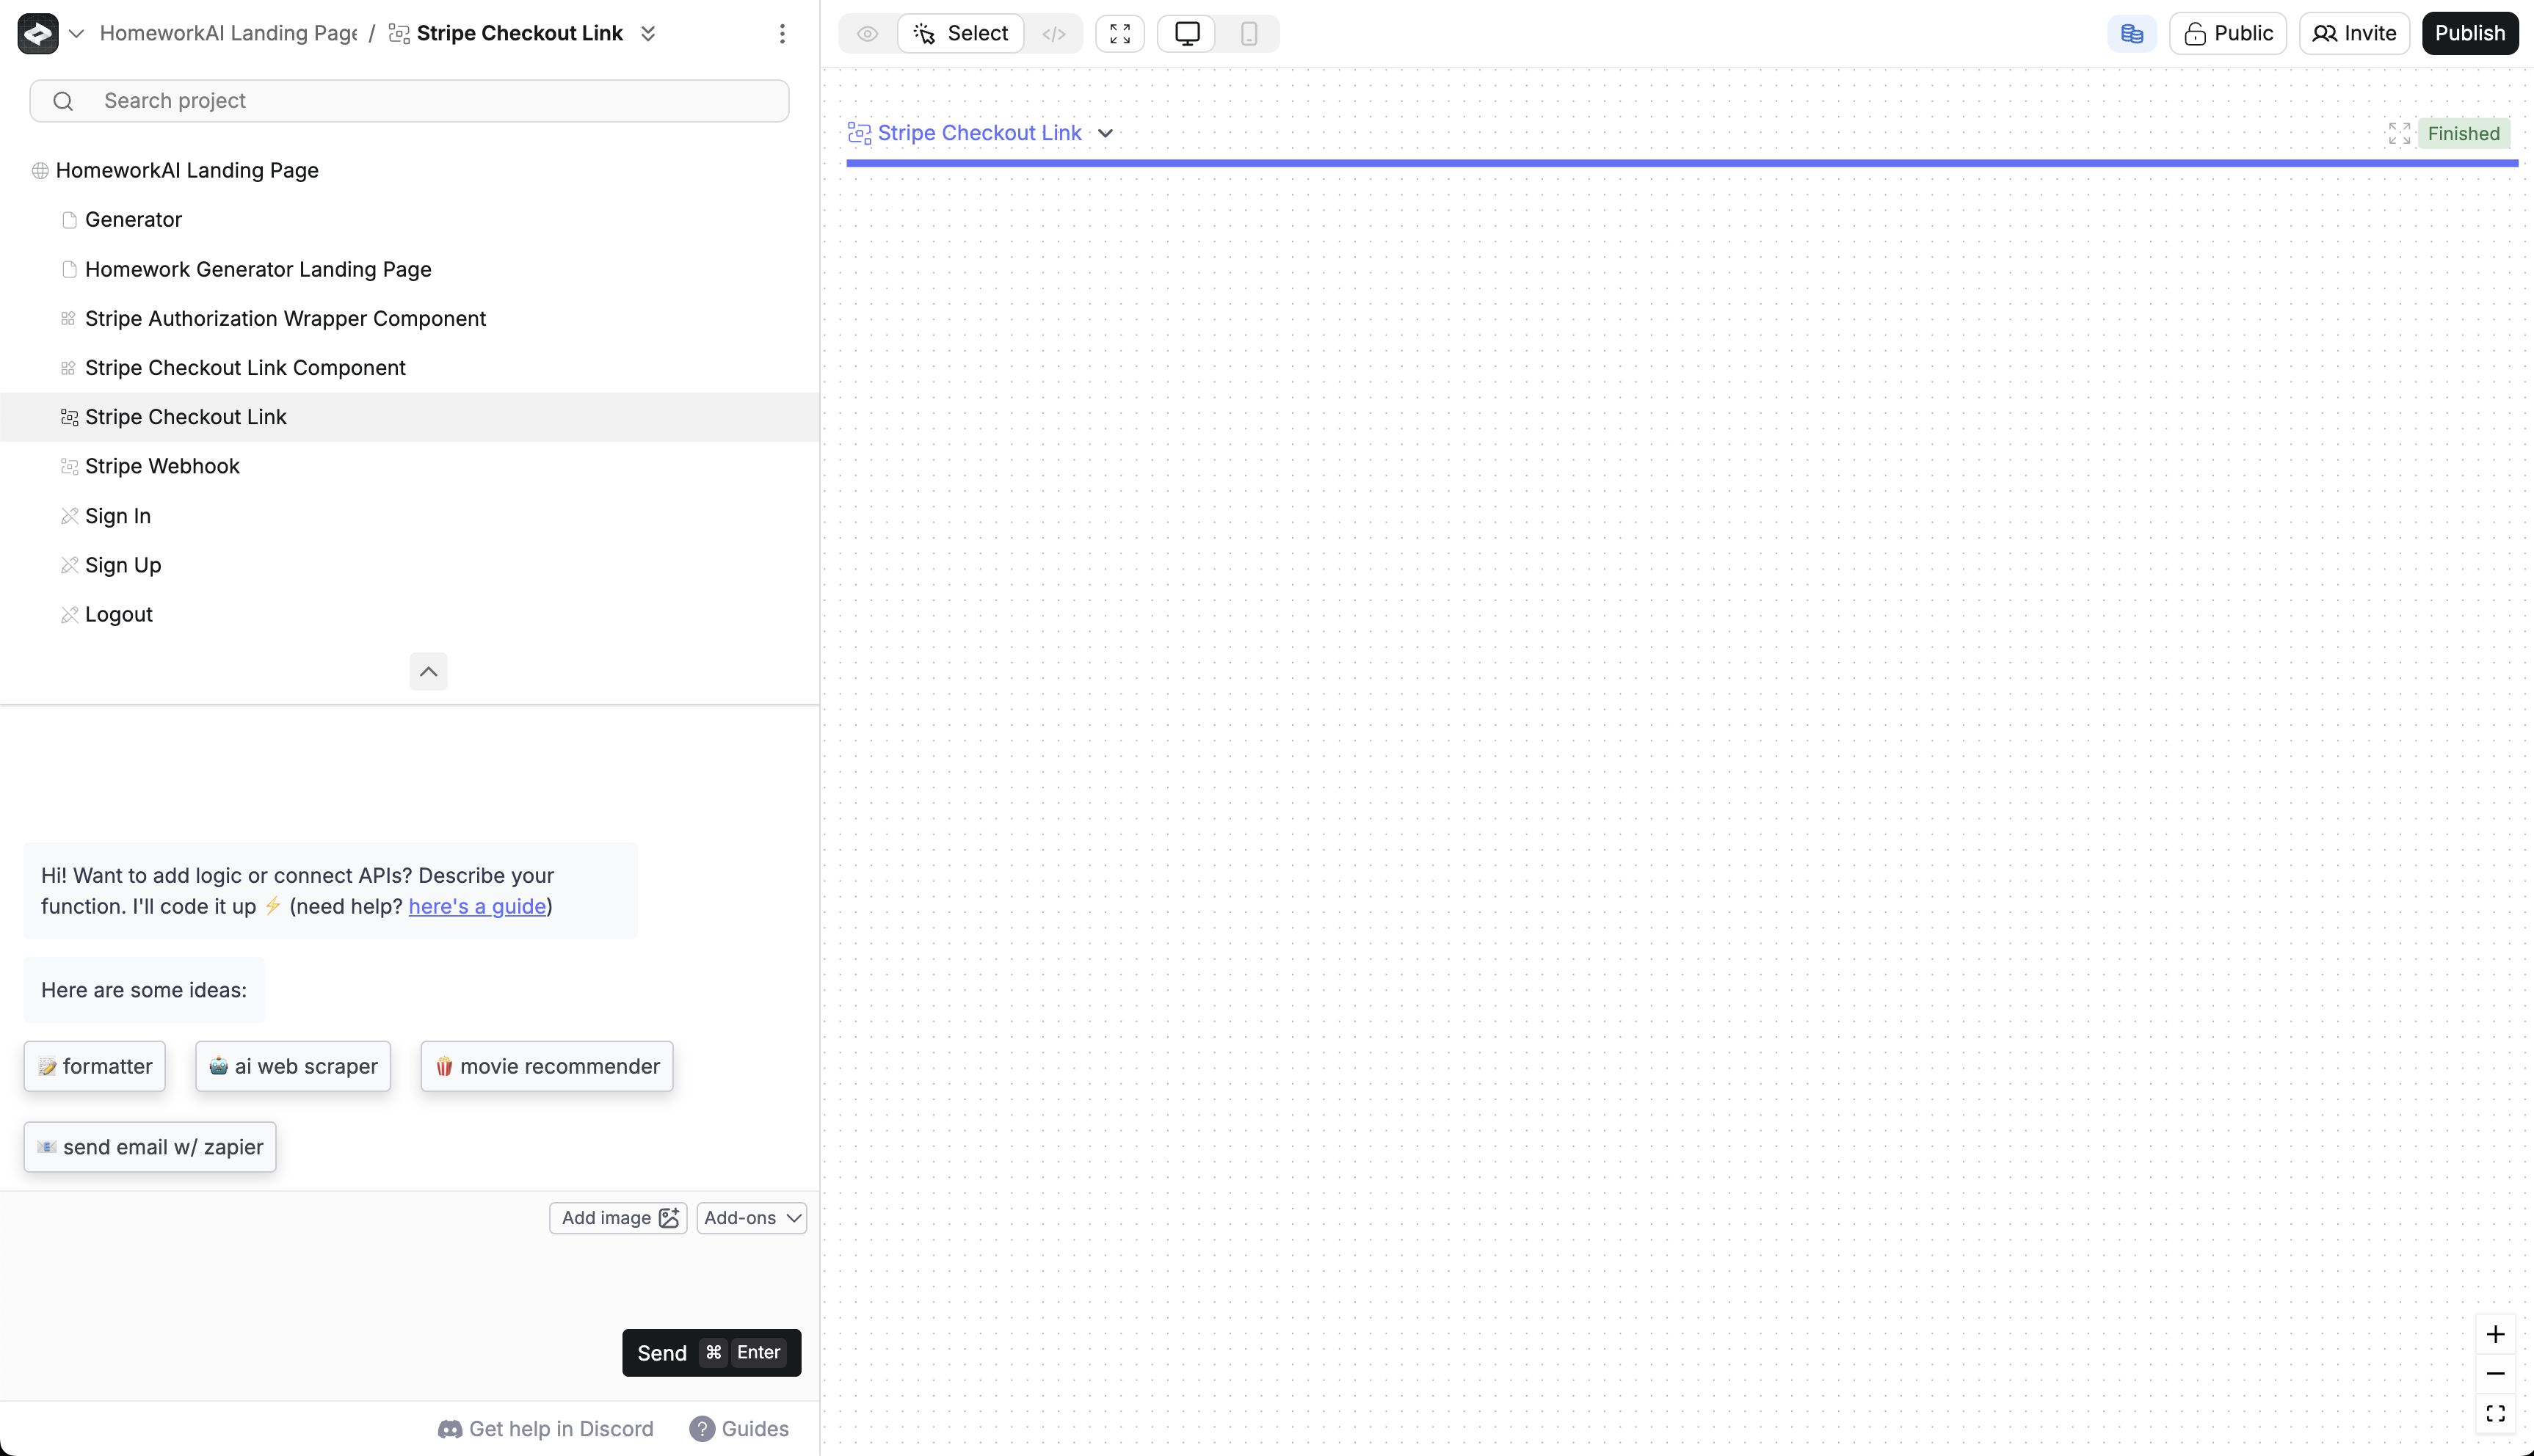
Select Stripe Checkout Link function
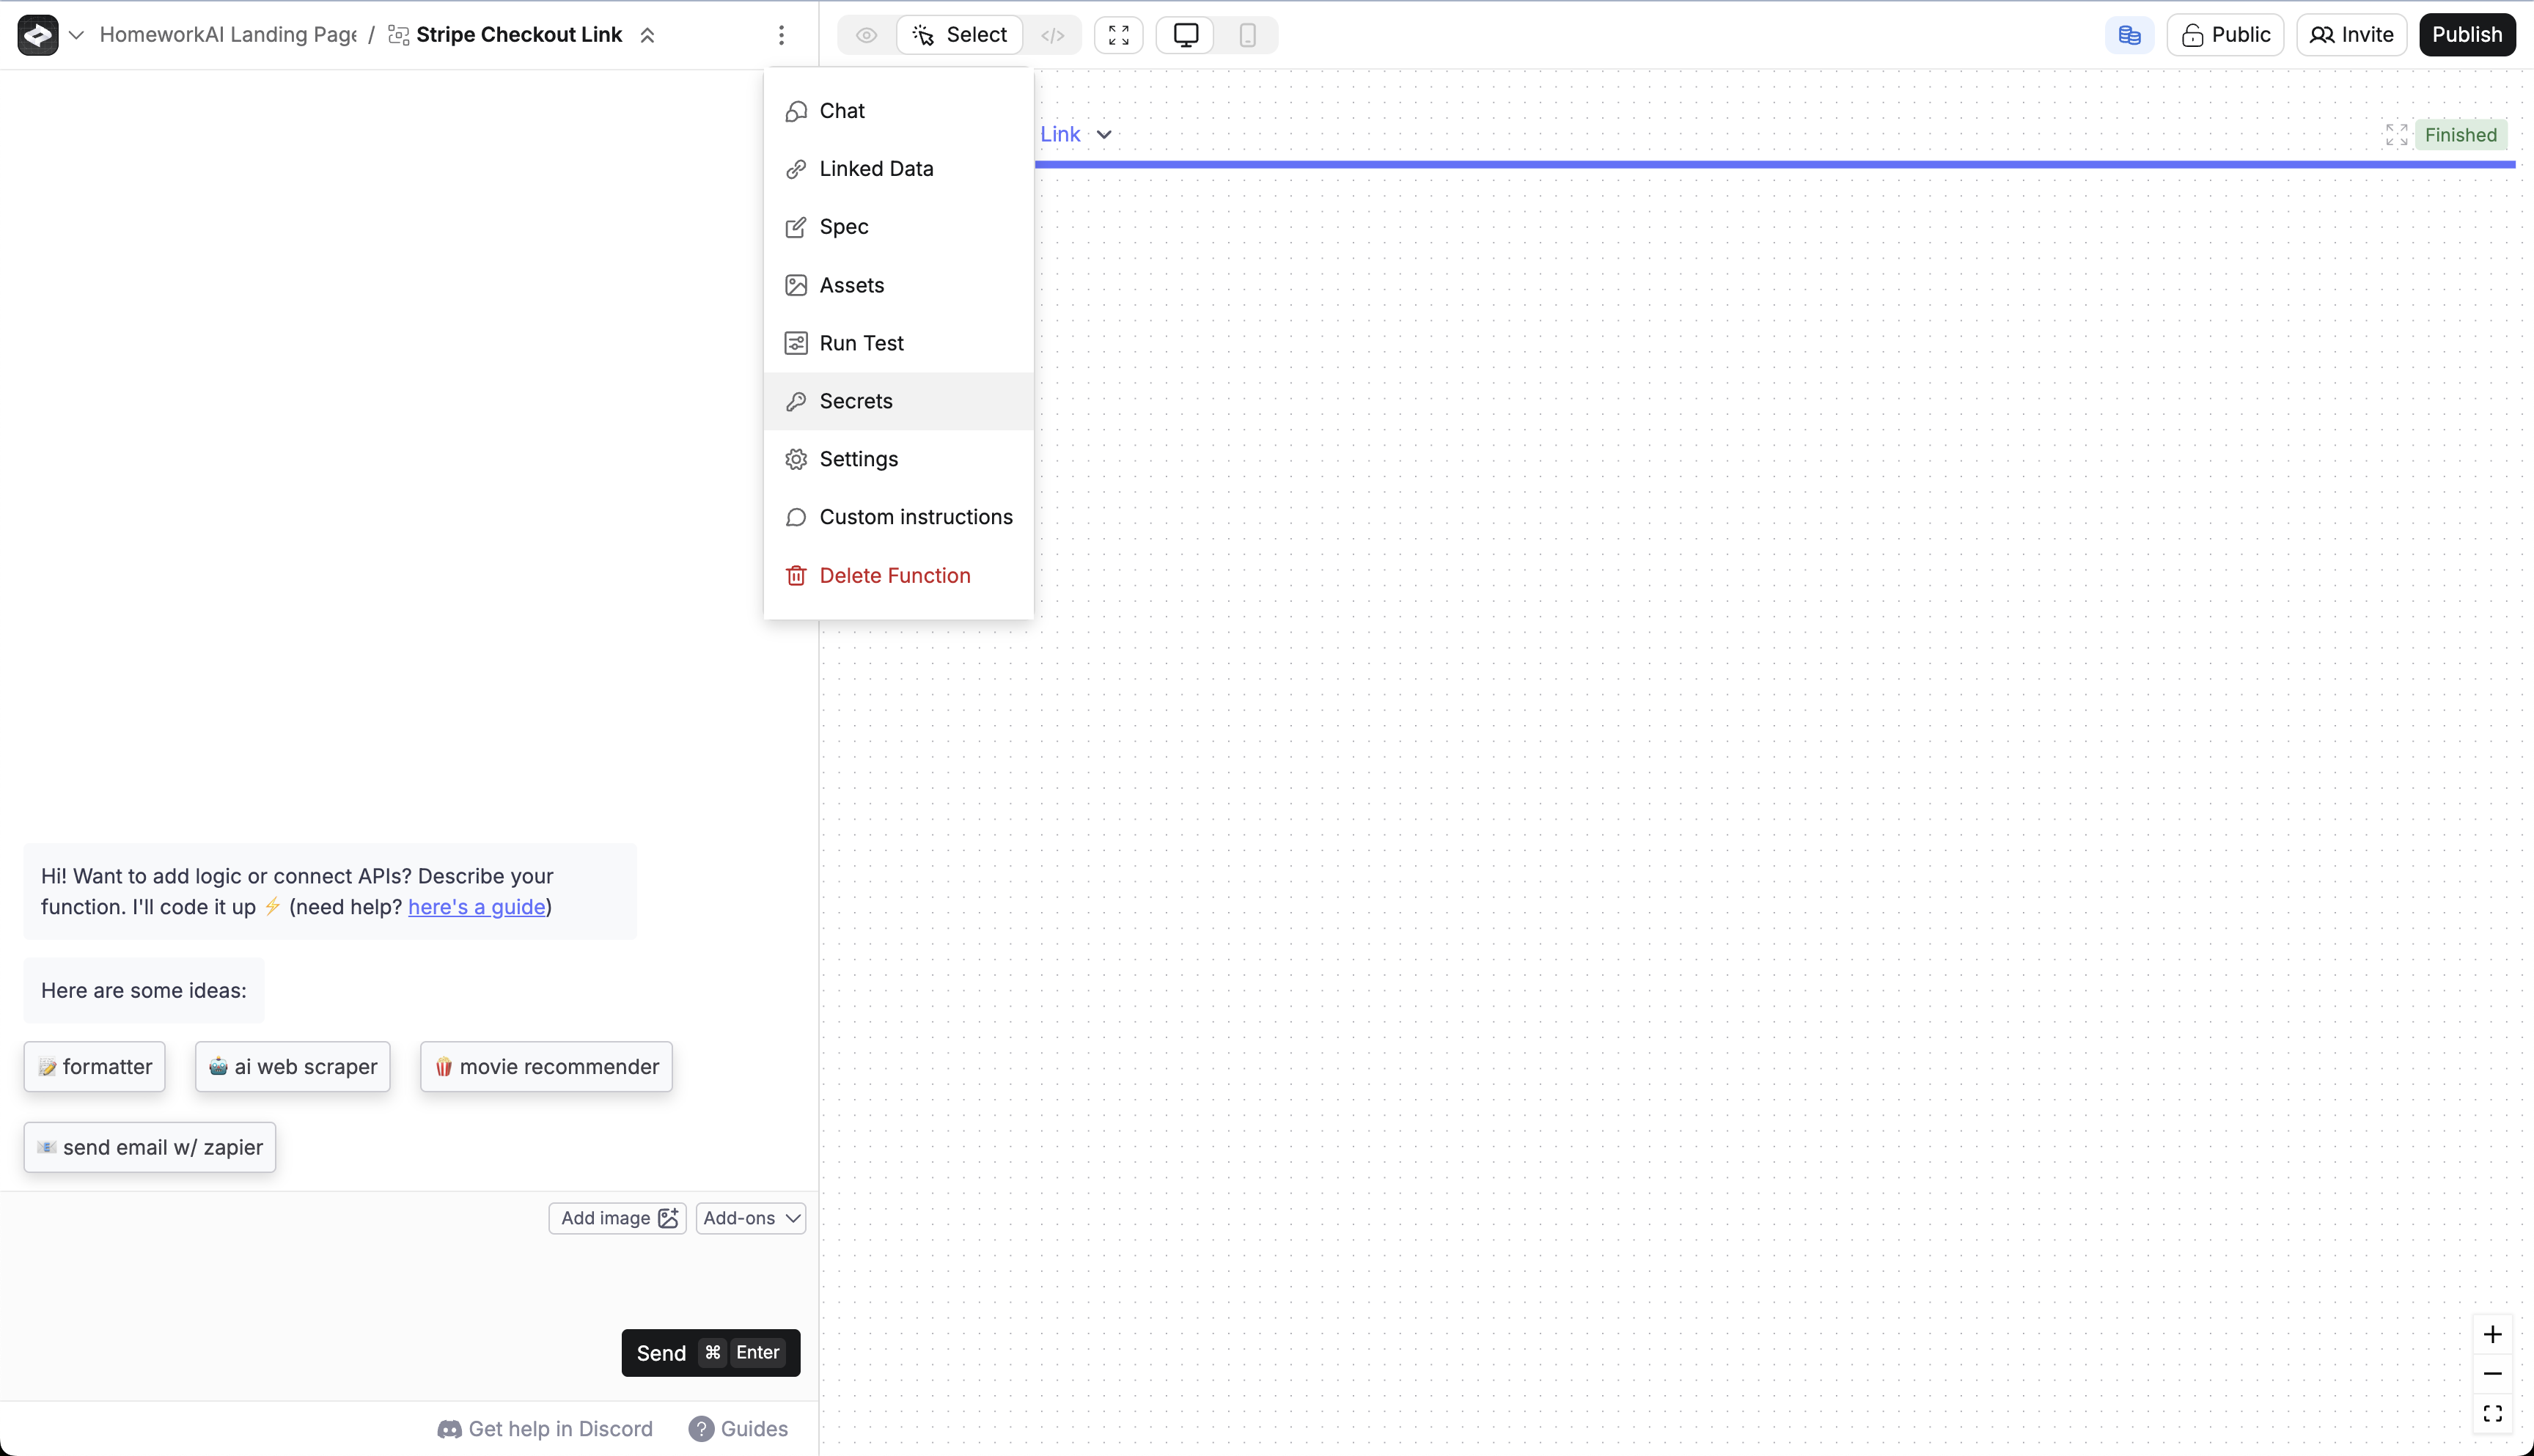
Go to [3 dots menu](/builder/controls#3-dot-menu) > Secrets
Add STRIPE_PRICE_ID as a secret
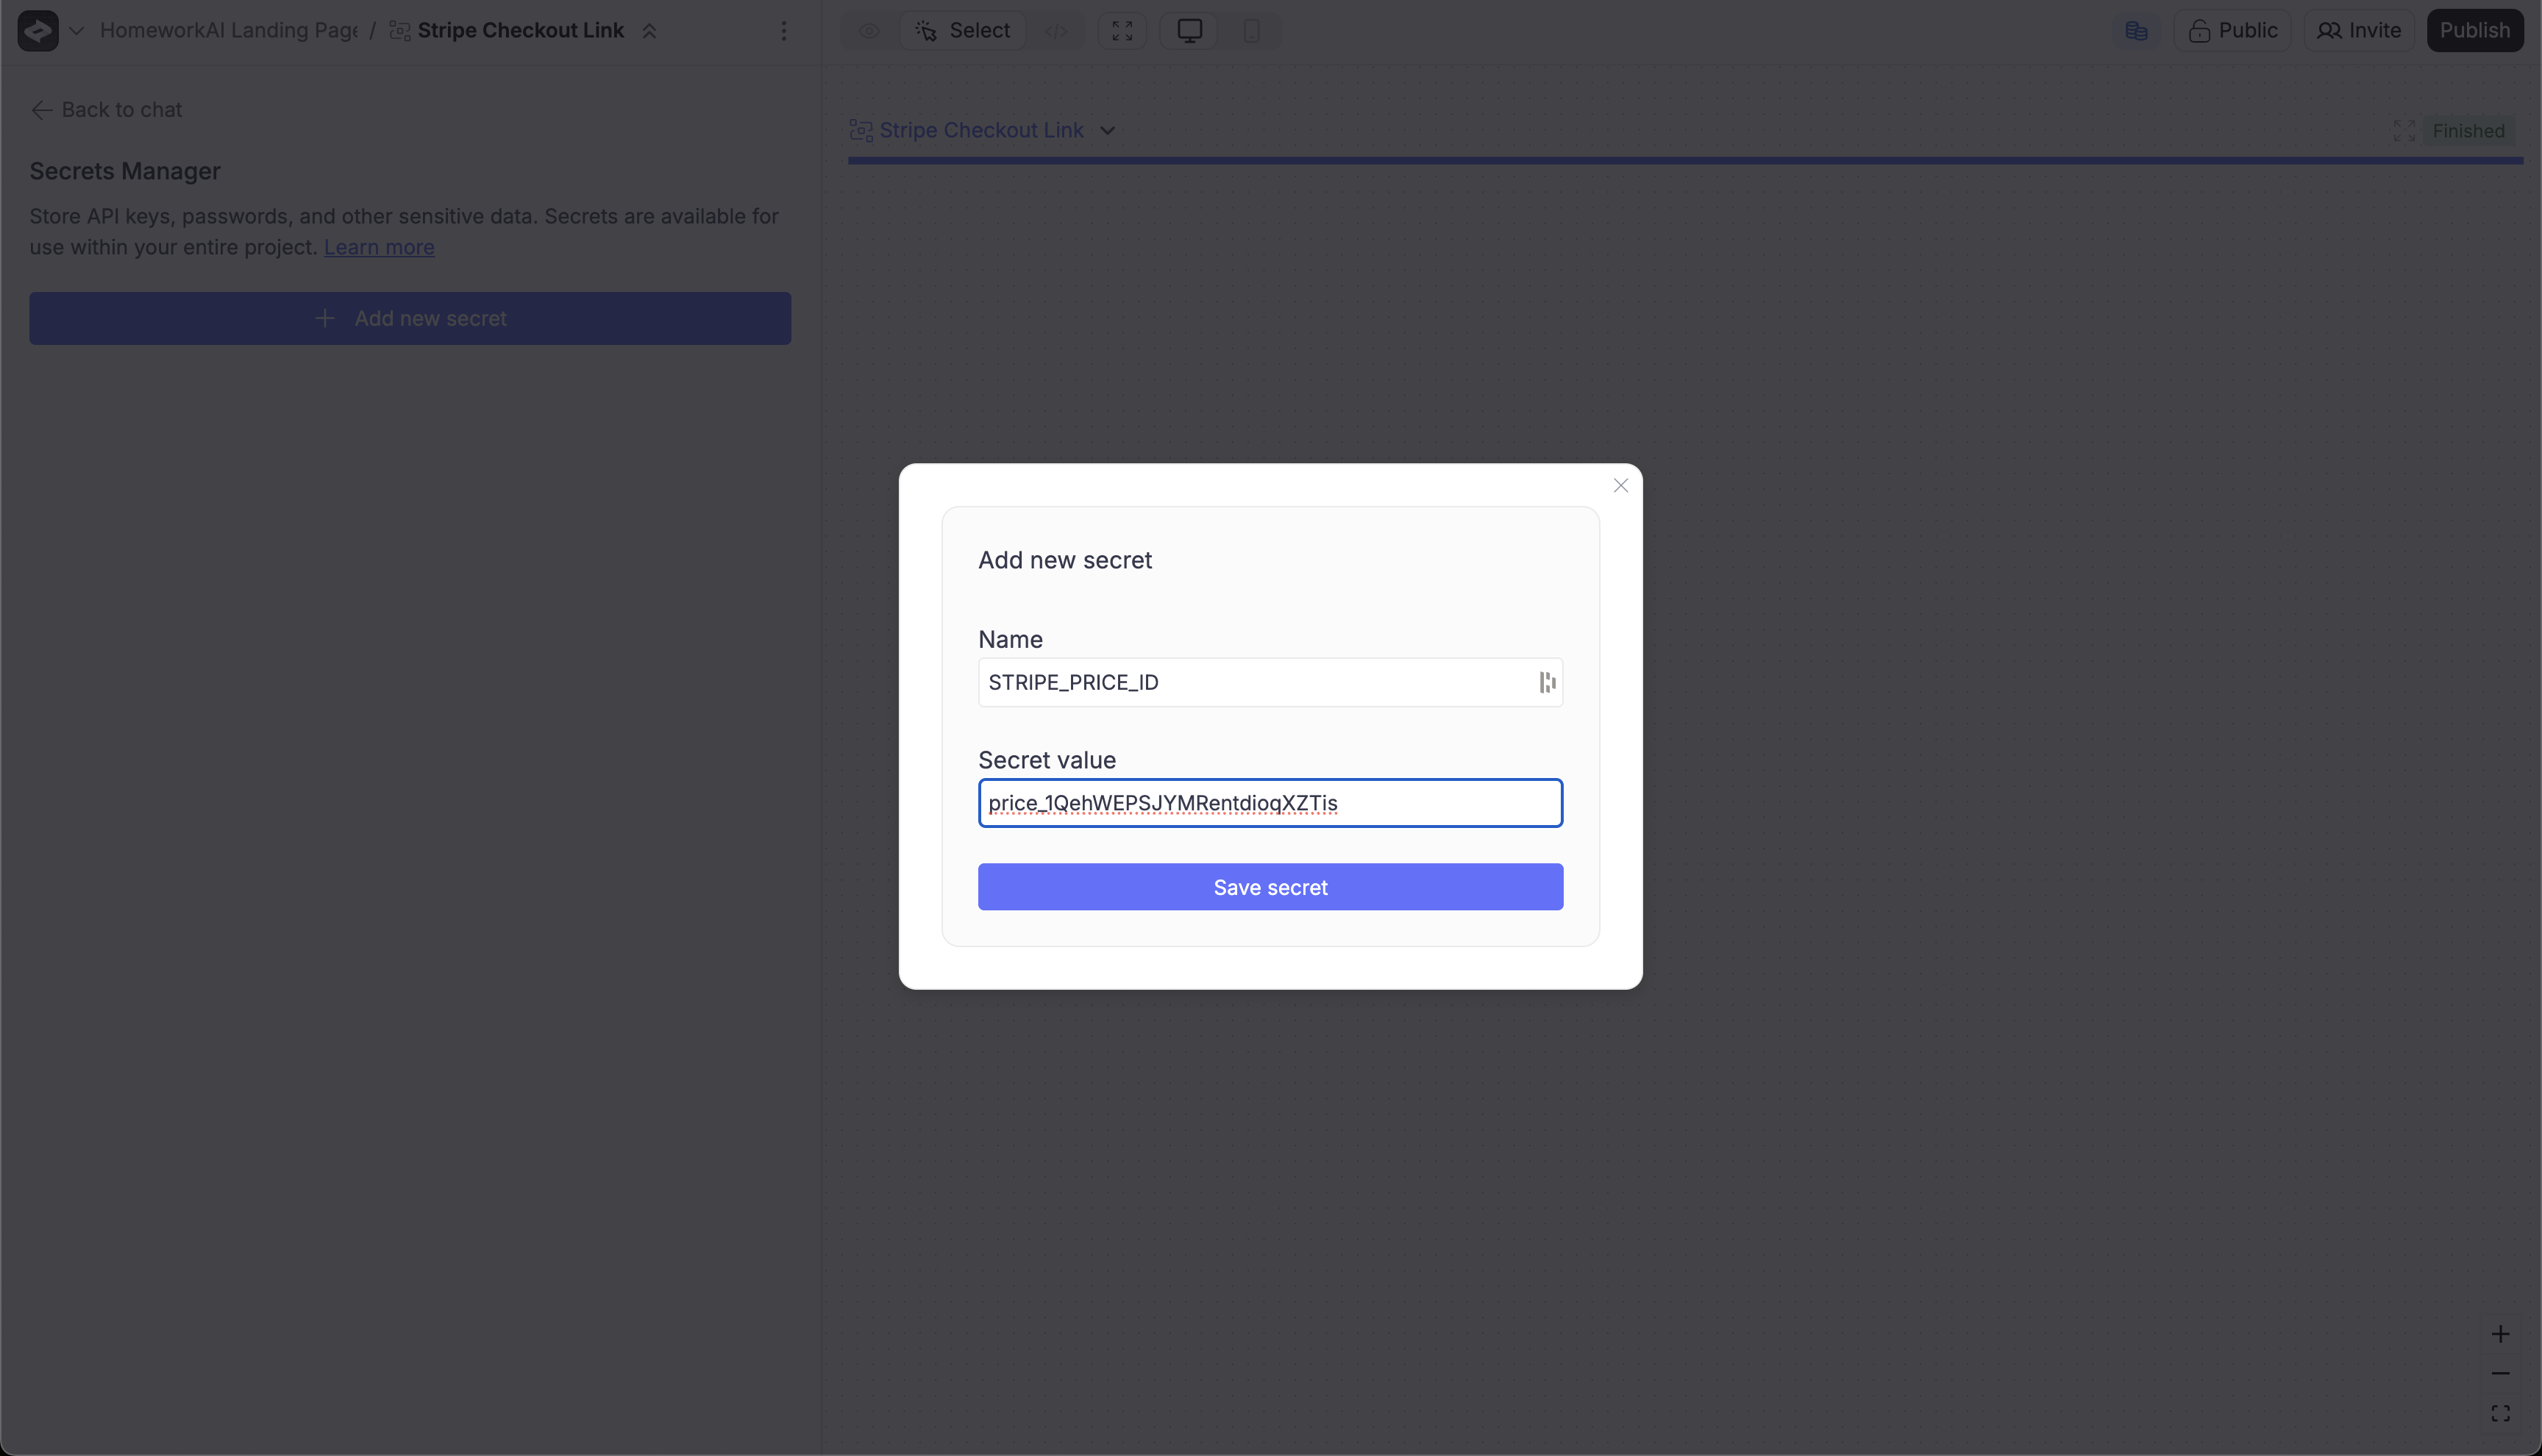 Add STRIPE_PRICE_ID as the name.
Add the price ID you copied from Stripe as the value.
Add STRIPE_PRICE_ID as the name.
Add the price ID you copied from Stripe as the value.Add Stripe Webhook and get STRIPE_WEBHOOK_SECRET
Go to Create project
Copy the project id from the URL in the builder

Create webhook URL
<project-groupid>.created.app/api/stripe-webhookSo the final URL here is: 326163b8-7363-489e-9def-13d8717f6ce6.created.app/api/stripe-webhookAccess Stripe Dashboard
Create Event Destination
Select Event
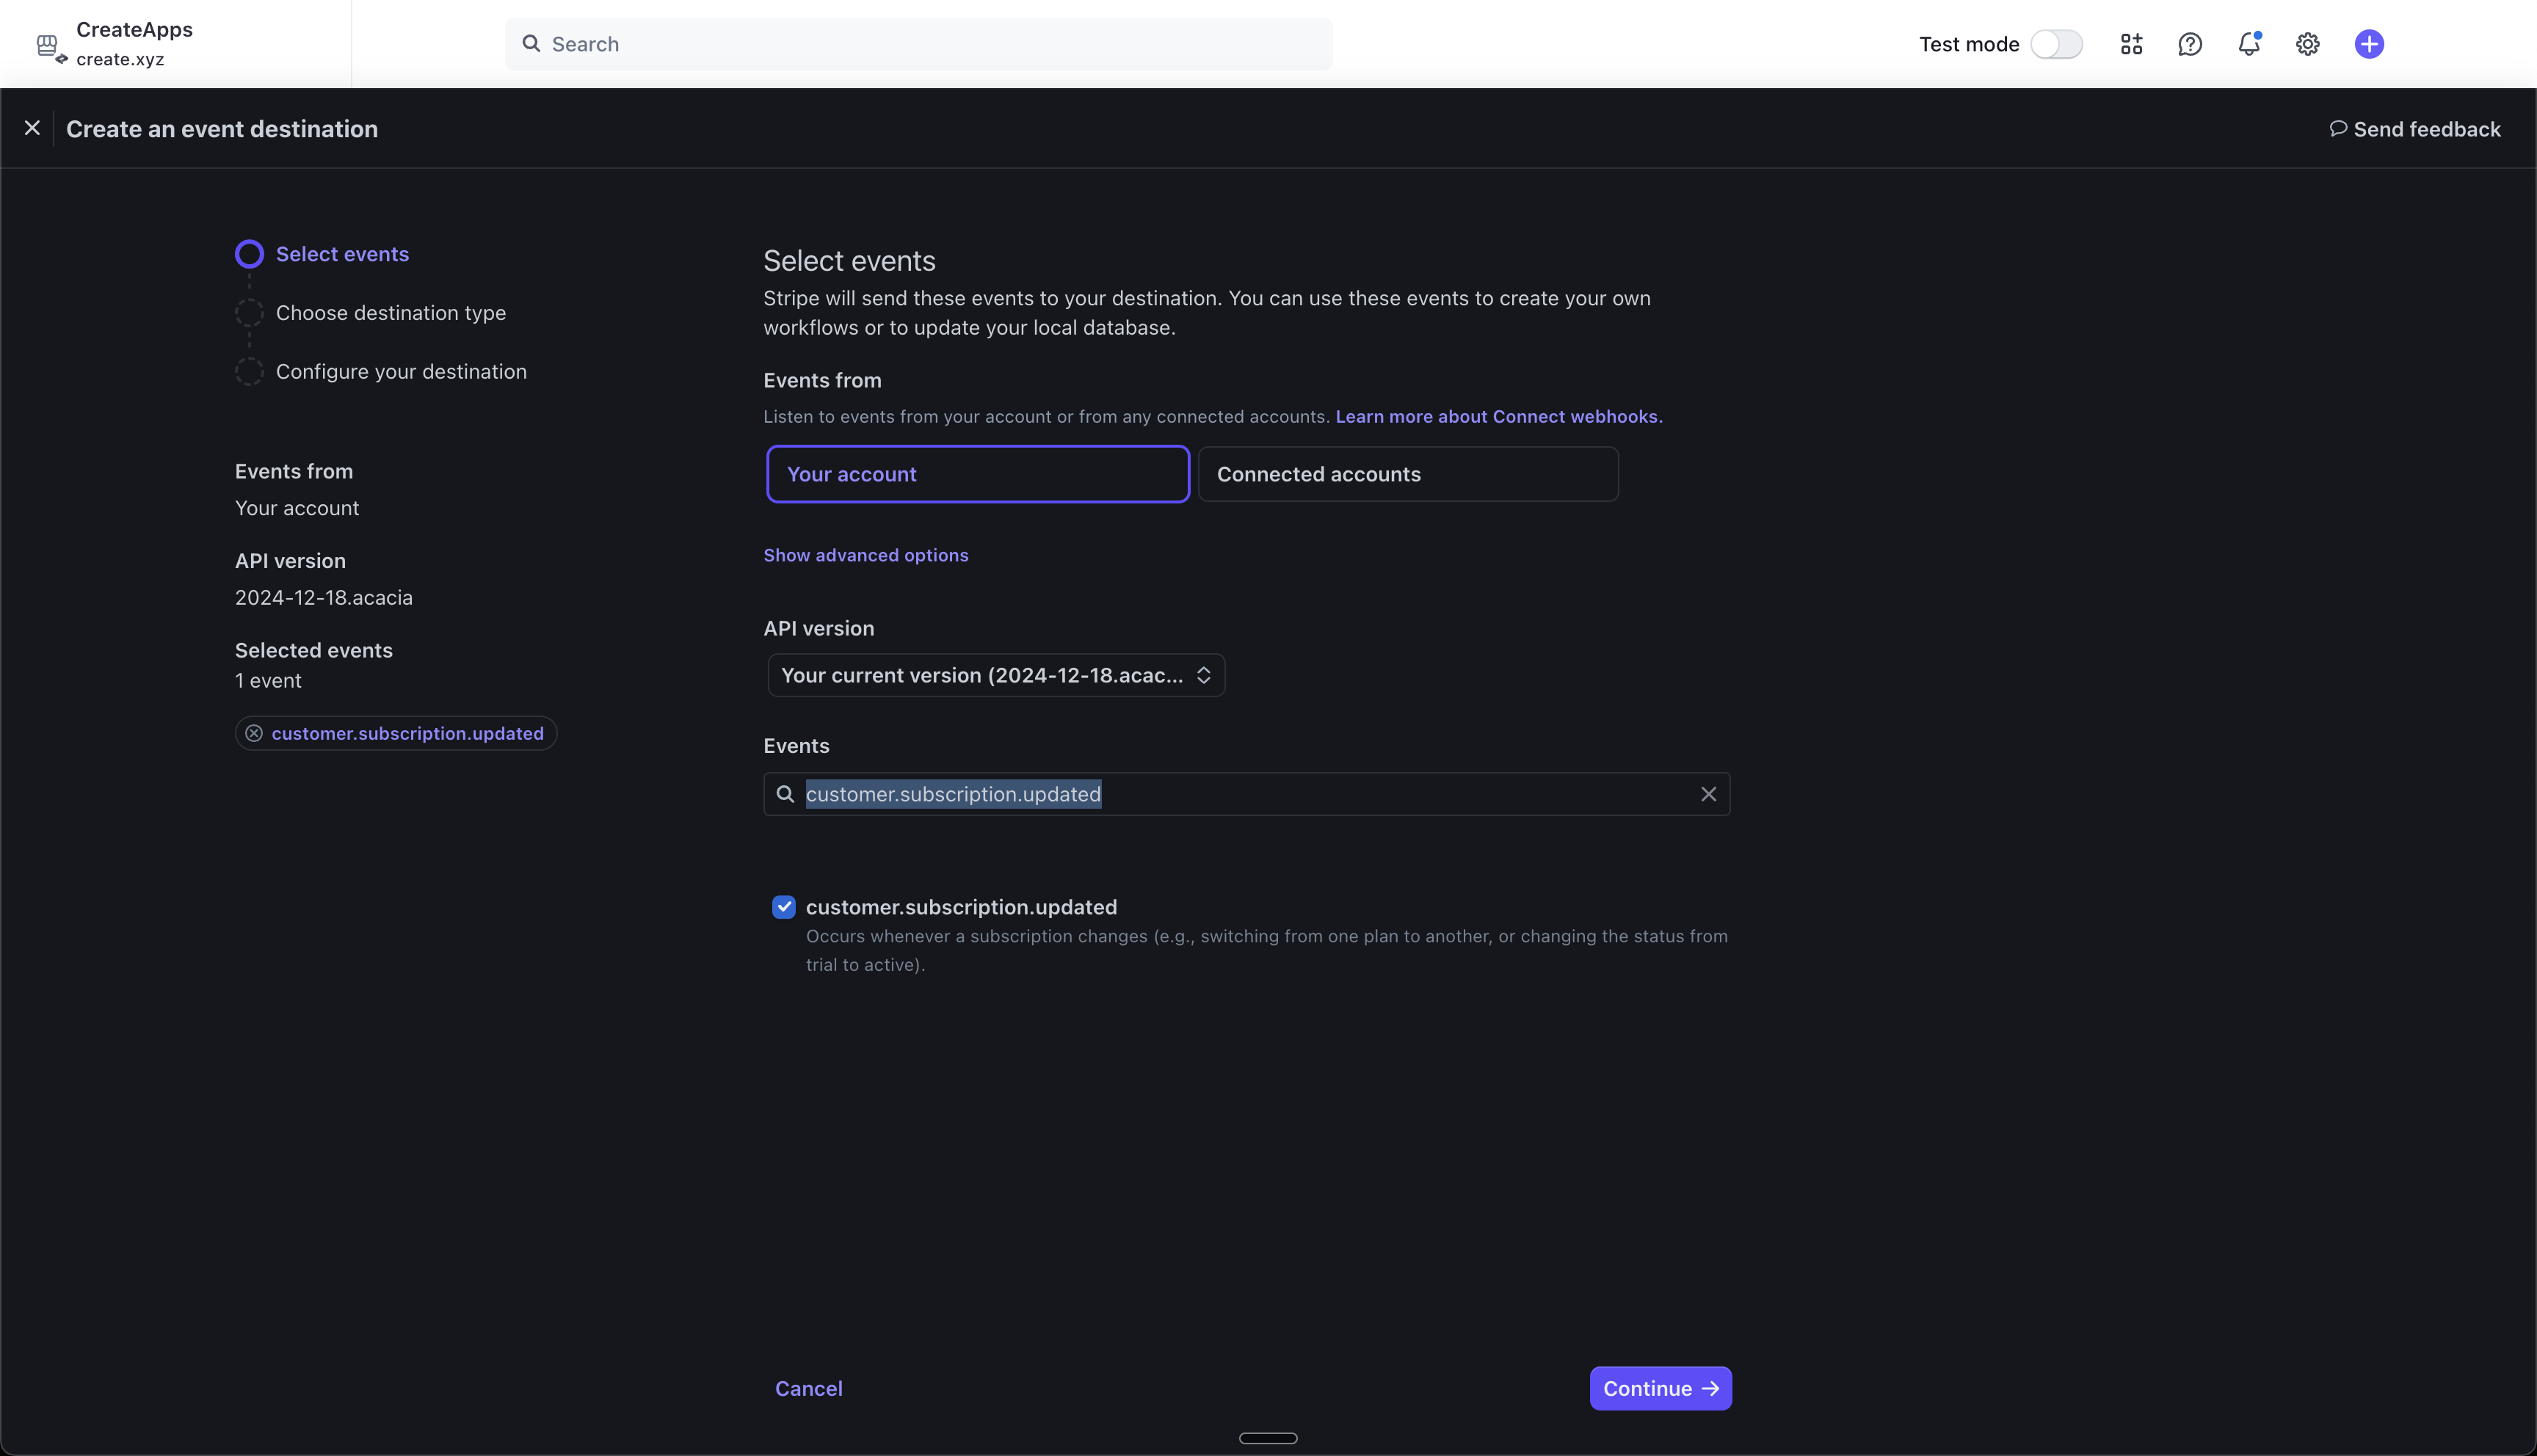
Choose Webhook
Set Endpoint URL
Get Secret

Copy Secret
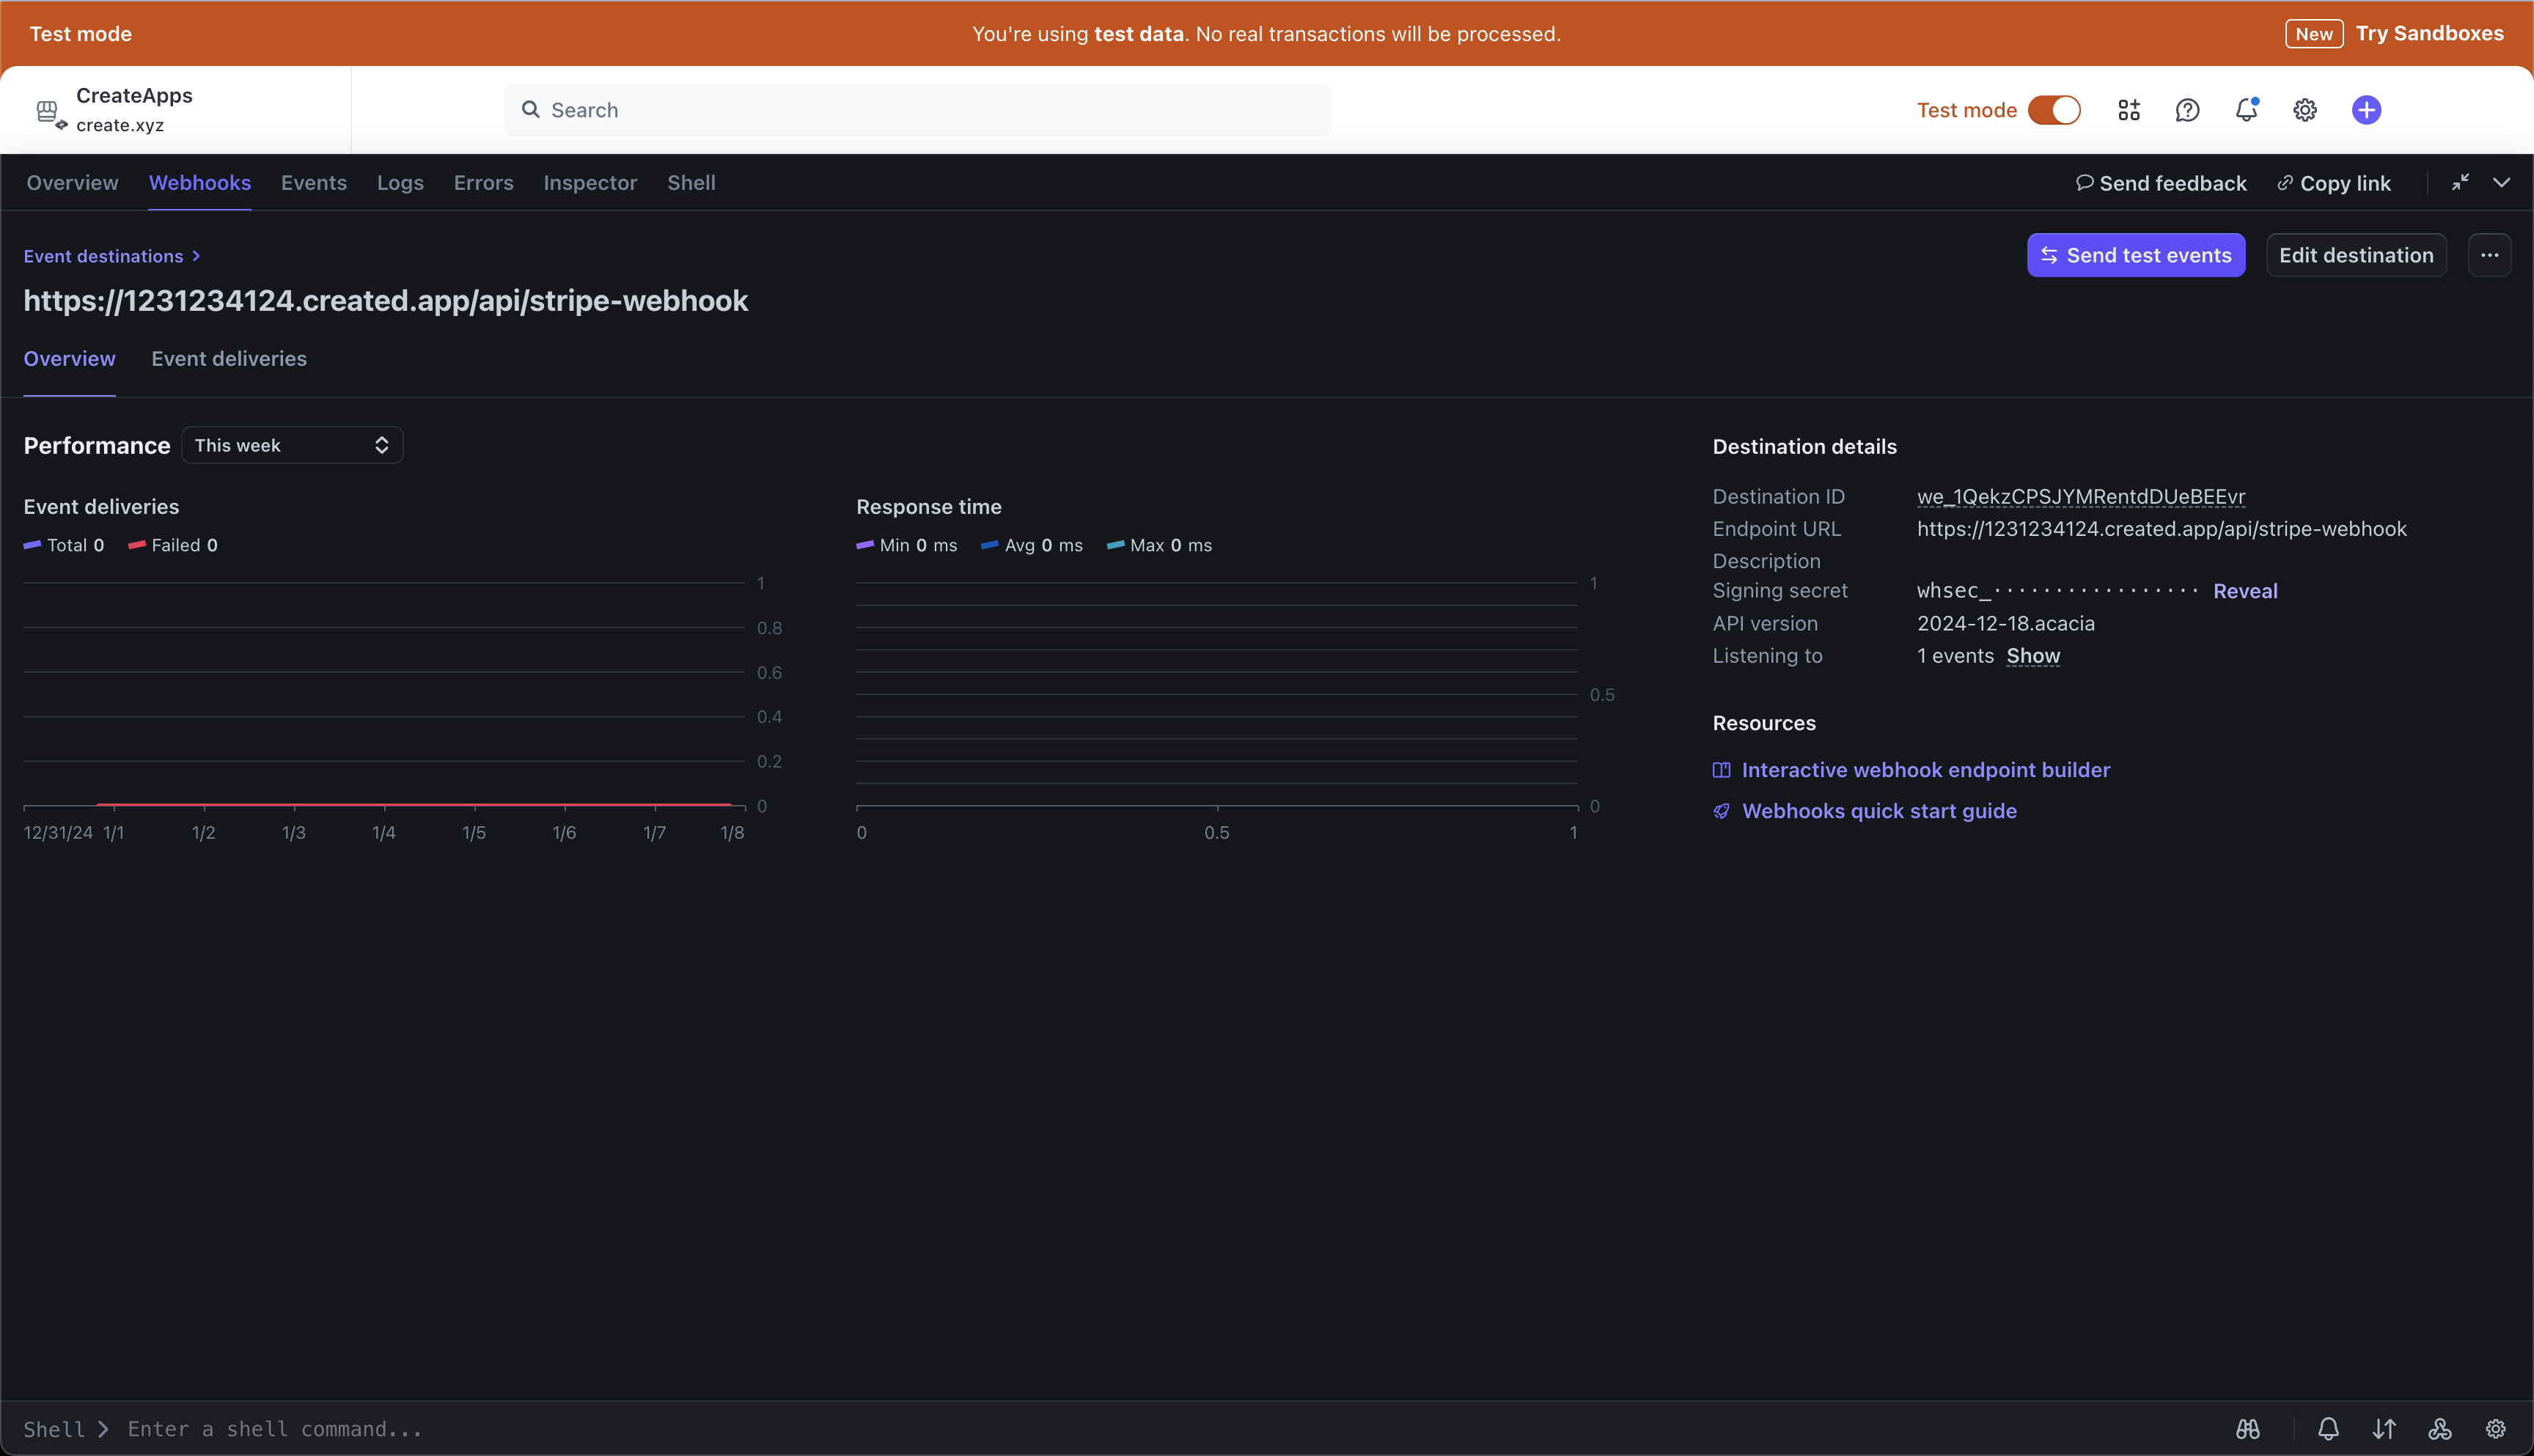
Select Stripe Webhook function in Create
Access Secrets
Add Secret
Hooking up the payment flow
You now can build:- How your users pay you
- What happens before they pay and after they pay
Style the Subscription Upsell
 After styling with prompts:
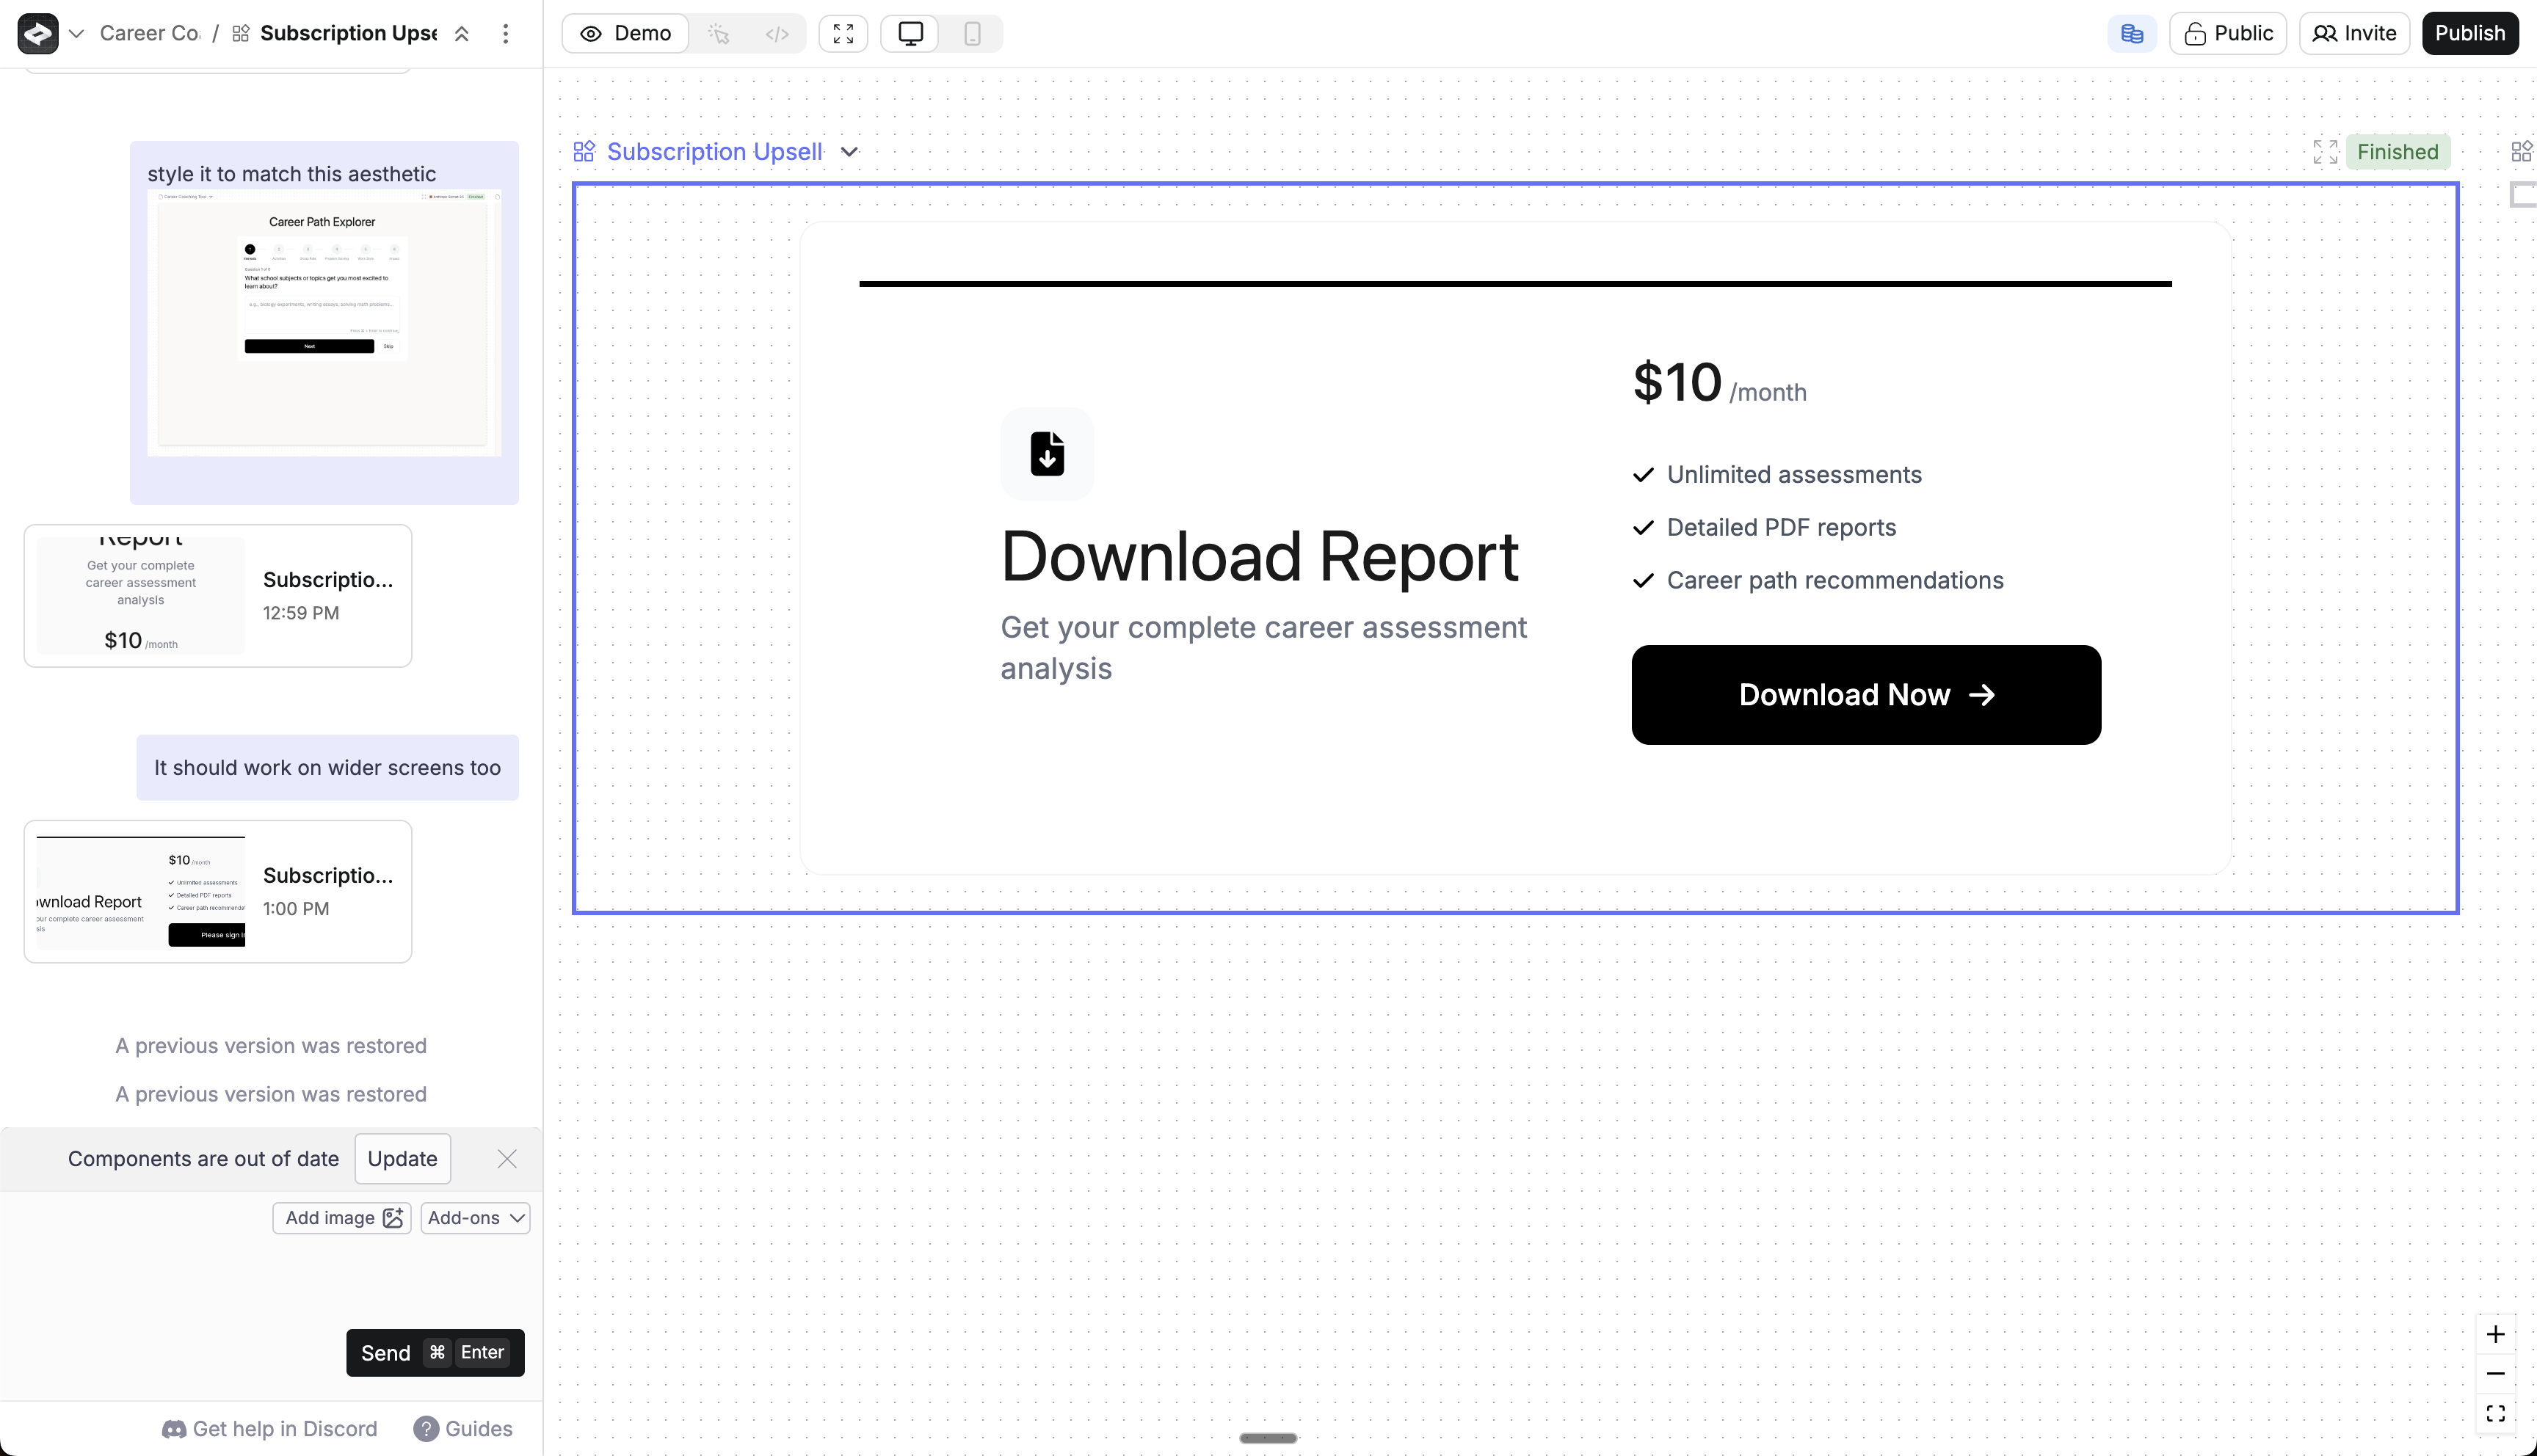
Add Subscription Upsell
Use the useIsSubscribed to gate features
Publish your app
/api/stripe-checkout-link and /api/stripe-webhook to have your components and webhooks work.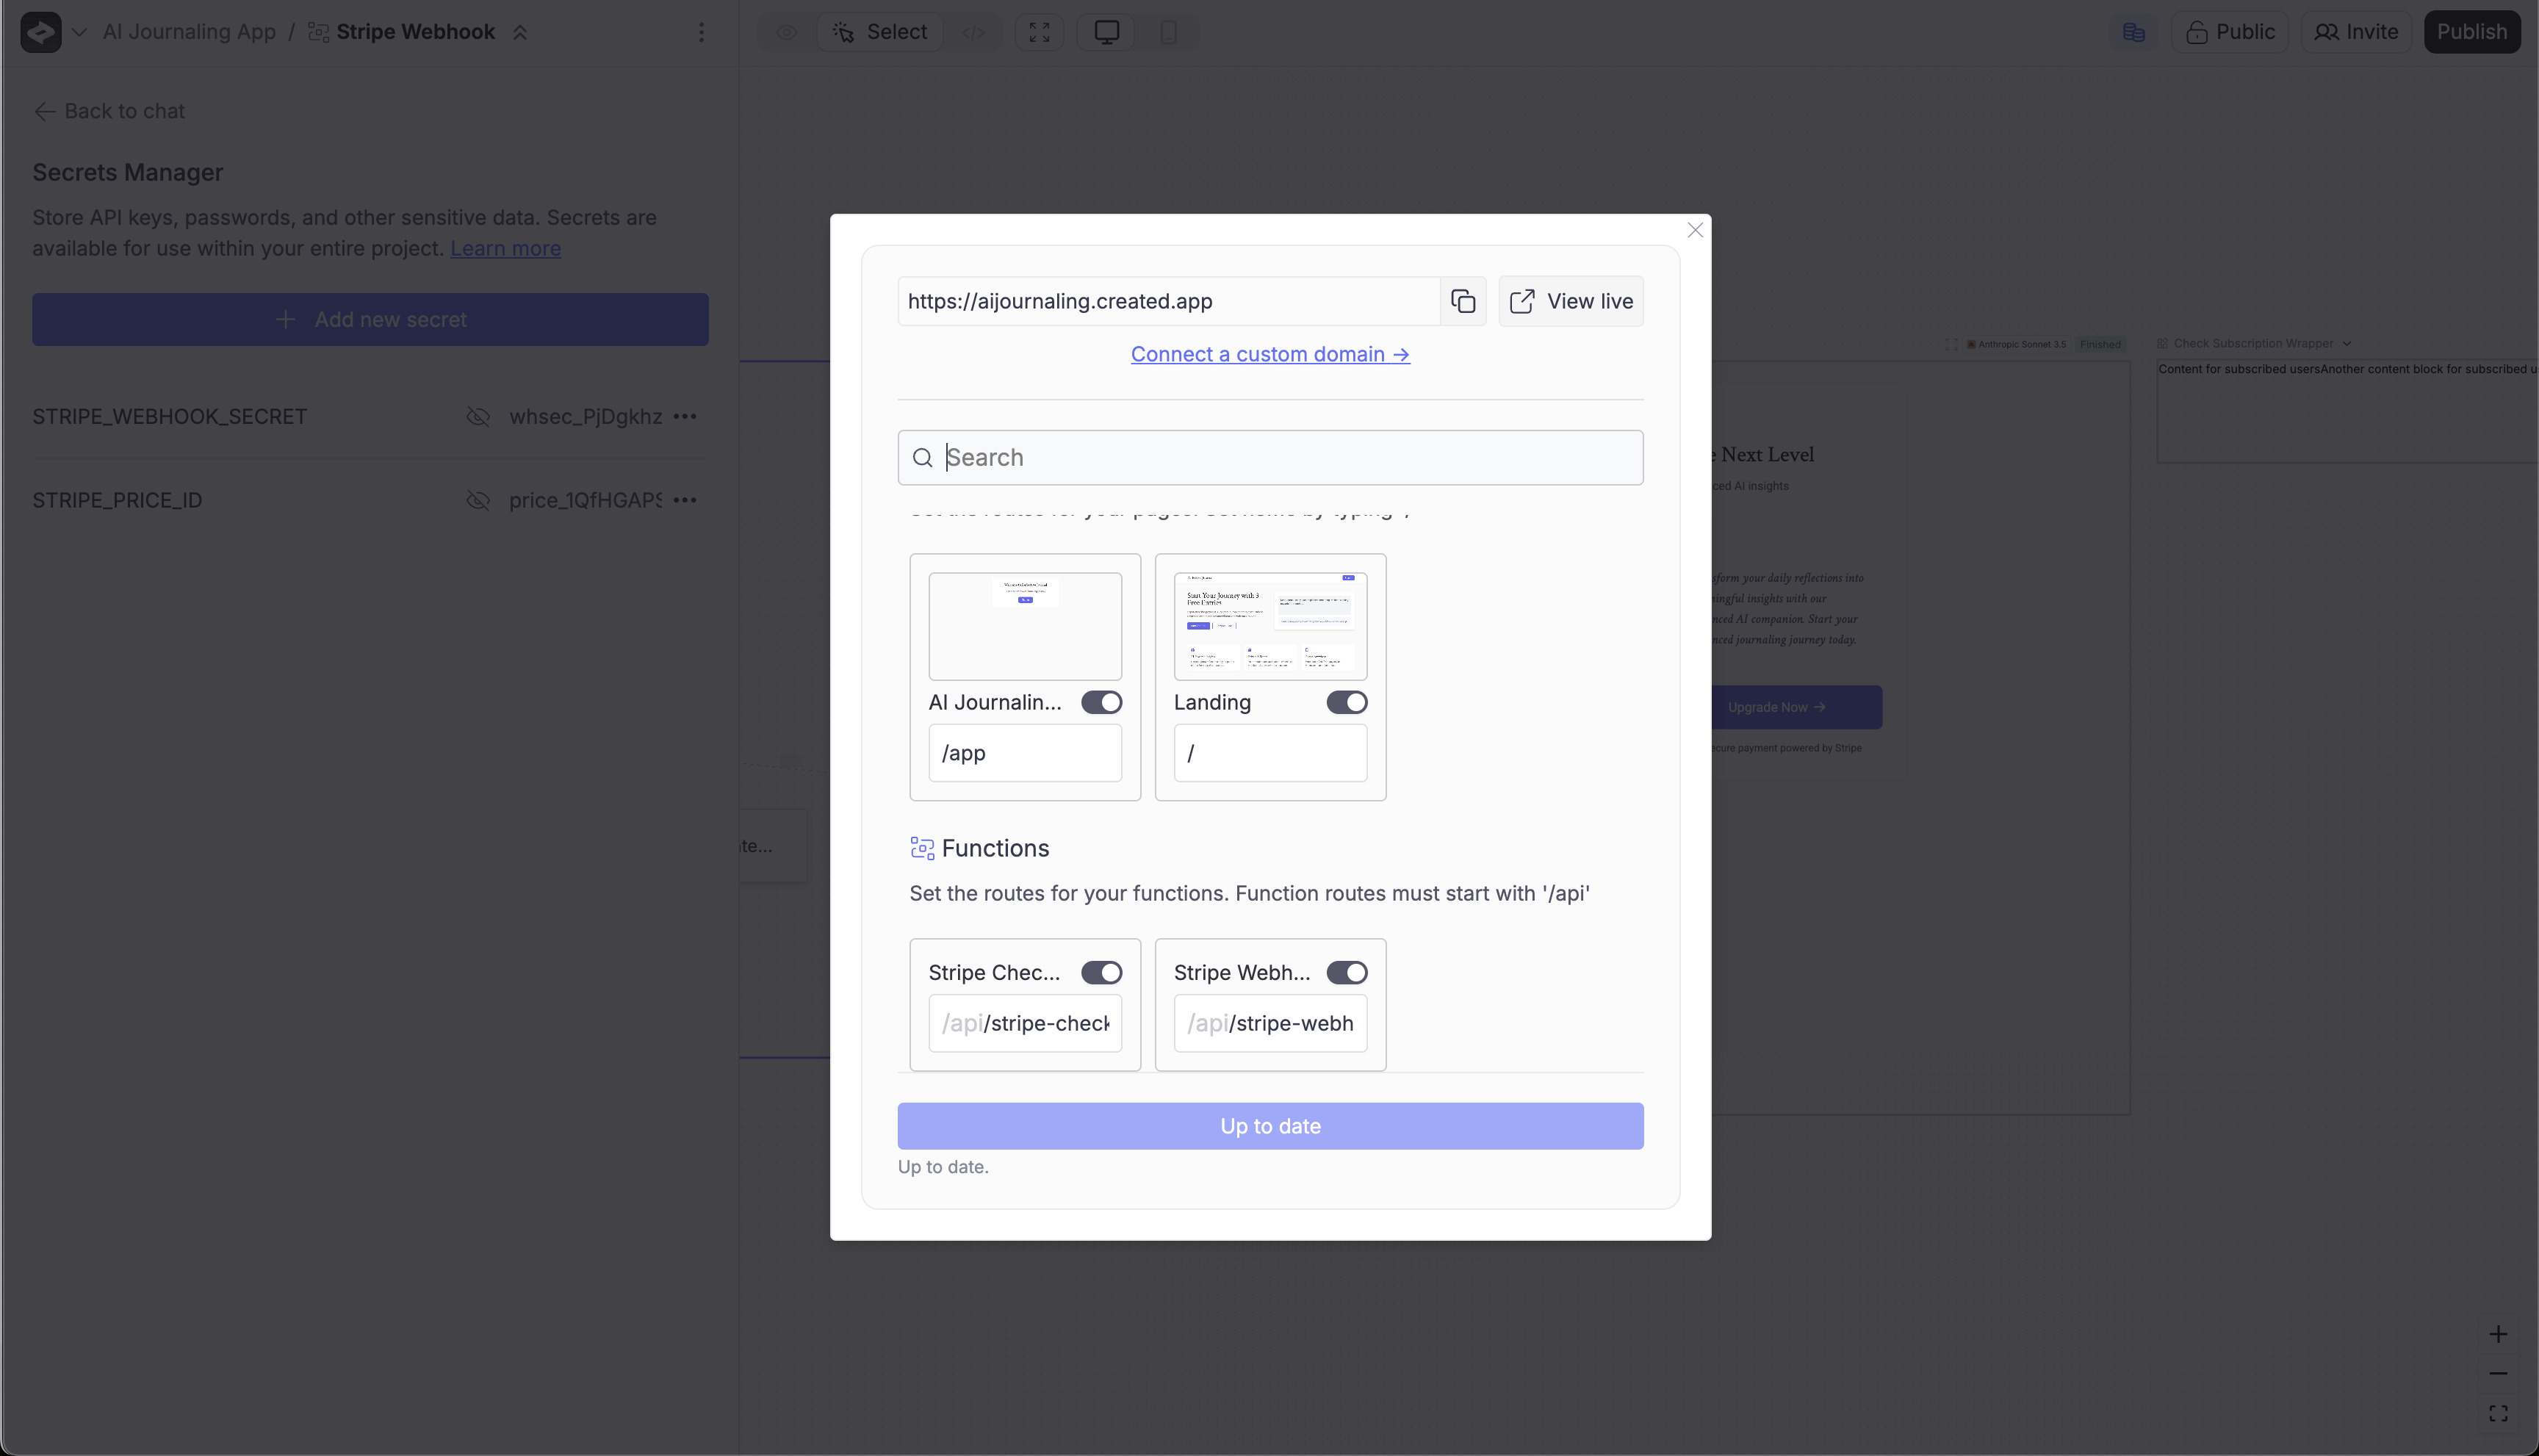
Test your app
- Verify when you hit the button in the Subscription Upsell, you’re redirected to Stripe
- After paying, you should be redirected back to your app
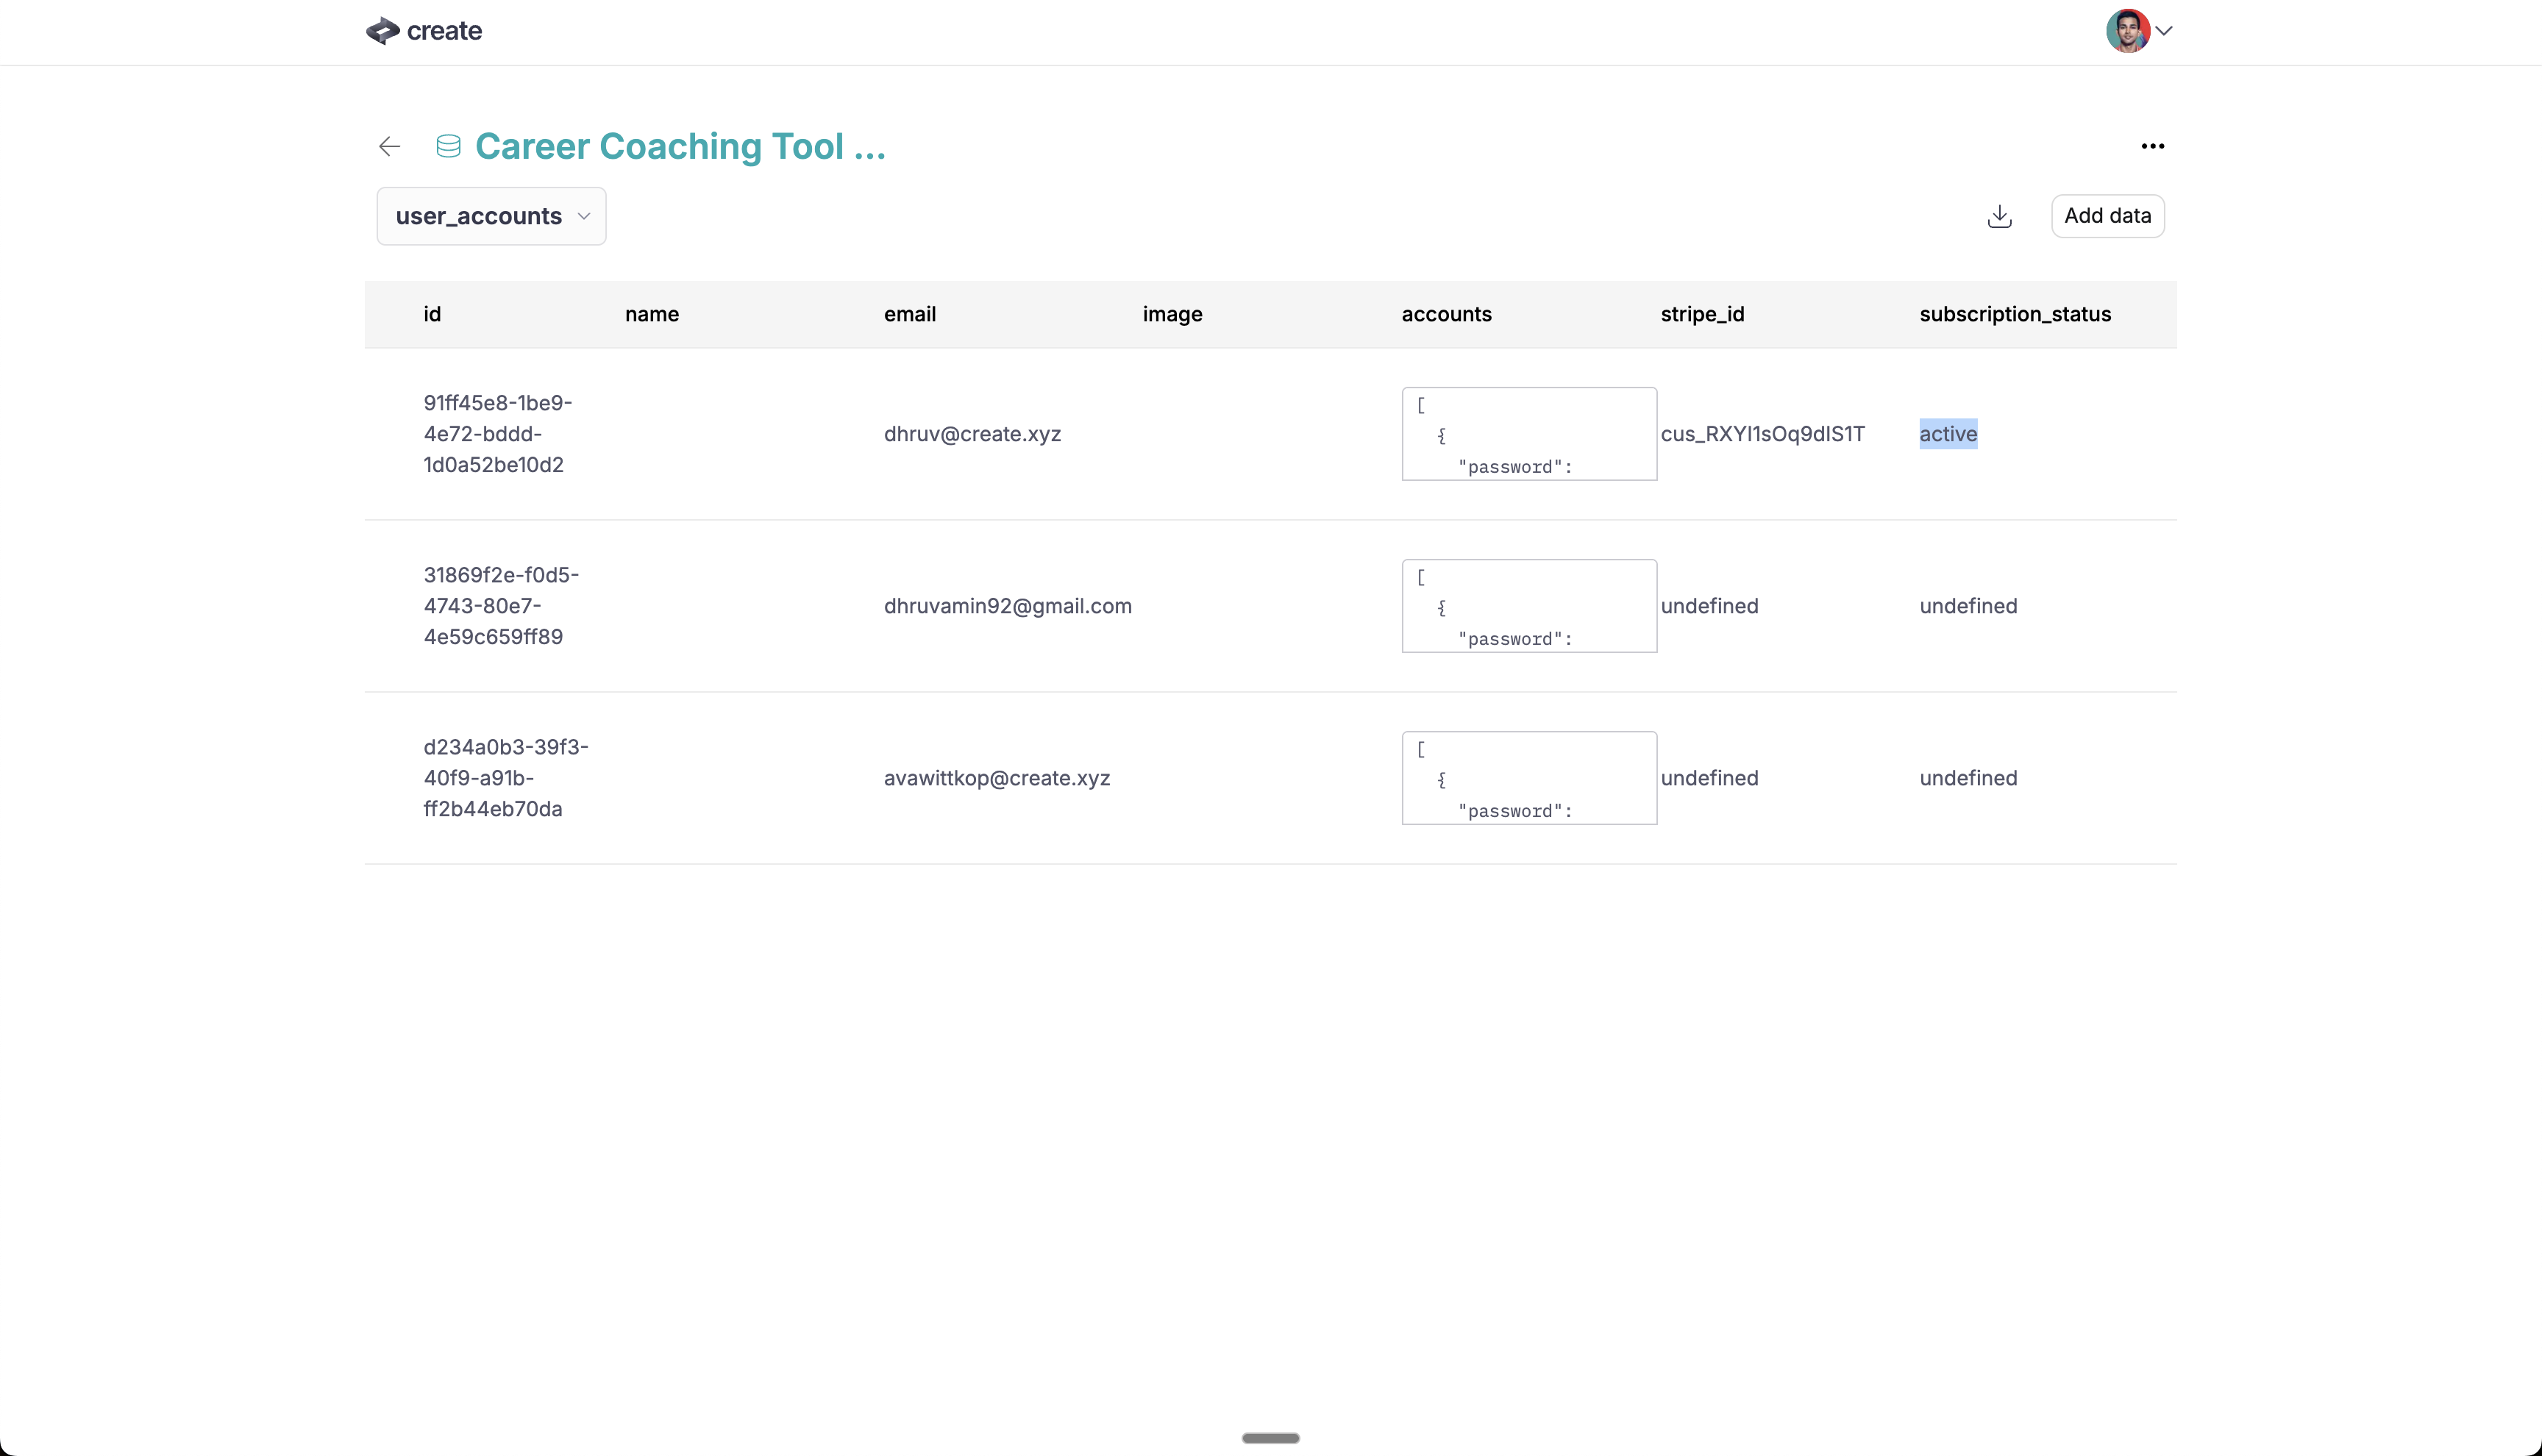
- Check in your users database to see that the signed in user is marked as subscribed
- Tap on the Sign In page in the builder > in the panel on the left > tap database
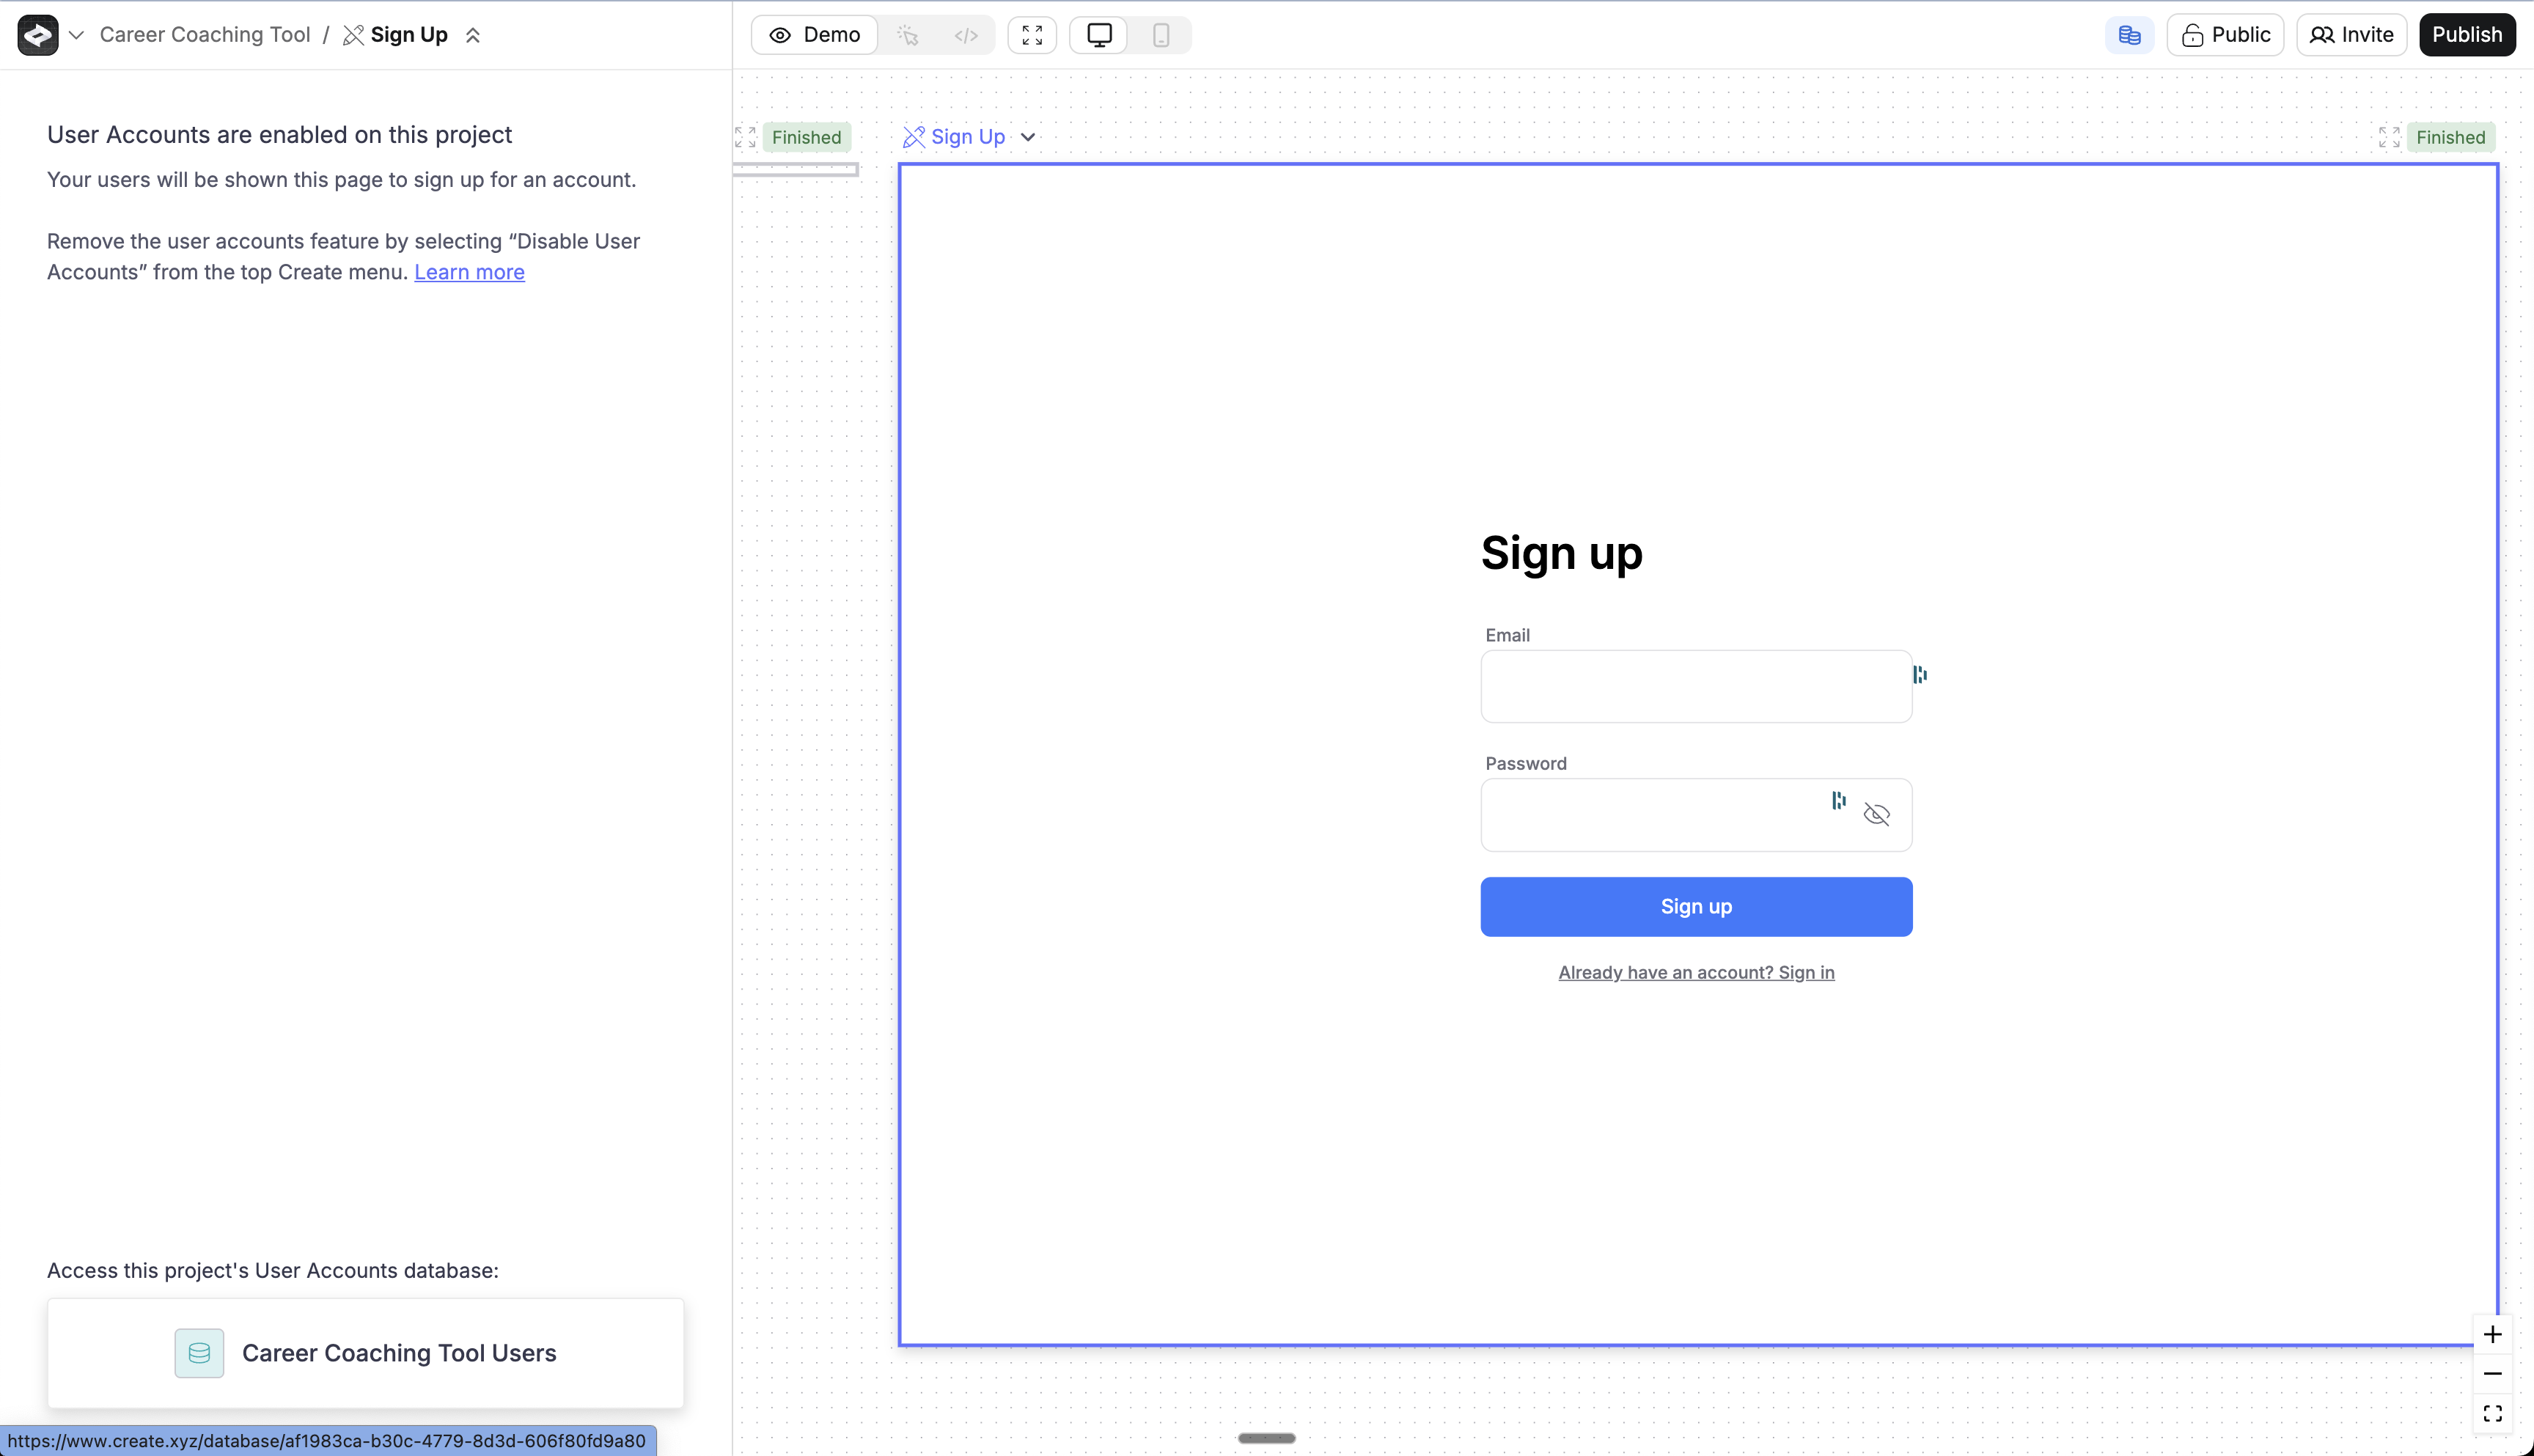
- You should see that the user you signed in with is marked as “active” in the subscription status column
- After the user is subscribed, make sure the right content is shown to them.